Halloween Pumpkin Carving Ideas
Halloween just isn’t the same without pumpkin carving. Sure — costumes, candy, and scary movies are some of our favorite staples, but pumpkin carving is a tradition we just can’t get enough of. It’s a great chance to get creative. Try out a few of our favorite classic and creative pumpkin ideas this year.
The Owl
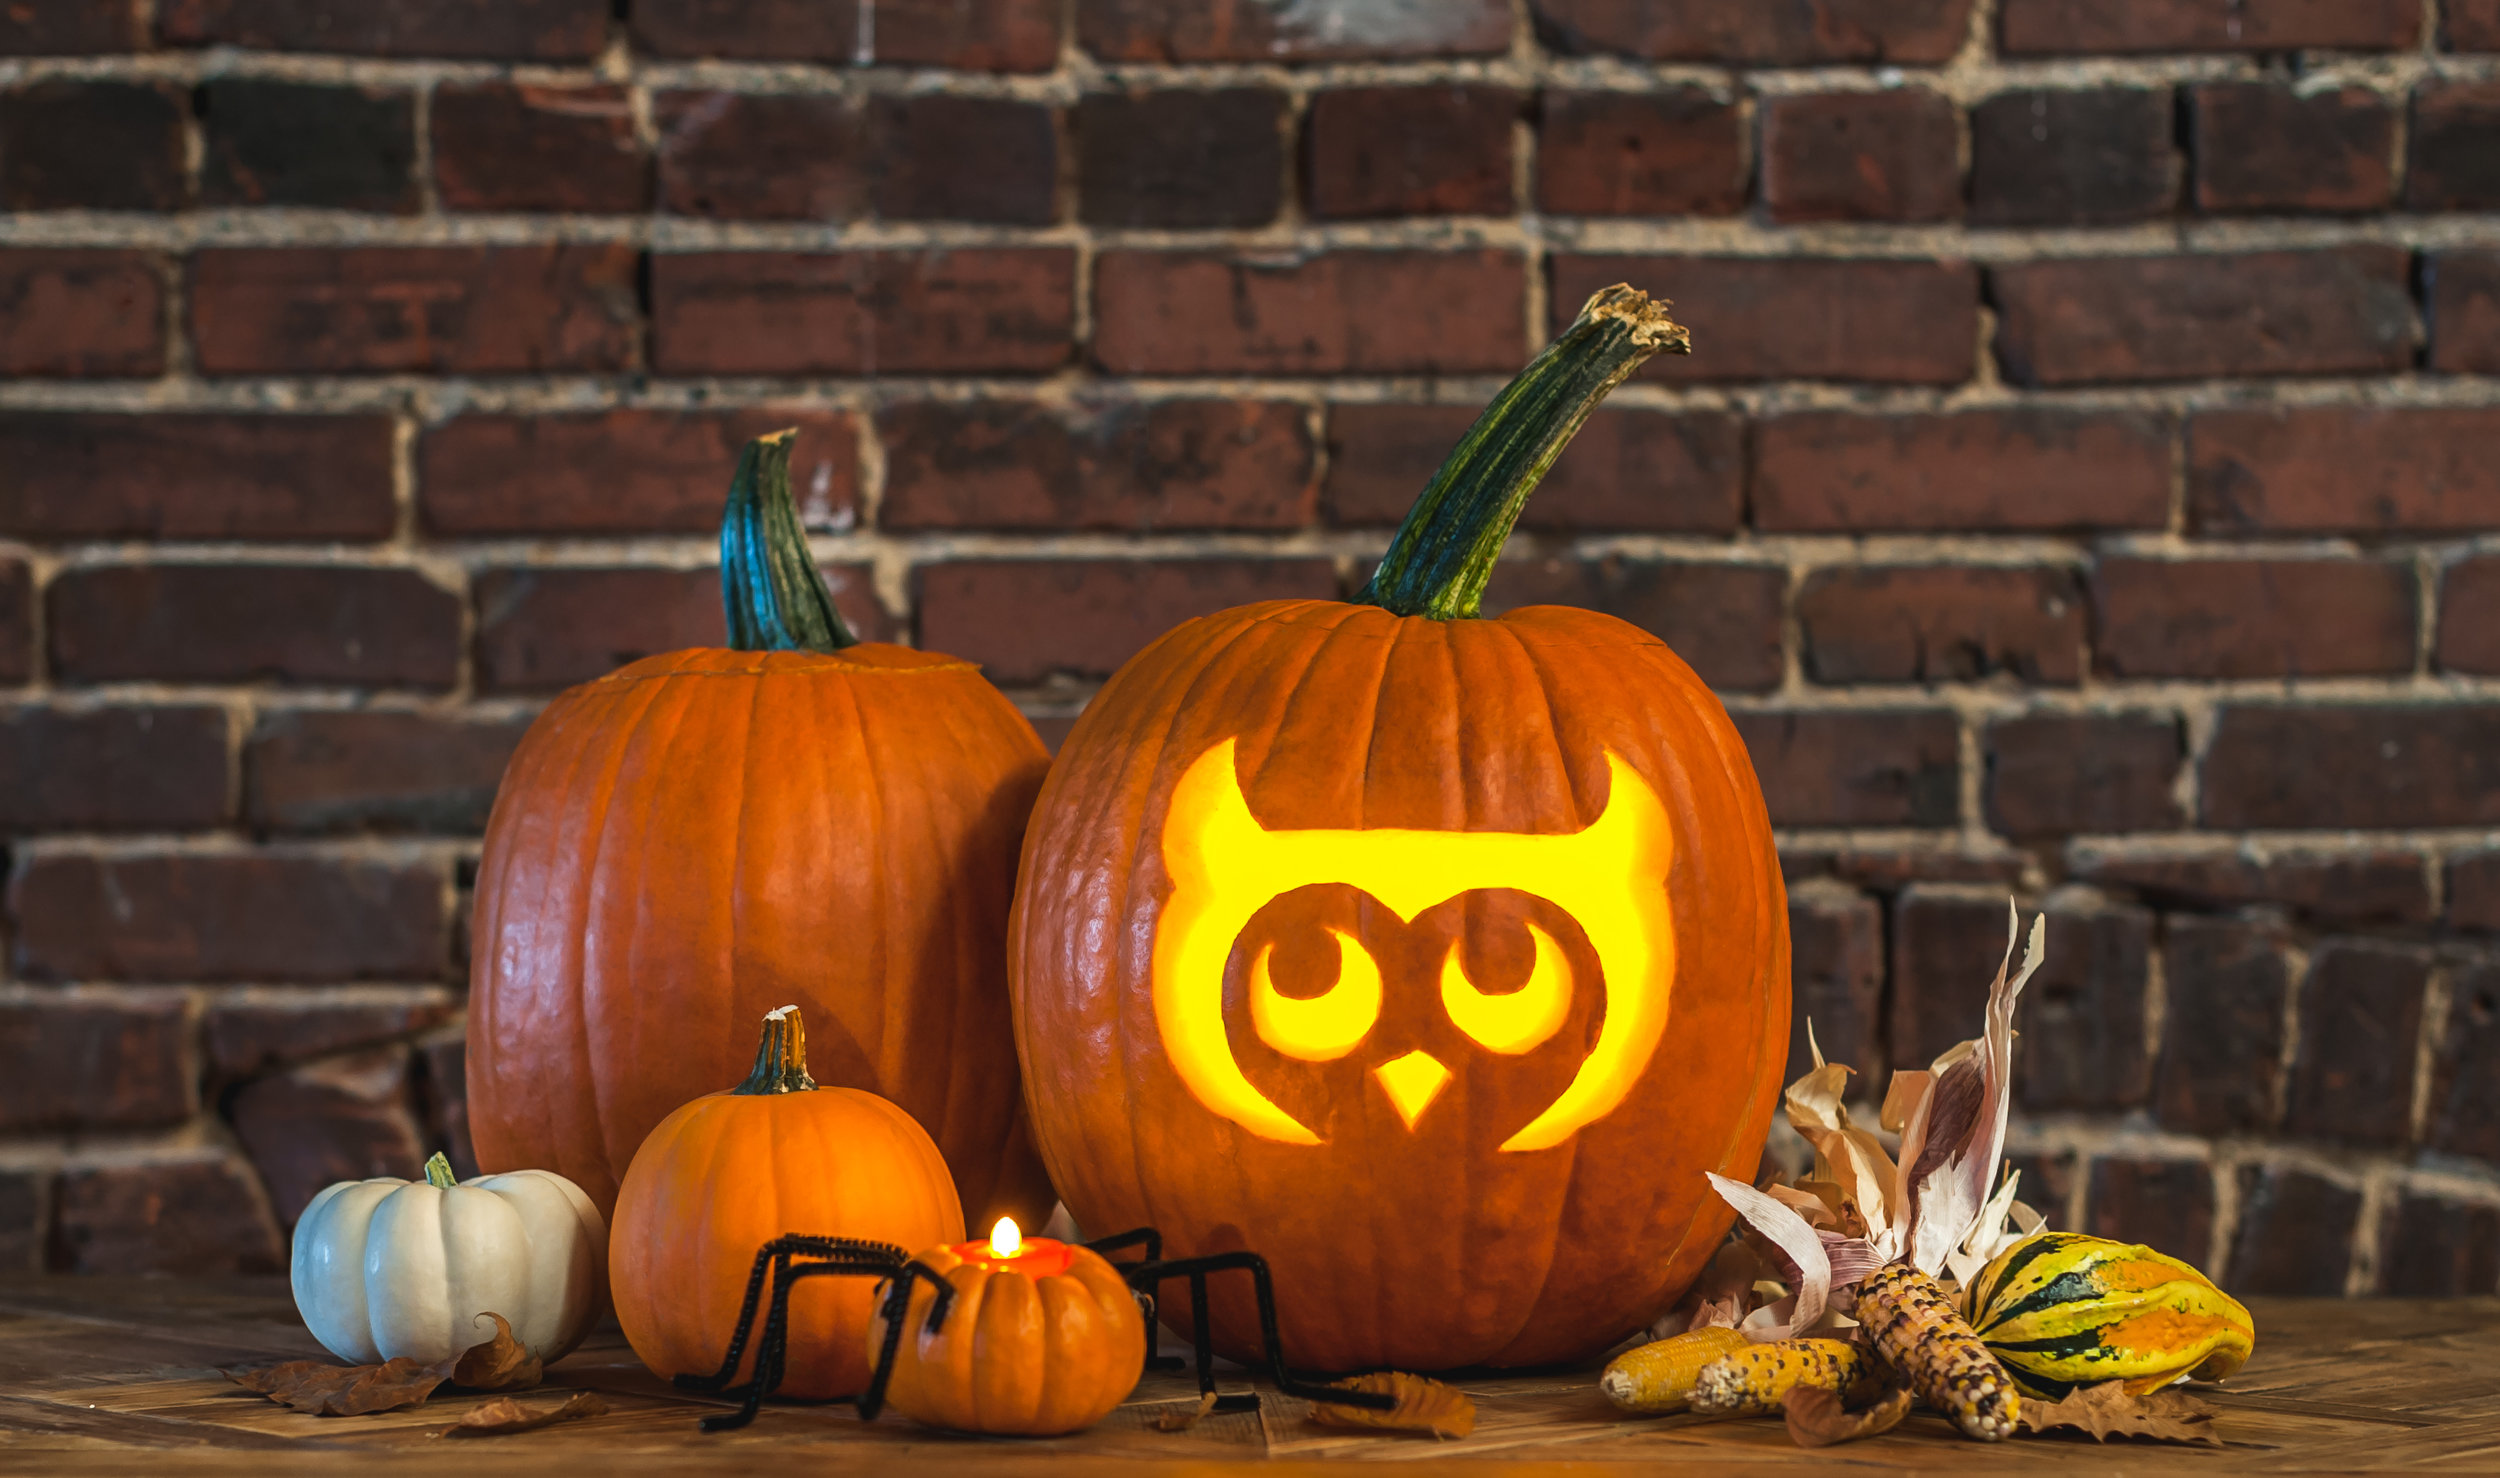
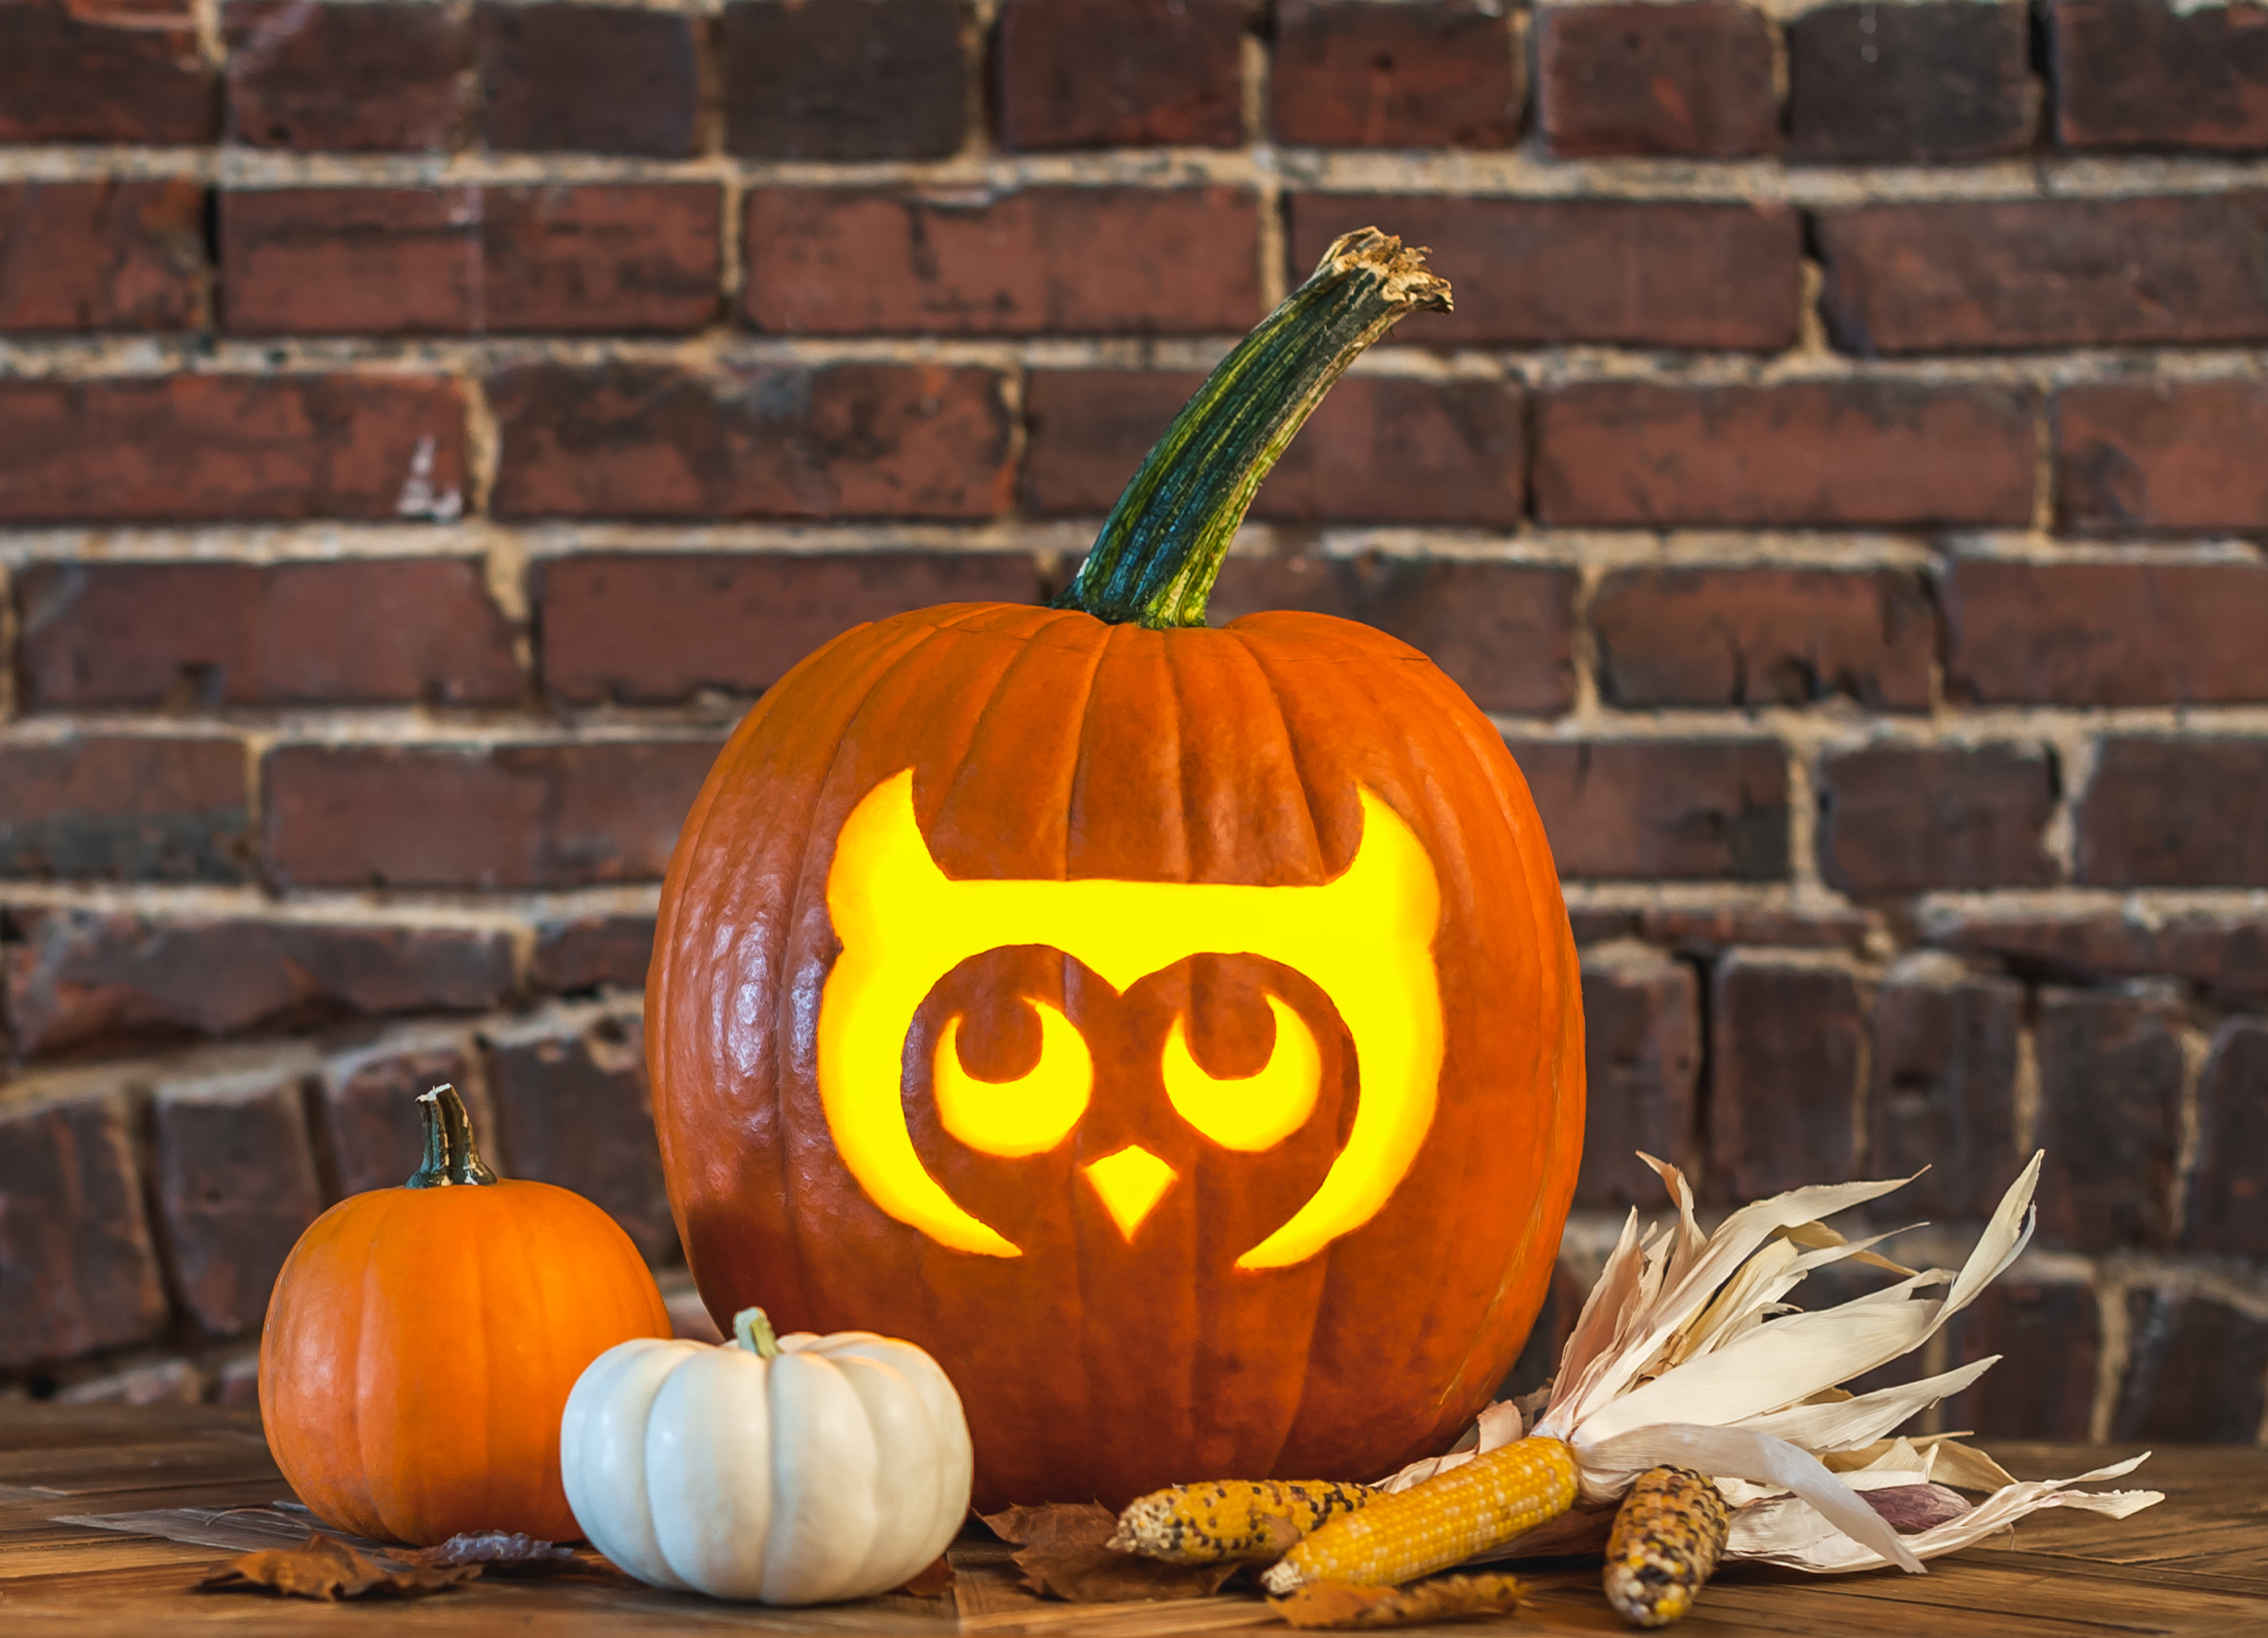
If you’re looking for a cute design that looks great for the whole season, an owl is a perfect choice. It can be a little tricky to carve freehand, but a stencil makes it easy.
It’s also easy to do with tools you already have in your kitchen. You’ll just need a large serrated knife (adults only, please!), a newspaper, a printed stencil, masking tape, a large spoon, a nail, and a candle or tea light. Here’s how to carve your own owl pumpkin.
-
Lay out a newspaper to catch the mess.
-
Use a serrated knife to cut a wide circle around the stem. Make sure your cut is angled inward so the top of the pumpkin doesn’t fall inside.
-
Use a large spoon to scoop out the seeds.
-
Print off the owl stencil and tape it to the smoothest side of the pumpkin.
-
Use a nail or other sharp-tipped object to poke through the paper stencil and mark the owl design on your pumpkin. Be sure not to make the holes too large.
-
Remove the stencil and tape from the pumpkin.
-
Use a serrated knife to cut out the design using the holes you punched as a guide.
-
Get rid of the cut-out pumpkin bits by pushing them inside the pumpkin and removing them from the top.
-
Make sure the inside of your pumpkin is cleaned out completely.
-
Put a small candle or an electric tea light inside, and put the lid back on top of the pumpkin. Ta-da! Your owl is ready for fall.
Mini Pumpkin Spiders
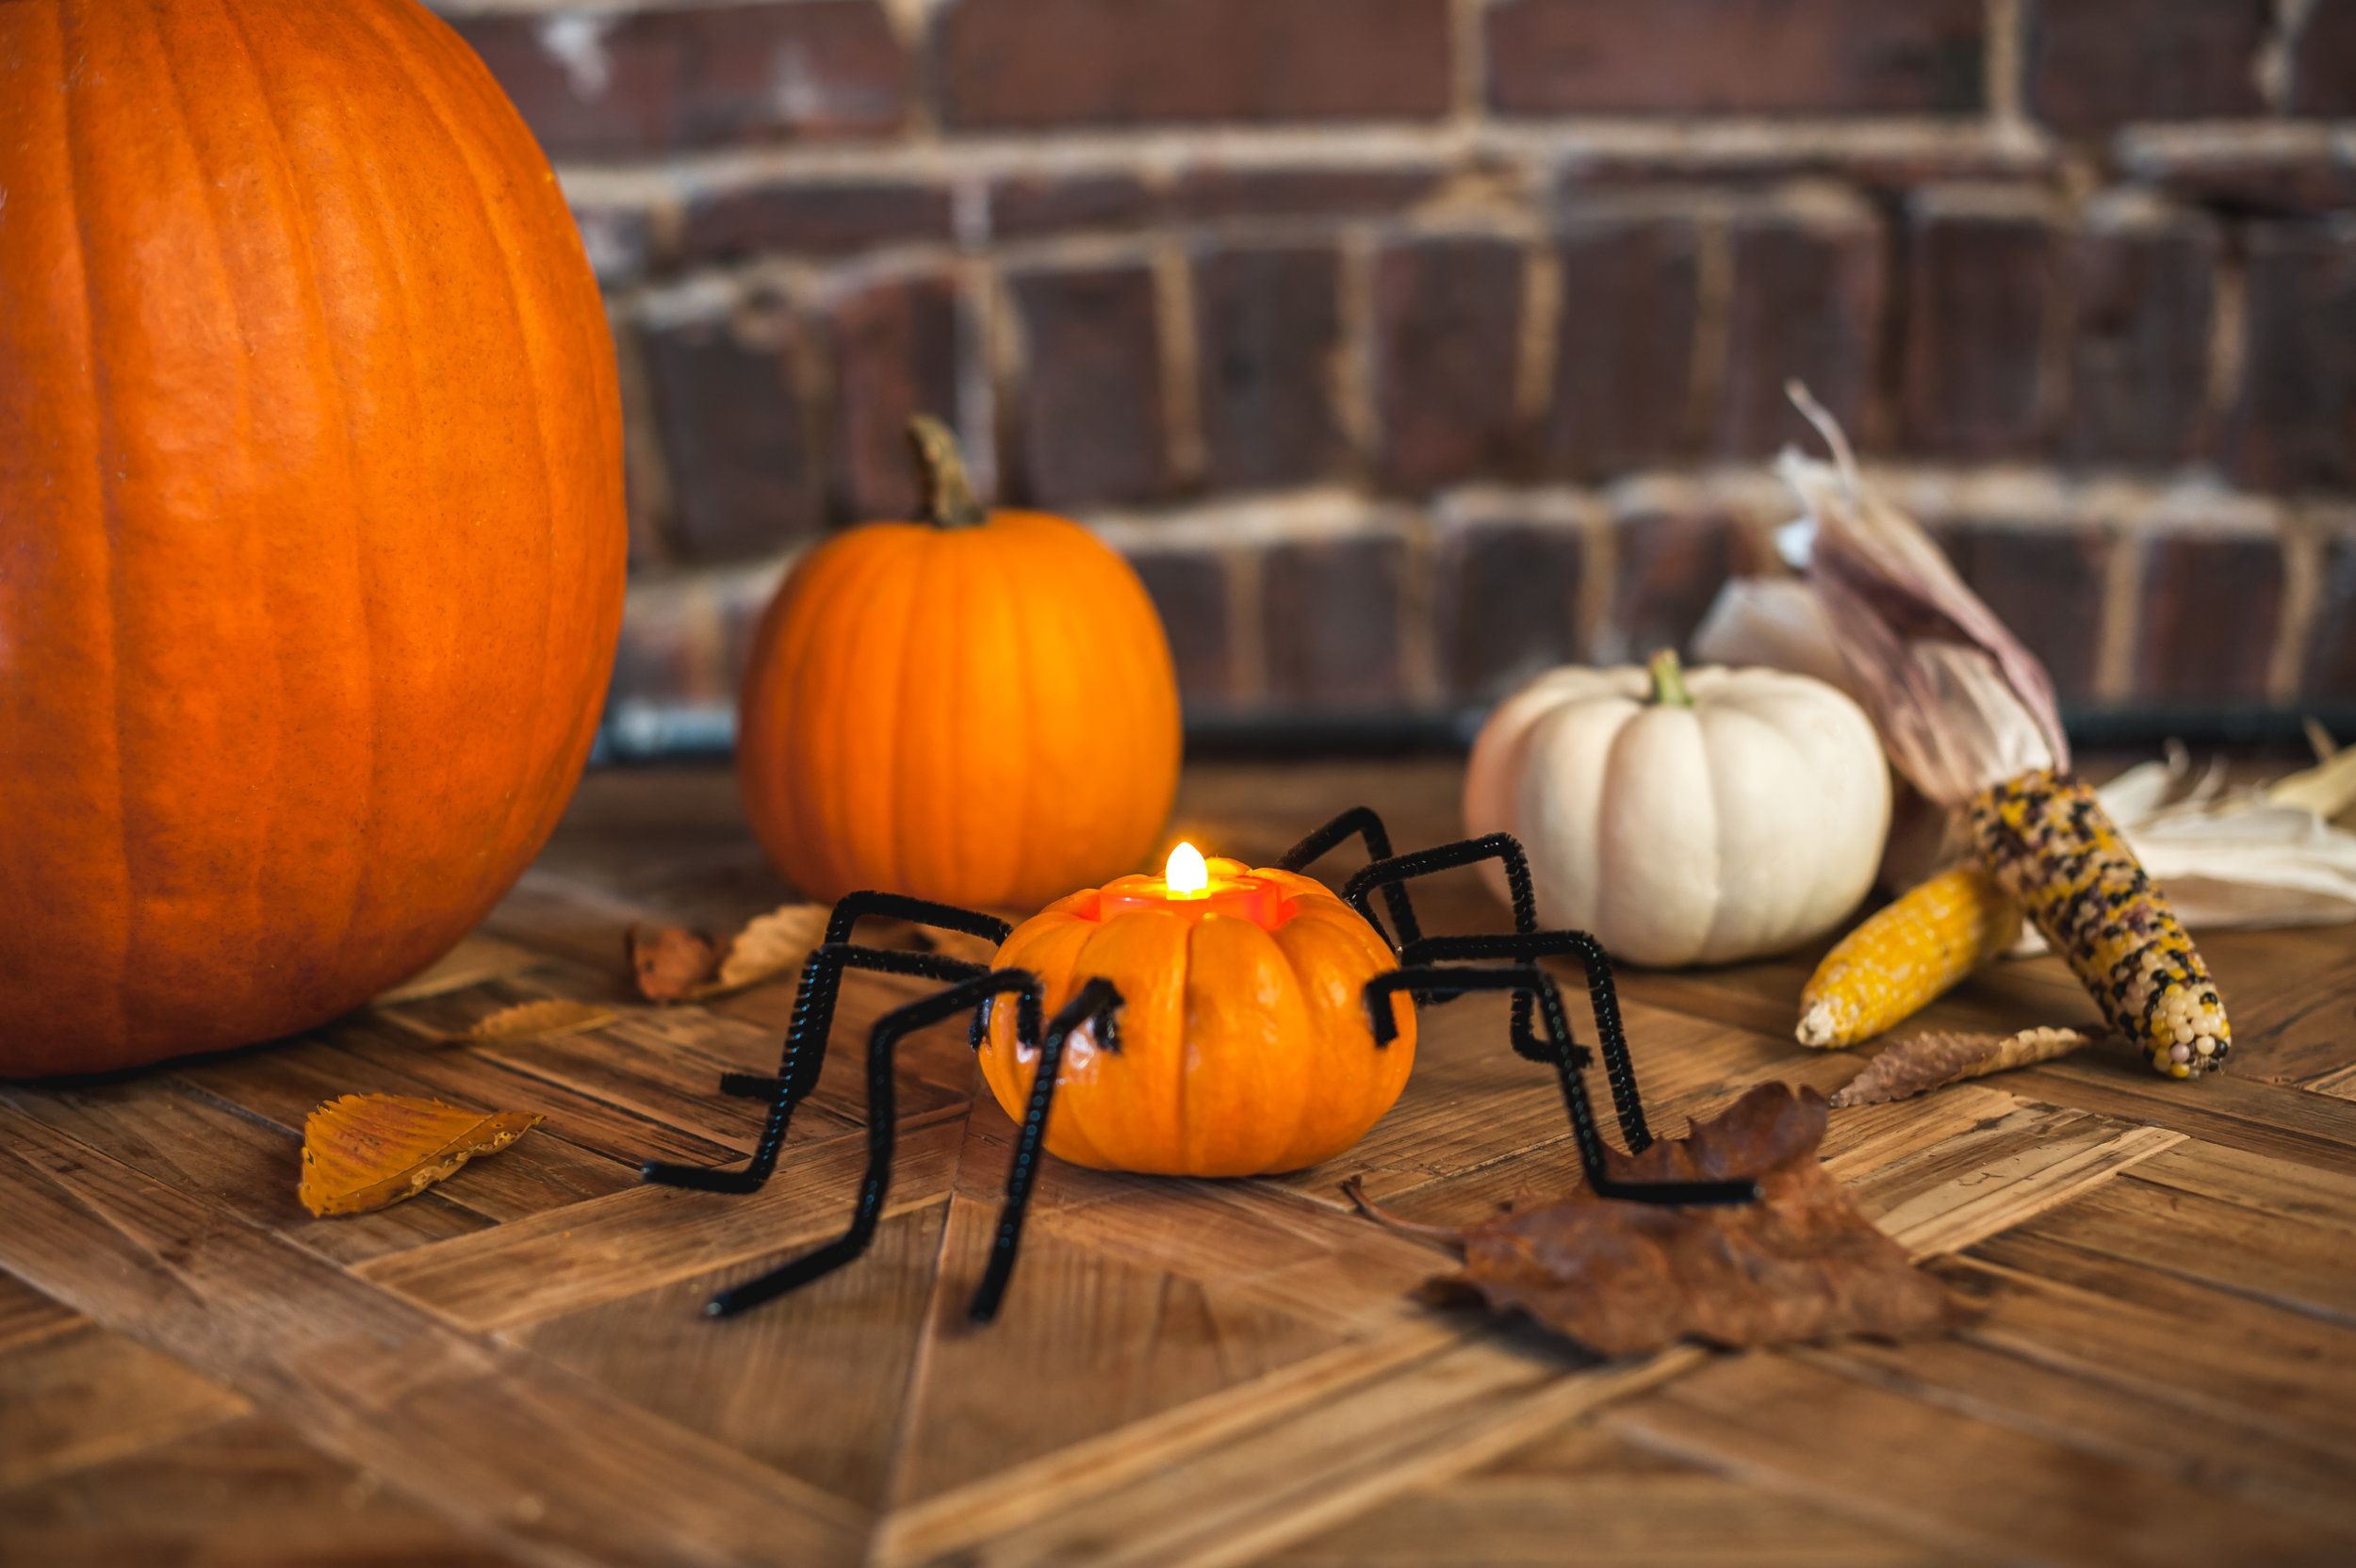
These are totally easy if you need a quick pumpkin carving idea to accent your porch — especially if you’re on a time crunch. These creepy crawlers work great by themselves, or as some added flair to your other pumpkins. You’ll need a small serrated knife, black pipe cleaners, a small spoon, a hot glue gun, and some tea lights.
-
Cut circles around the stems of your mini pumpkins. A small serrated knife works best.
-
Scoop out the inside using a small teaspoon.
-
For the spiders’ legs, use a hot glue gun to attach eight black pipe cleaners to each pumpkin (four on each side).
-
Finish them off by sticking a small tea light in the top. All done!
The Classic Jack-o’-Lantern
You just can’t go wrong with a classic Jack-o’-Lantern. It really completes any home’s Halloween look, and it’s super simple to carve. All you’ll need is triangles or squares for the eyes, a triangle nose, and a toothy grin!


