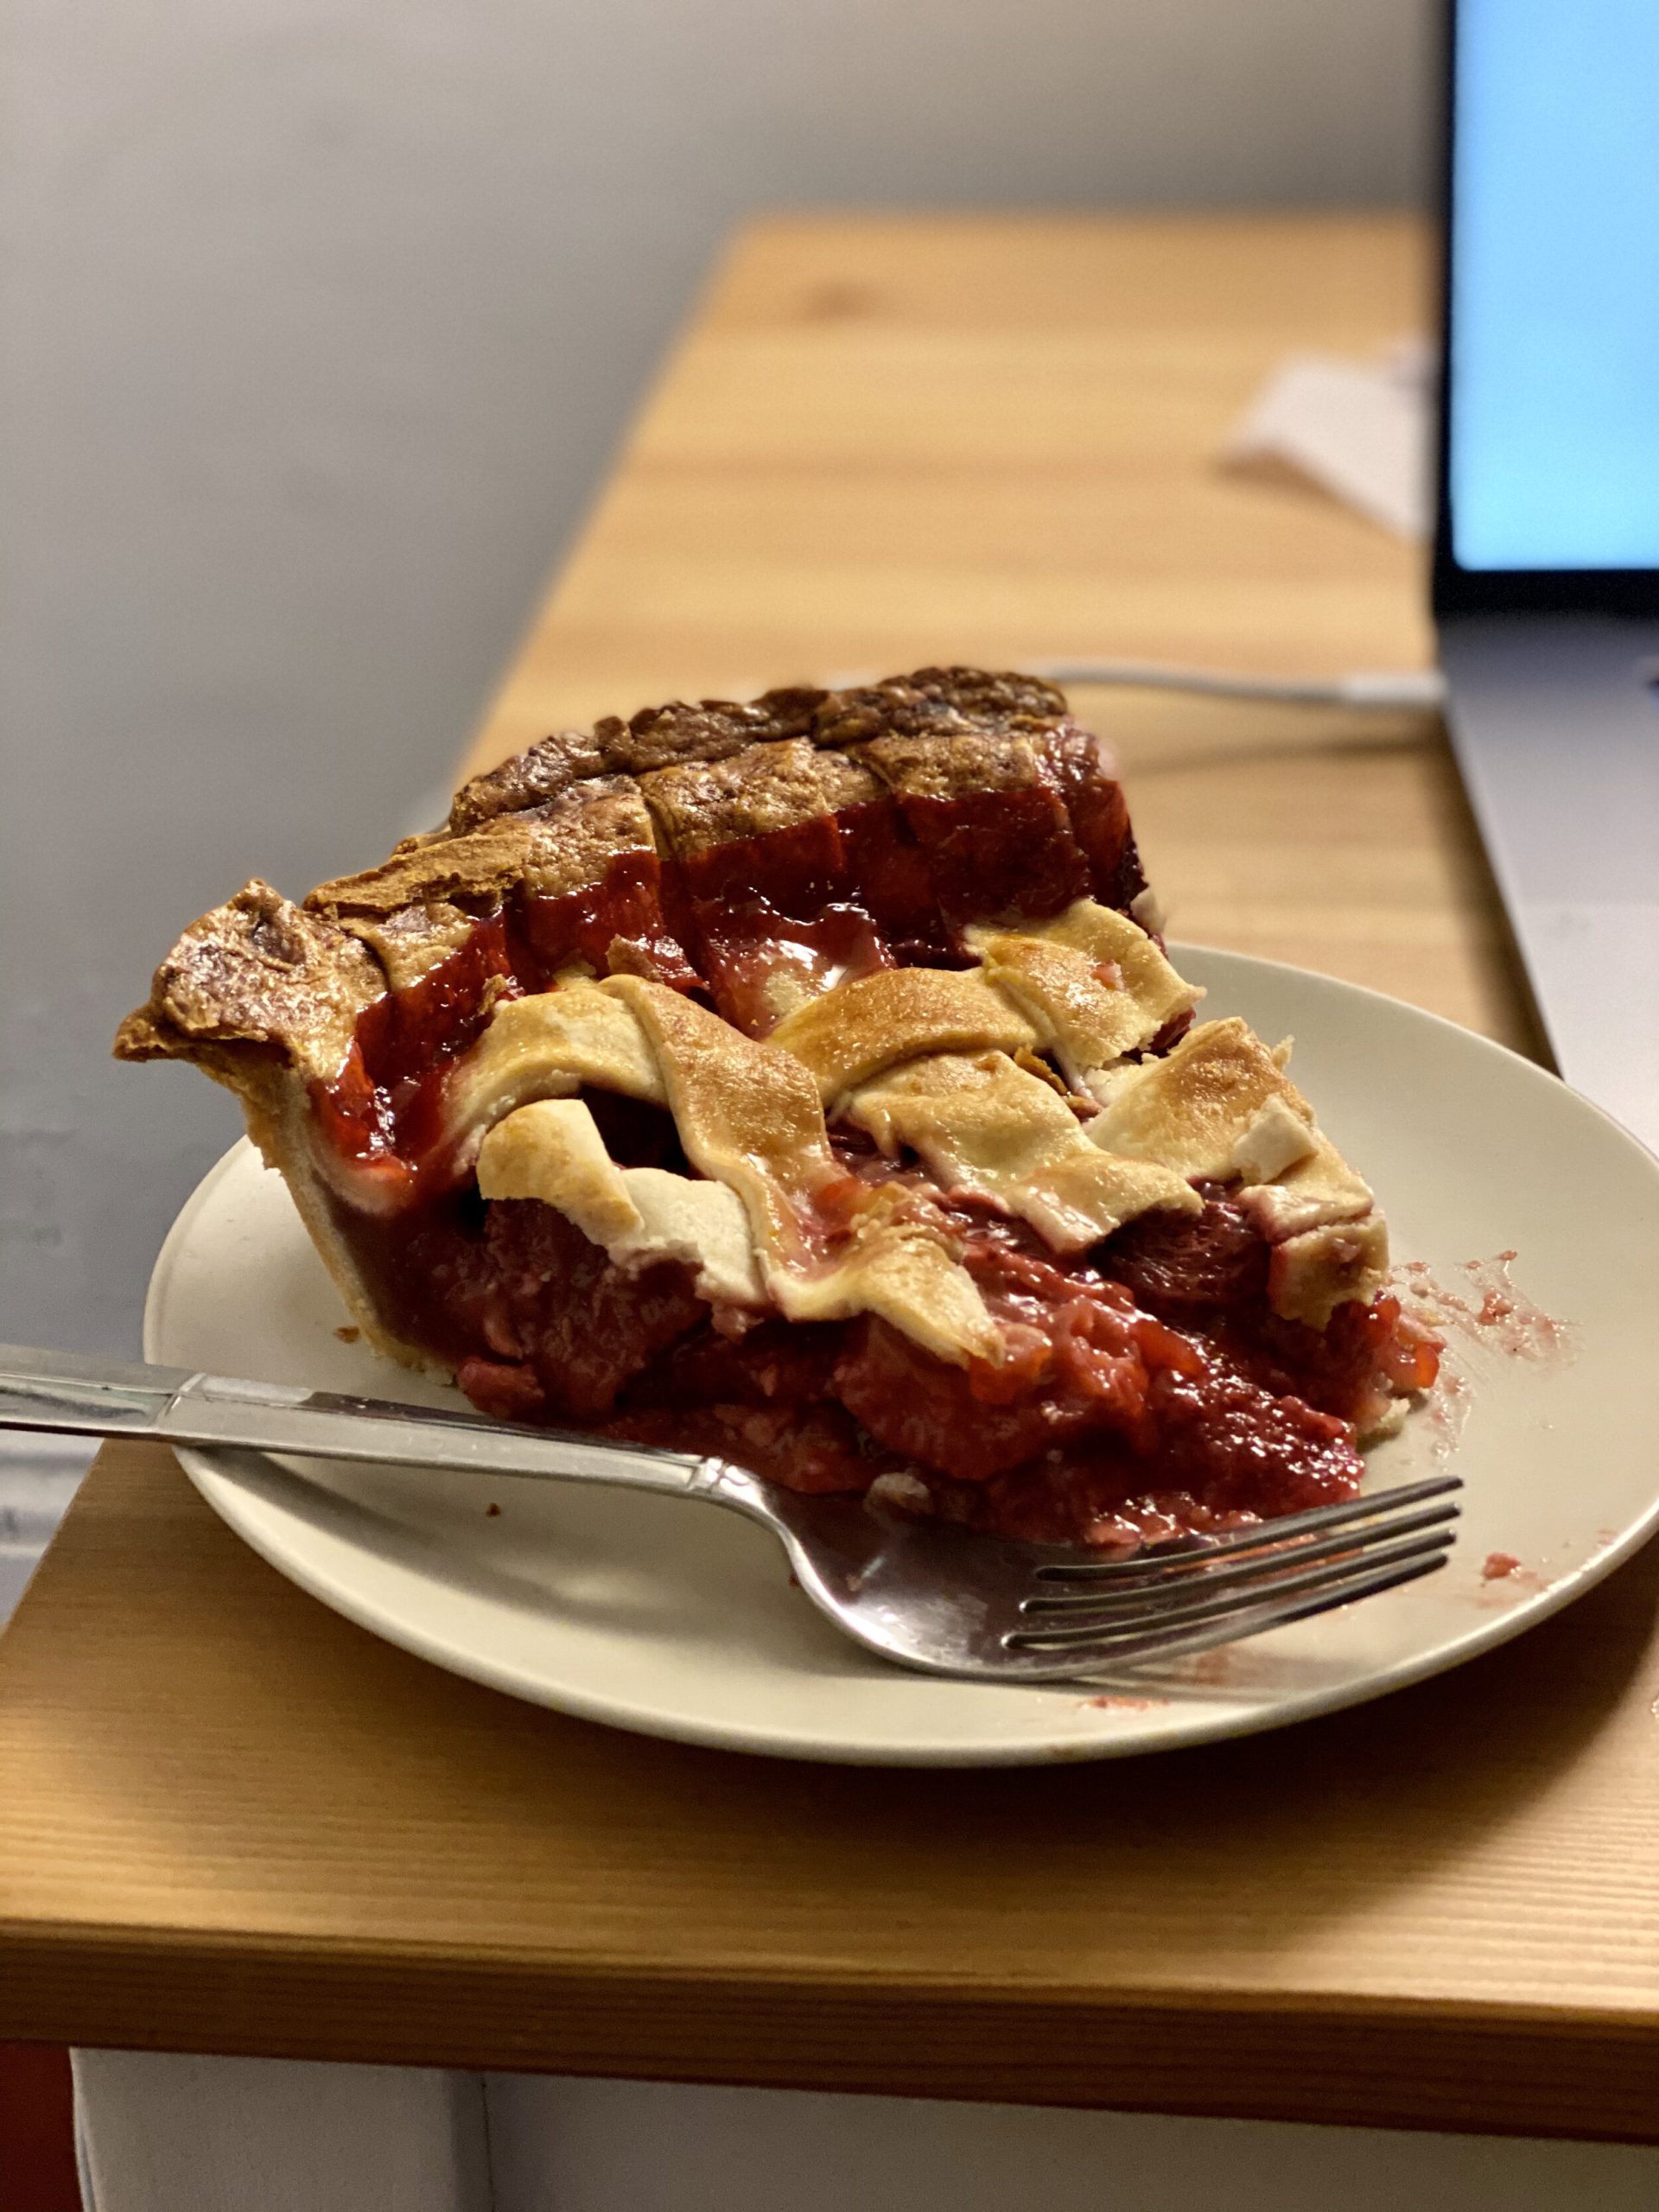
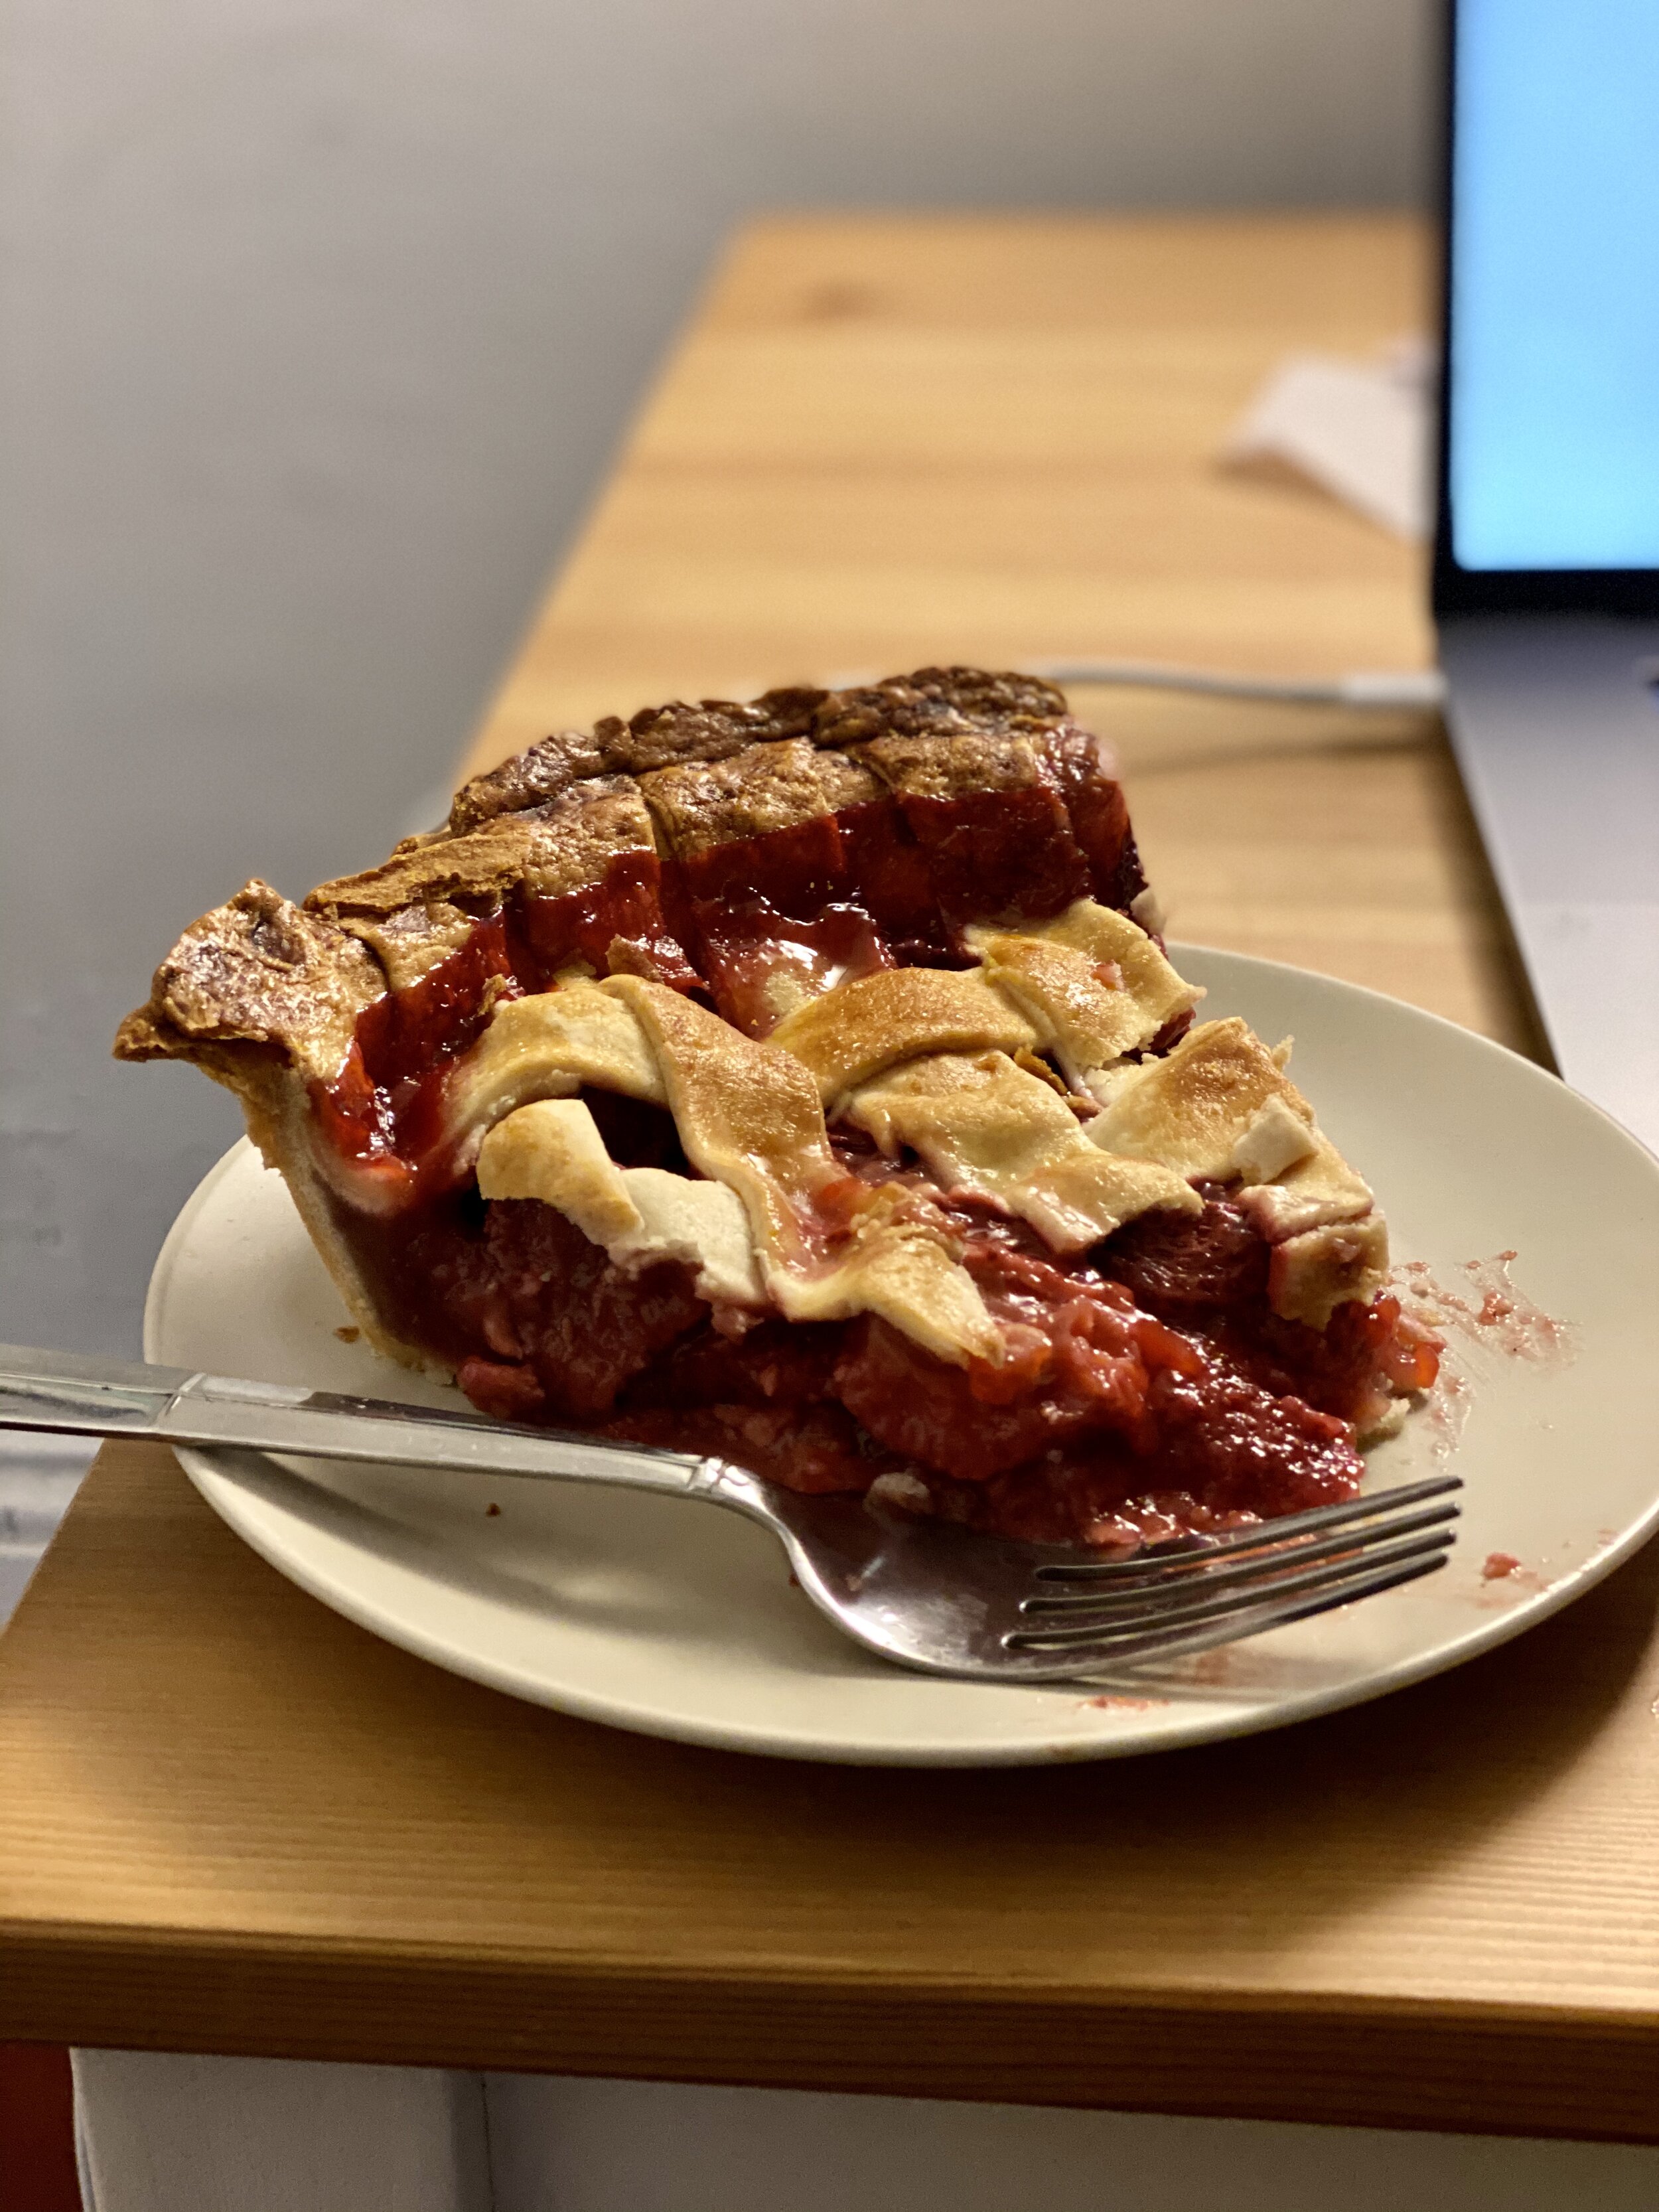
With the summer months right around the corner, there’s never been a better time to dust off your rolling pin, chop up some fruit, and make a summer pie! You can find pie recipes by the thousands across the internet, but we’ve got a quick play-by-play that can get you started. Your pie can be customized however you like – choose your fruit, your dough, your decoration – and as complex or simple as you’d like (making dough can be time-consuming!). Whatever your plan, after about an hour you’ll have a piping hot, ultra-delicious dessert to welcome summer!
Step 1: Collect your ingredients
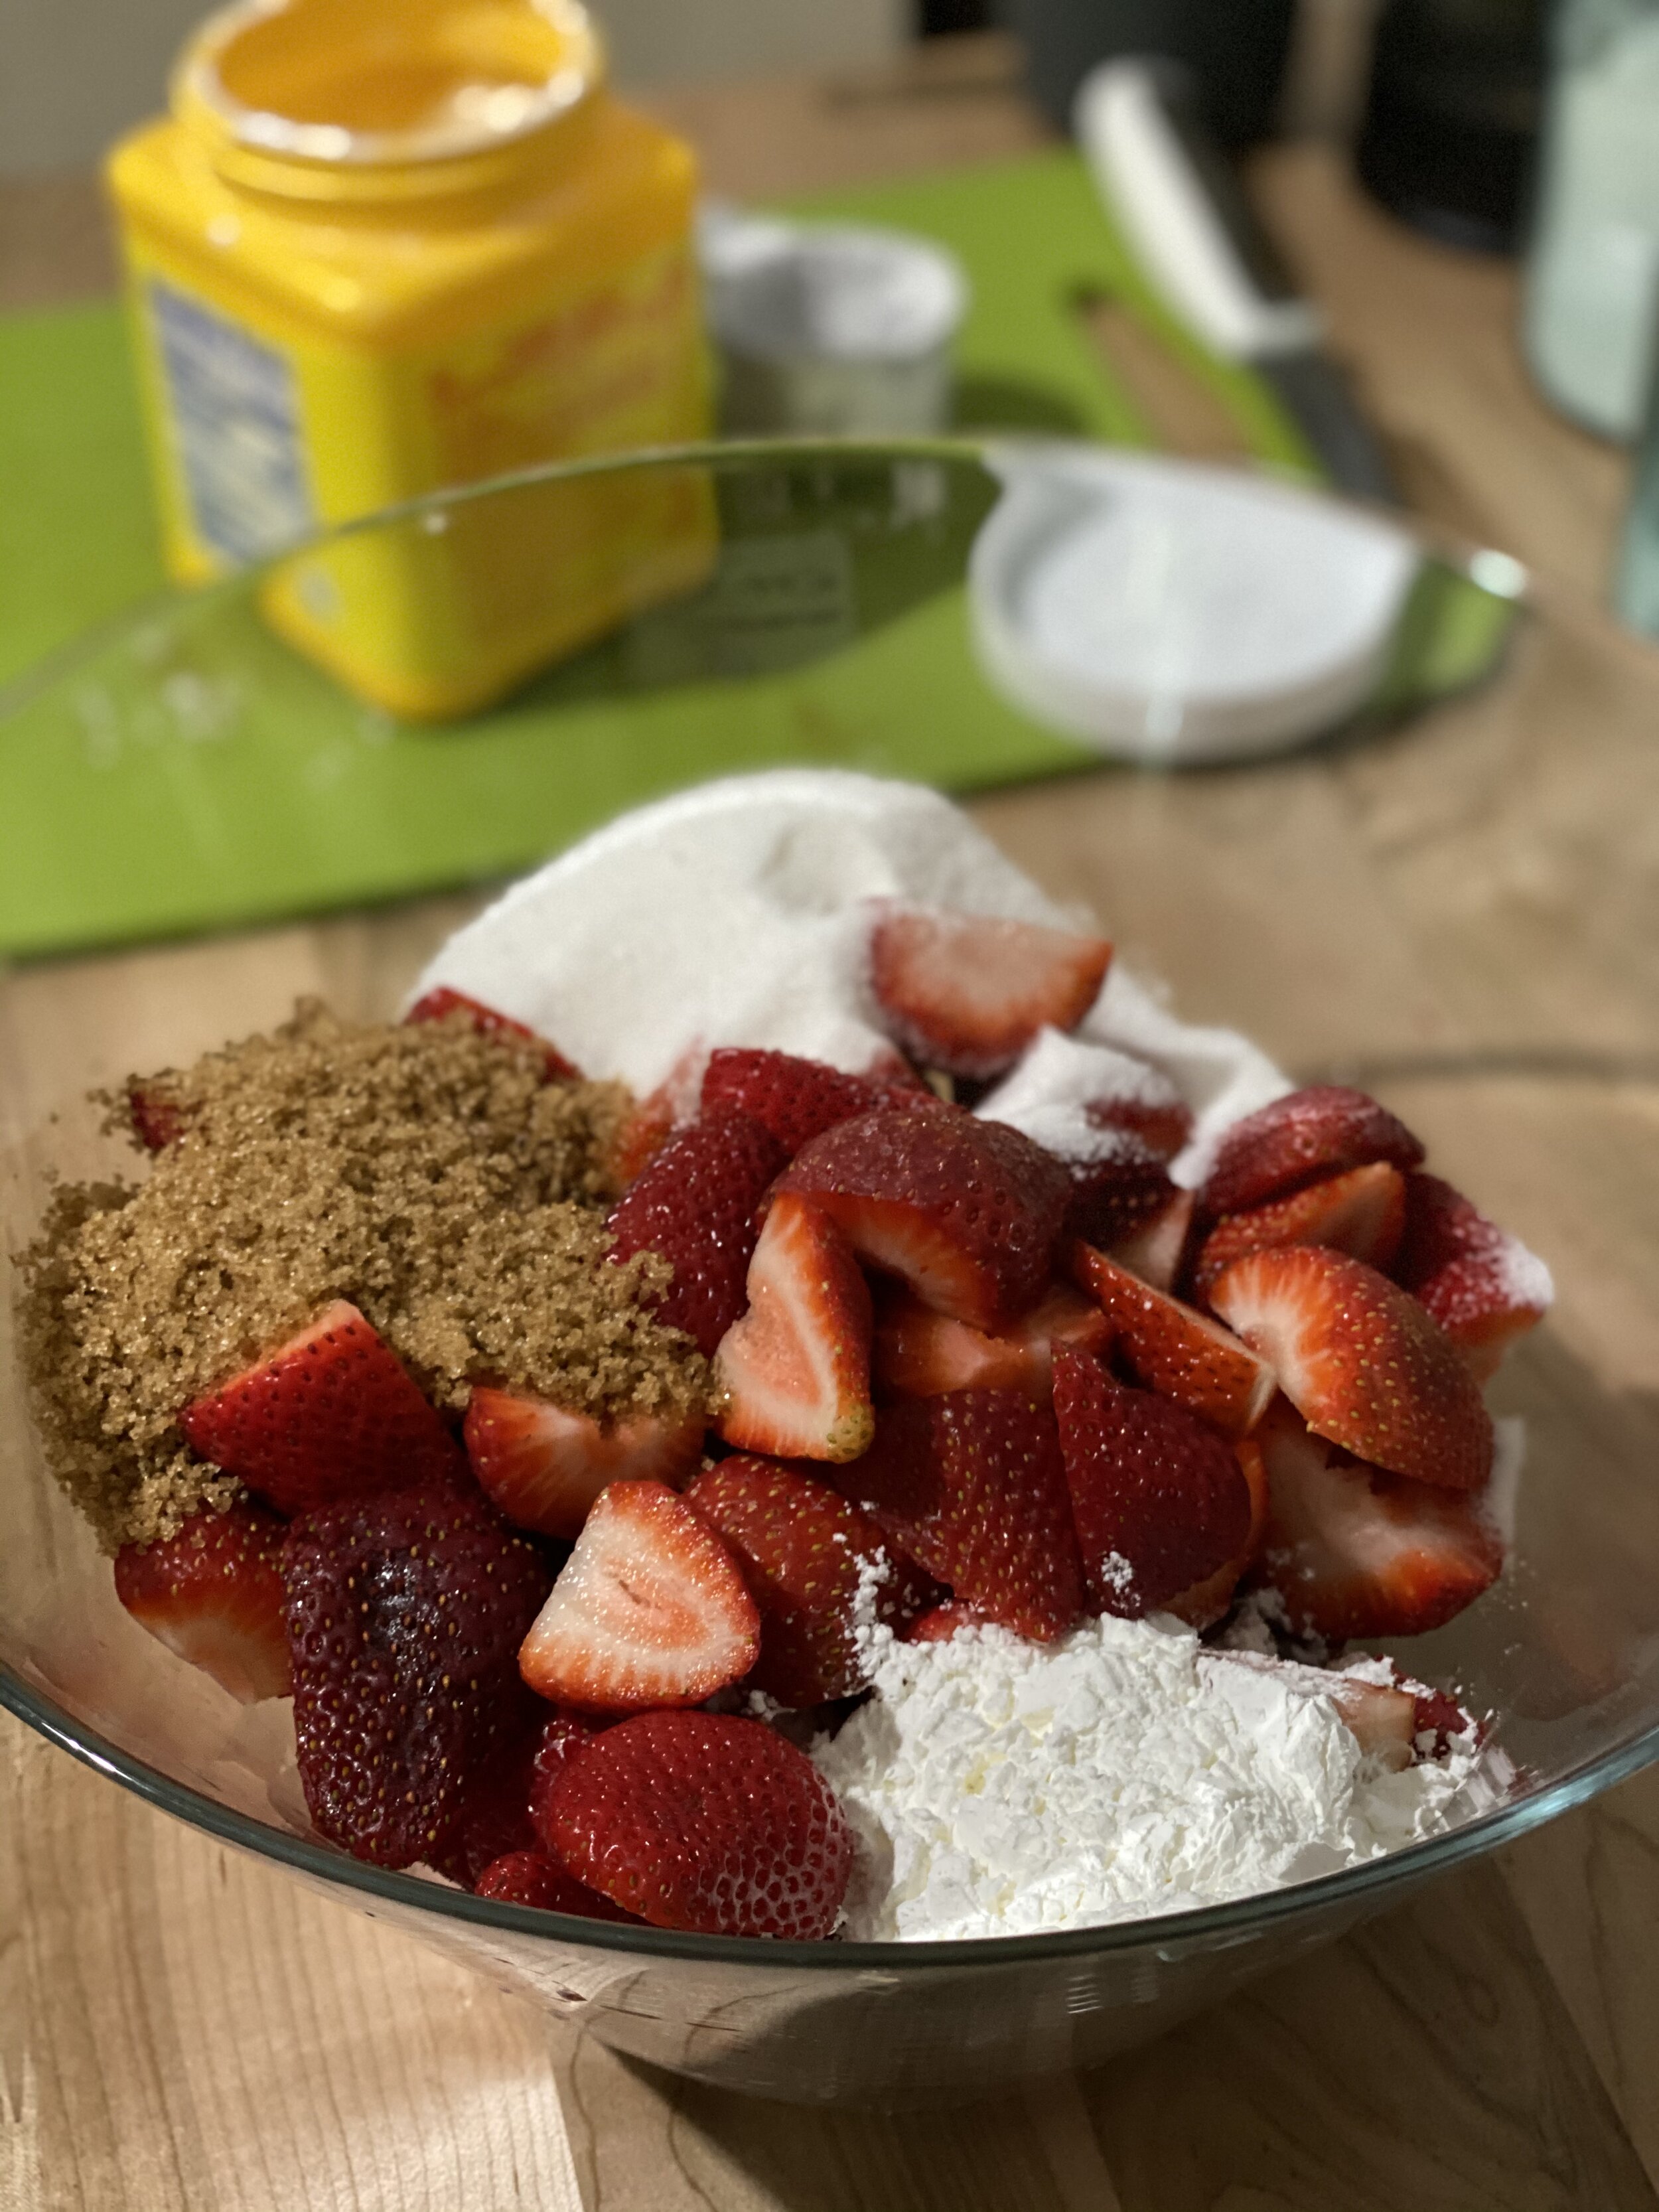
Depending on what recipe you use, your ingredients will vary. For our purposes, we are making a strawberry pie. The ingredients for our strawberry filling are as follows:
-
5-6 cups fresh fruit of strawberries, sliced in half
-
1/2 cup granulated sugar
-
1/3 cup lightly packed brown sugar
-
1/4 cup cornstarch
-
large pinch of salt
-
1 large egg, beaten and granulated sugar for topping the unbaked pie
Replace strawberries with a different fruit if you’d like, but make sure you prepare enough to fill a 9-inch pie crust. Remember – use fresh fruit, not frozen. The water content of frozen fruit will cause your pie to be a soggy, overflowing mess when it defrosts in the oven!
Going for the gold and making your own pie crust? Kudos! The ingredients for the dough are:
-
2 1/2 cup all-purpose flour
-
2 tablespoons sugar
-
3/4 teaspoon salt
-
1 cup (2 sticks) unsalted butter, cold, cut into cubes
-
1/2 cup cold buttermilk
If making a pie crust isn’t currently in your skillset (no worries – it wasn’t in ours, either!), pre-made crust from your local grocery store will do just fine. Look for refrigerated, rolled pie crust dough. Usually they come in packs of 2 for a 9-inch pie, so you’ll have enough for the bottom of your pie as well as the top.
Got everything? Good. Let’s get mixing!
Step 2: Make the pie filling
Grab a large bowl and combine the strawberries, sugars, and dry ingredients. Then mix! Keep stirring until the cornstarch is absorbed into the fruit (no bright white spots). You should be getting a thick, syrupy liquid with the strawberries. Once your filling is well mixed, let sit for around 10 minutes while you prep the dough and your pie pan. The strawberries will start releasing juices to thicken the filling.
Step 3: Prepare your dough
If you’re making your own pie crust, we suggest doing this step first, as the dough will need to rest and be refrigerated for an hour before you’re ready to build your pie. Check out this recipe from Joy the Baker to create the perfect pie crust!
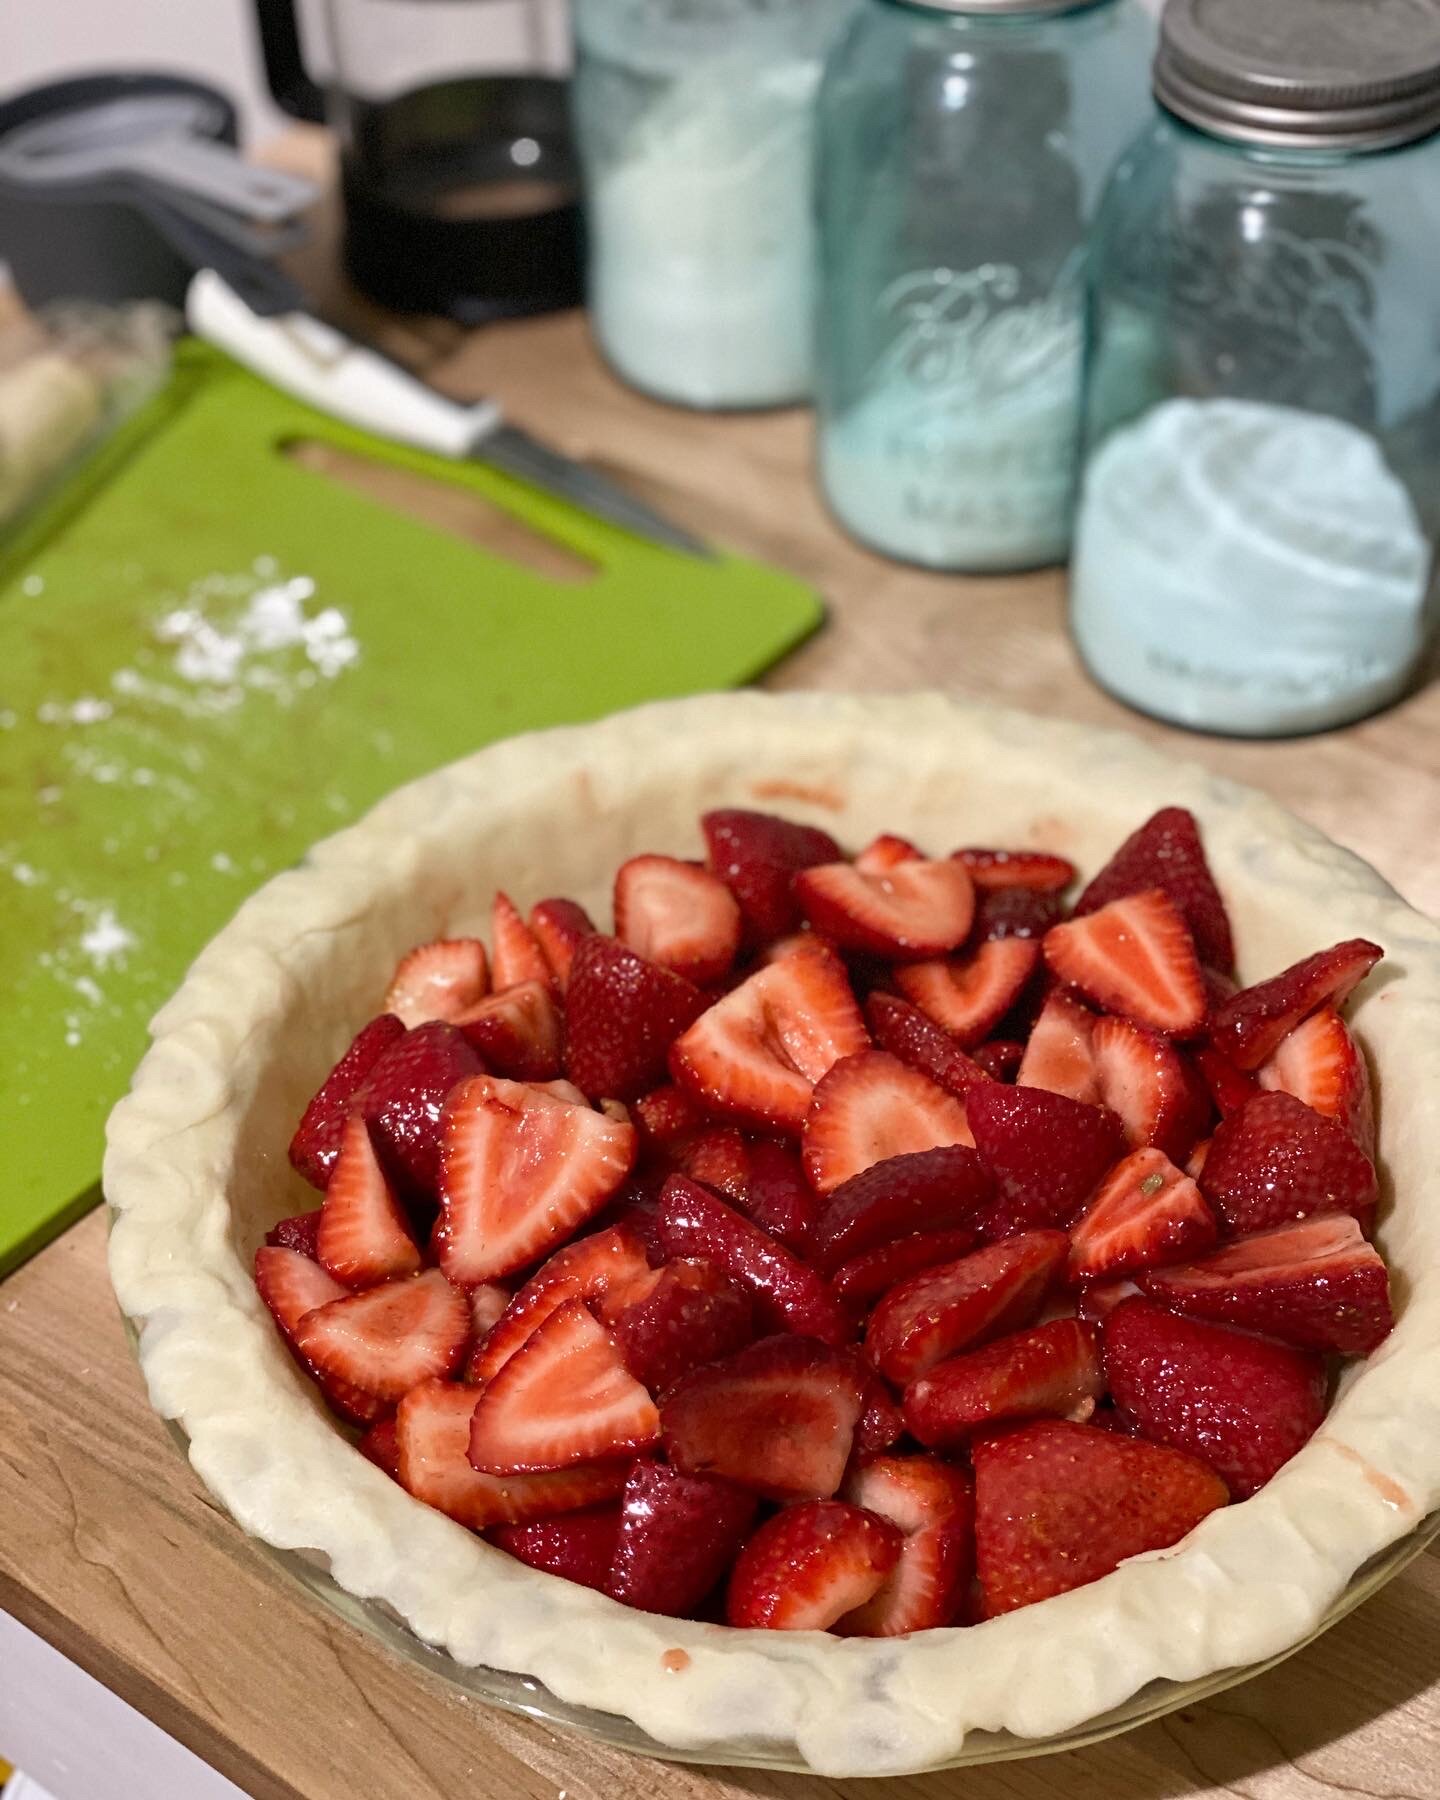
If you’re using store-bought dough, remove from the fridge and unroll. Gently (we mean it, the dough is delicate and easy to tear!) place the crust in your 9-inch pie plate, flattening it against the bottom and sides. It’s a good idea to leave one side open while you separate to let air bubbles out. Holes or rips may develop, but that’s no big deal – wet your fingertips and pinch together the gaps until they reseal. The dough should reach onto the lip of the plate. Flatten the dough against the plate so its secure and holds on when you fill the crust with the berry mix.
Step 4: Build your pie
Probably the easiest step – grab your large bowl of fruit filling and carefully spoon it on top of the crust in the pie plate until it’s full. The fruit should reach the top of the pie plate but no higher. You’ll risk overflow or ripping your crust covering if there’s too much filling.
Step 5: Create a lattice, cover your pie entirely, or leave open
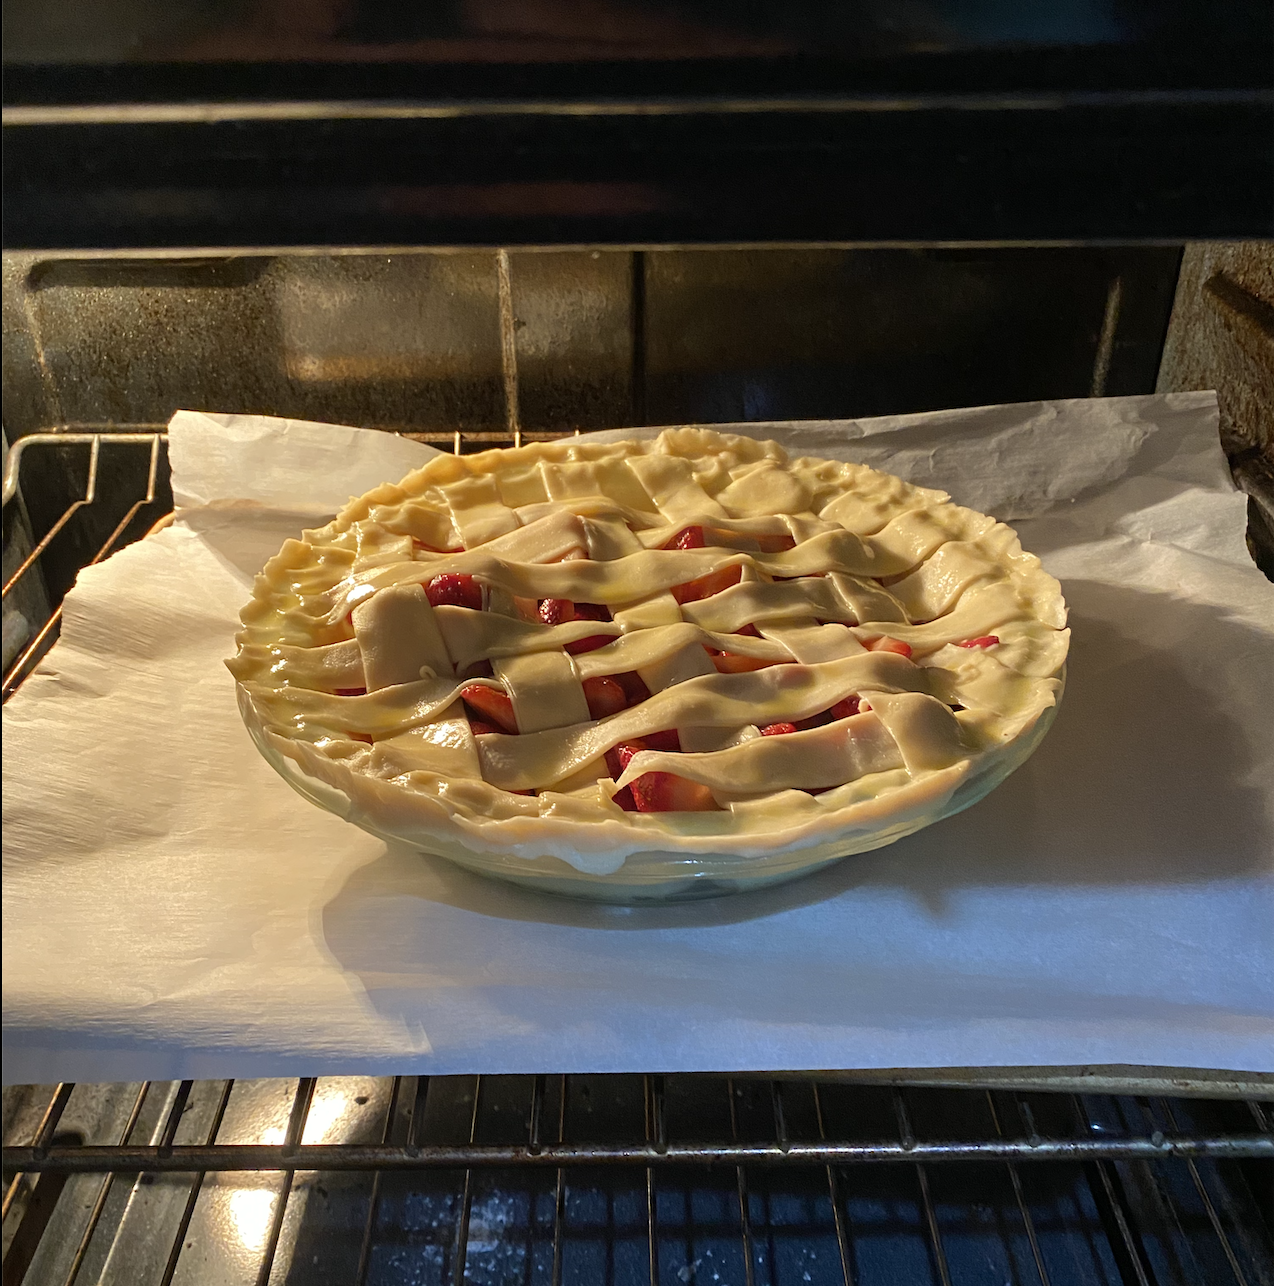
Here’s where you can be a little creative! An organized and classic lattice-topped pie is always a hit, but it’s far from your only choice. If you like more crust, use the other pie crust included in the pack to top the filling. Pinch it down onto the dough already on the lip of the pie plate or create an artistic crimp with your fingers. Make 3-4 simple cuts in the top to let steam escape, and you’re done! Use a cookie cutter to create stars, hearts, or other shapes to top your pie for a decorative flair, or even leave it open and sprinkled with sugar or cinnamon for a unique take. You can brush any crust with an egg wash to get a beautiful browned color, or sprinkle sugar on top of the crust for some extra sweetness.
Step 6: Bake!
Now it’s time to let your oven do the work. Generally, you’ll want to bake at 400°F for 15 minutes and then drop the temperature to 350°F to cook the inside without burning your crust. It’s also a good idea to cover the edges of your pie with aluminum foil either at the beginning or halfway through if you notice it getting too brown. Ovens can vary, so keep an eye! A well-calibrated oven is key for a great pie. (Need help there? We’ve got you.)
Step 7: Cool and enjoy!
Check for doneness by poking your pie with a toothpick. It should slide easily through the interior fruit; if there’s a lot of resistance or the fruit feels firm, your pie isn’t done.
Once you’ve confirmed your pie is done, remove from the oven before your crust gets too dark. Let your pie cool before slicing into it – this can take up to an hour or so, so be patient. If you cut your pie too early, the filling won’t have set and you’ll have a sticky, juicy mess on your hands. But once cooled, you can top your pie with a scoop of ice cream, some powdered sugar, or enjoy as-is – no matter how you slice it, you’ll have a summer pie worth writing home about!
Not into strawberries? Take a stab at the recipes below that use many of the same steps and ingredients as our strawberry pie.
Apple Pie (from highly-rated baking blogger, Joy the Baker!)
Cherry Pie (plus, how to make a lattice and crimp the edges!)
Blueberry Pie (with yummy crumble topping!)
Chocolate Peanut Butter Pie (when fruit is just not cutting it!)

