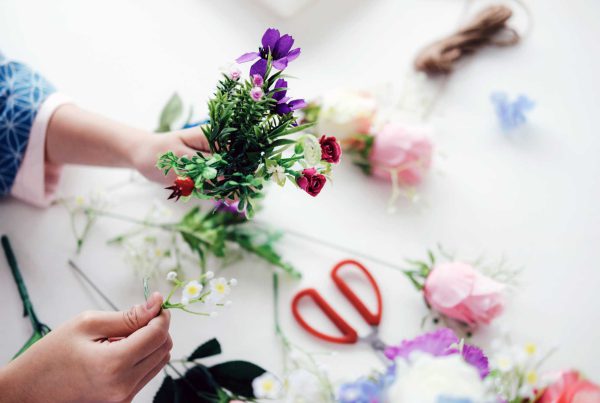
Depending on where you live, you may have already seen snow this winter (we hope you have a snow blower, shovel or something to help pick up allll that snow). Let’s bring some beautiful snowflakes into your space! There are easy ways that you can make your home look like a winter wonderland. Here is a cute DIY Snowflake craft that will make your space look nice and bright!
1. Buy the materials
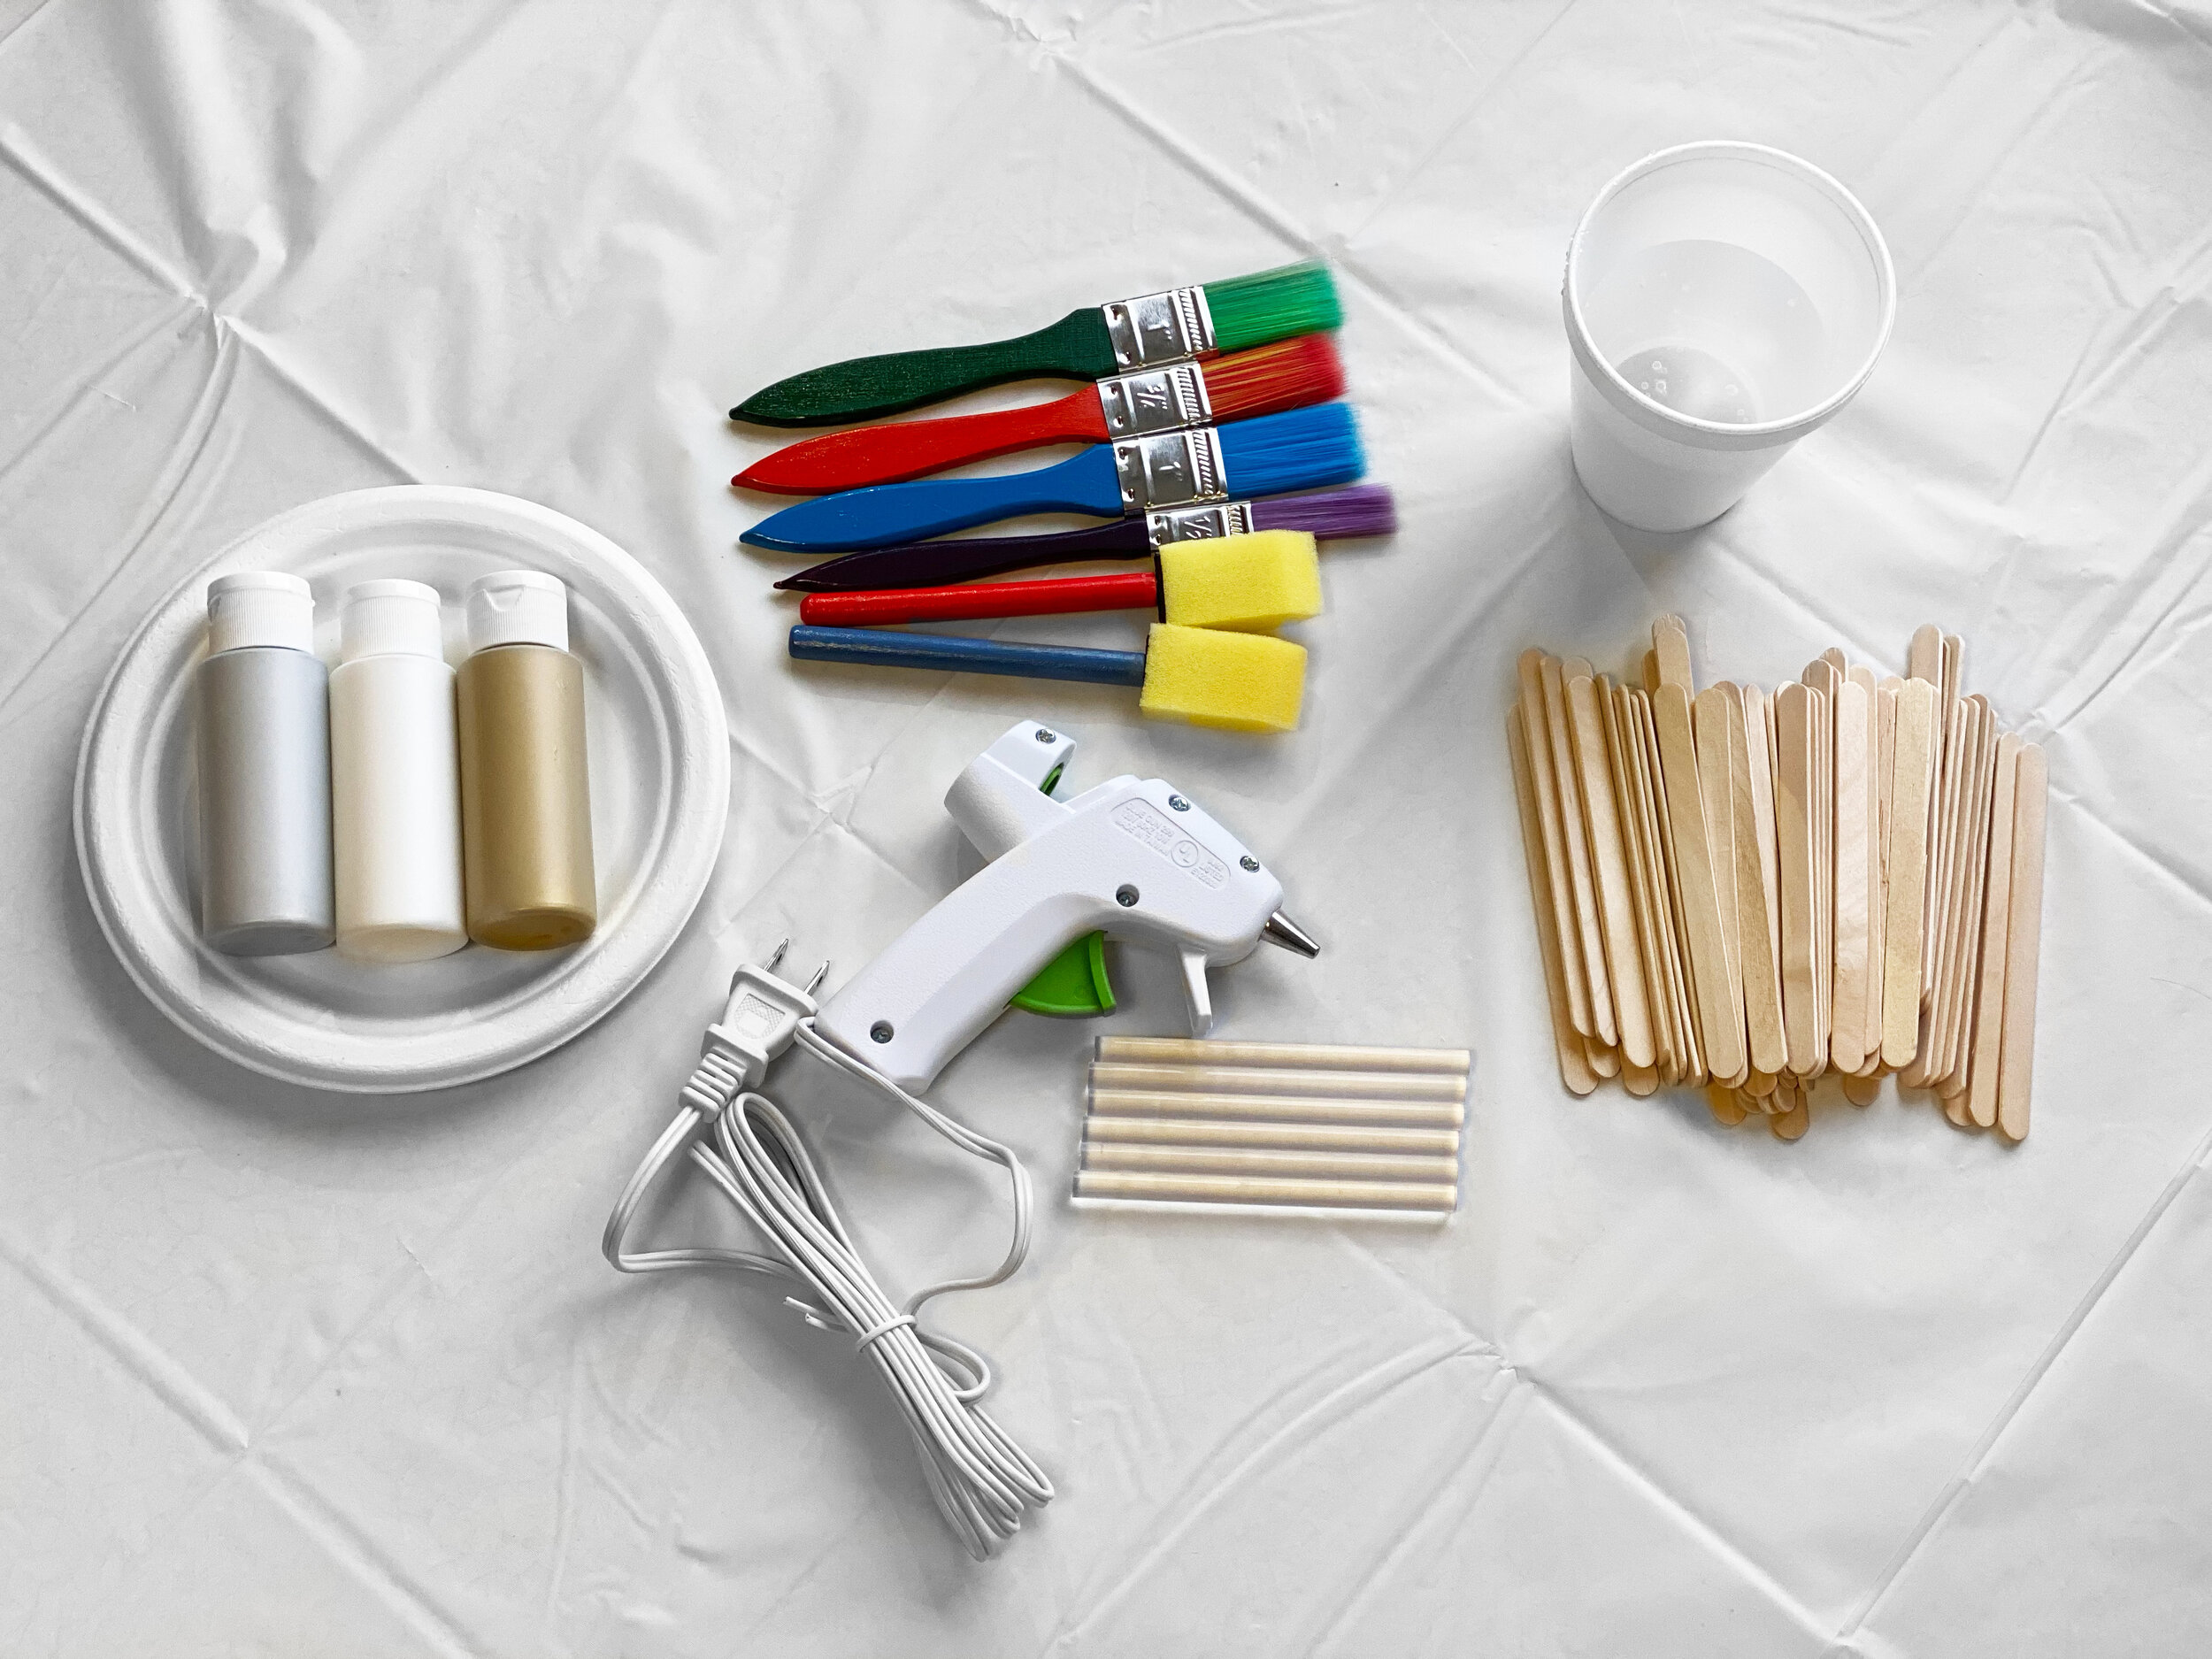
Before you start any craft, you need to make sure you have the proper materials. Don’t forget to go through your artistic stash to see what you have already. To create your snowflakes, here are the supplies you need:
– Hot glue gun
– Hot glue gun sticks
– Small popsicle sticks
– Paint (any color)
– Paintbrushes
– Scissors
– Accessories (rhinestones, bright additions, etc.) *optional
– Plastic tablecloth
*Quick tip – the tablecloth won’t be used in making your snowflake but is a great way to keep paint off the table and for easy cleanup!
2. Create a pattern out of popsicle sticks
Did you know that snowflakes are so complex that it’s super unlikely to find two that look the same? Use your imagination and create a snowflake pattern you like – and let the kiddos help too! Piece together different popsicle sticks in a pattern to create the ultimate snowflake. If you need to trim some of the popsicle sticks, use your scissors to do so.
While you’re still piecing the sticks together, go ahead and plug in the hot glue gun so it will be ready when you need it.
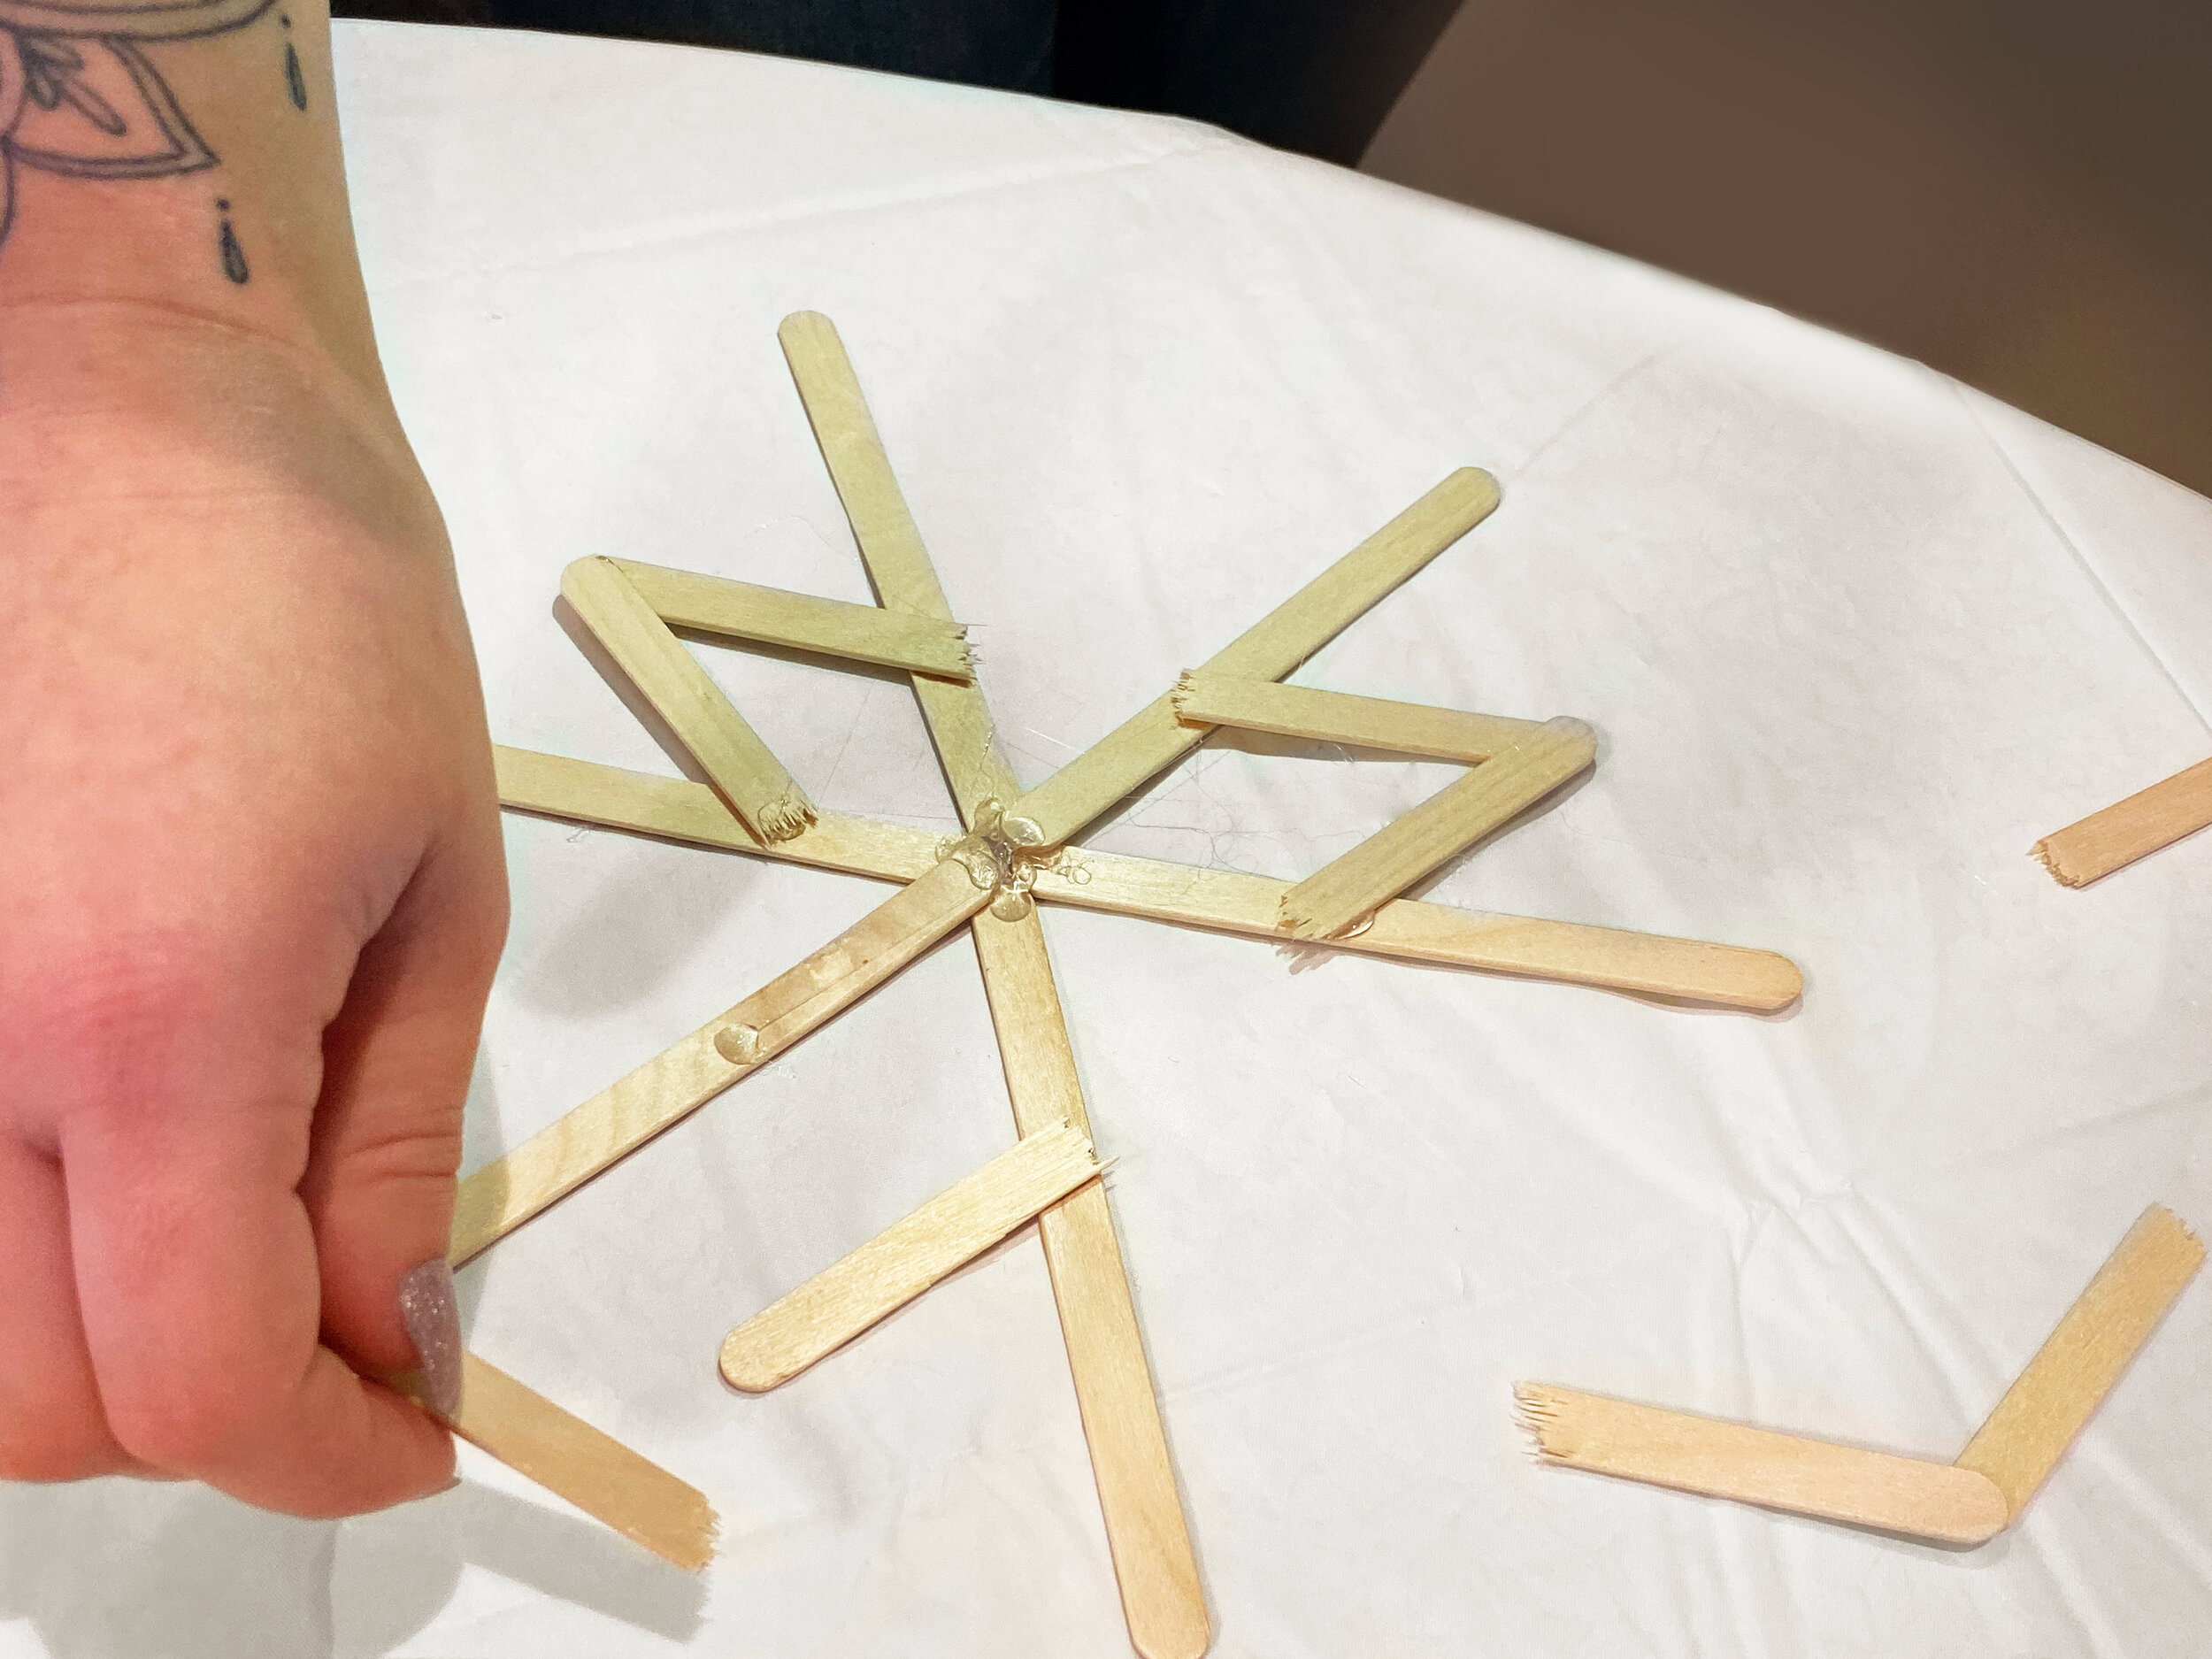
3. Glue sticks together
Once you feel good about your snowflake pattern, you’re ready to glue the pieces together! Add a dot wherever you plan on gluing the piece and hold it down for 5-10 seconds until it sticks. Once you’ve glued everything together, remove any long strings of remaining dried glue (you don’t want those cobweb lookalikes to ruin your pretty snowflake!)
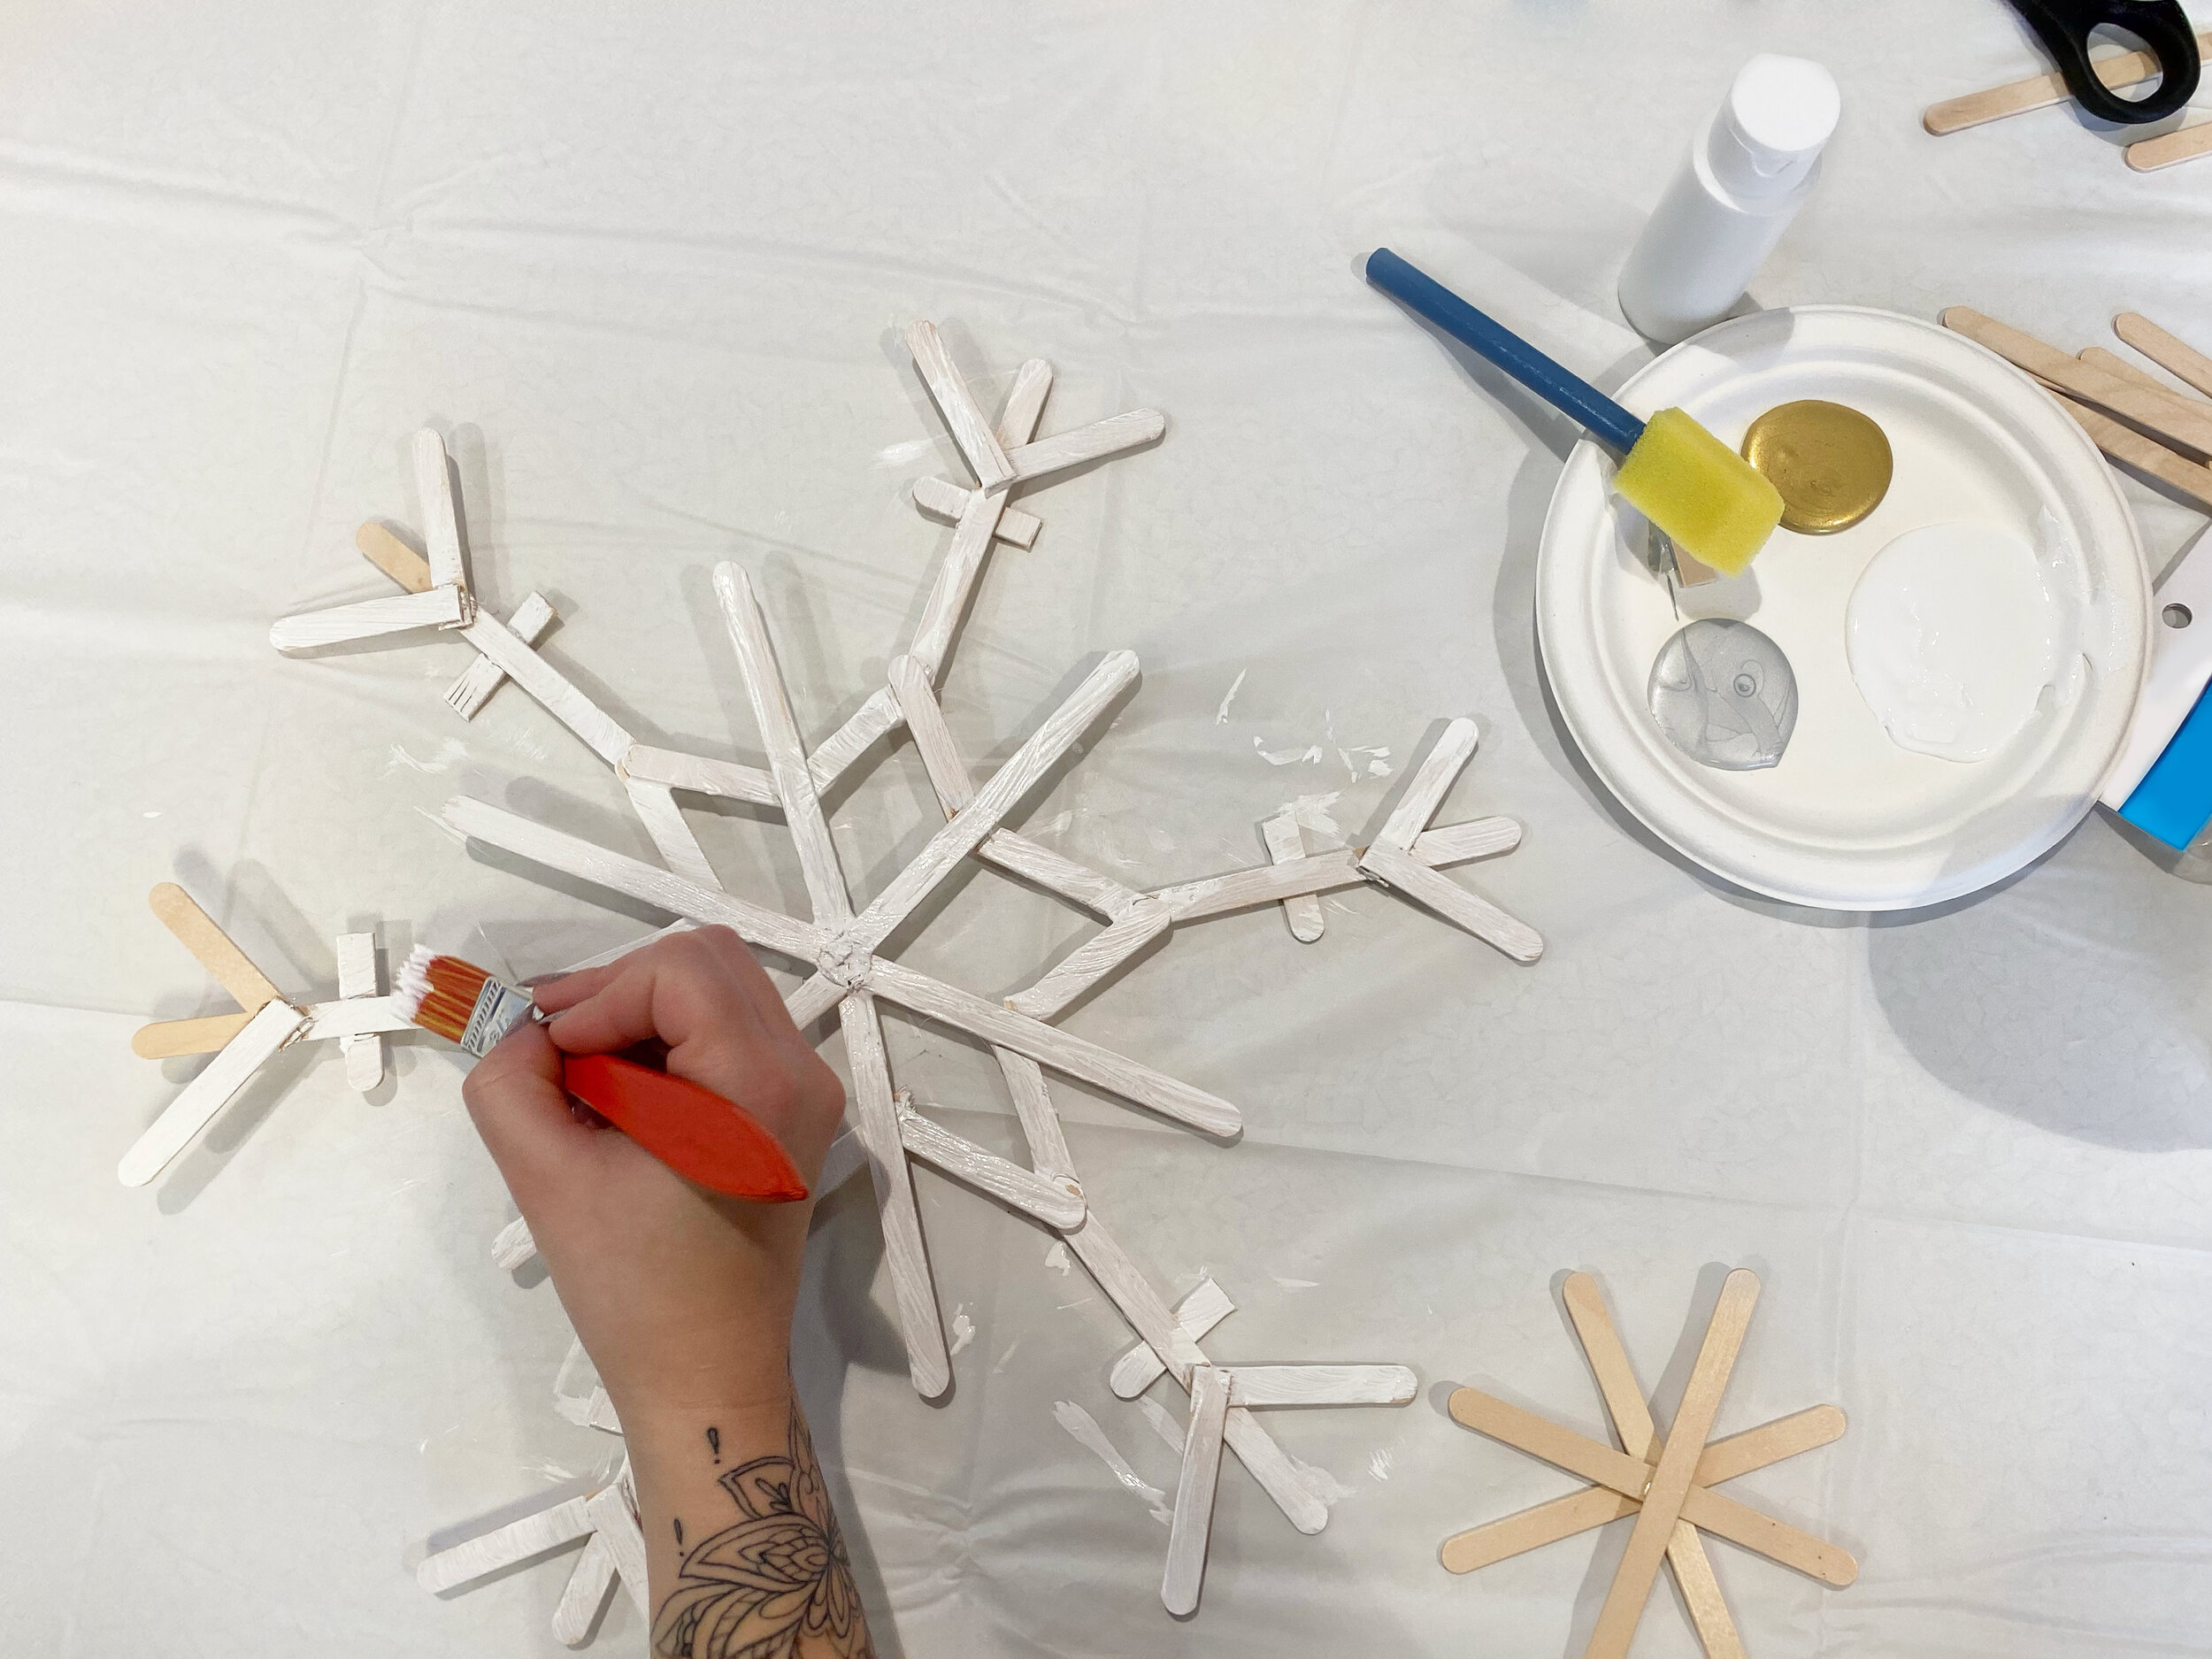
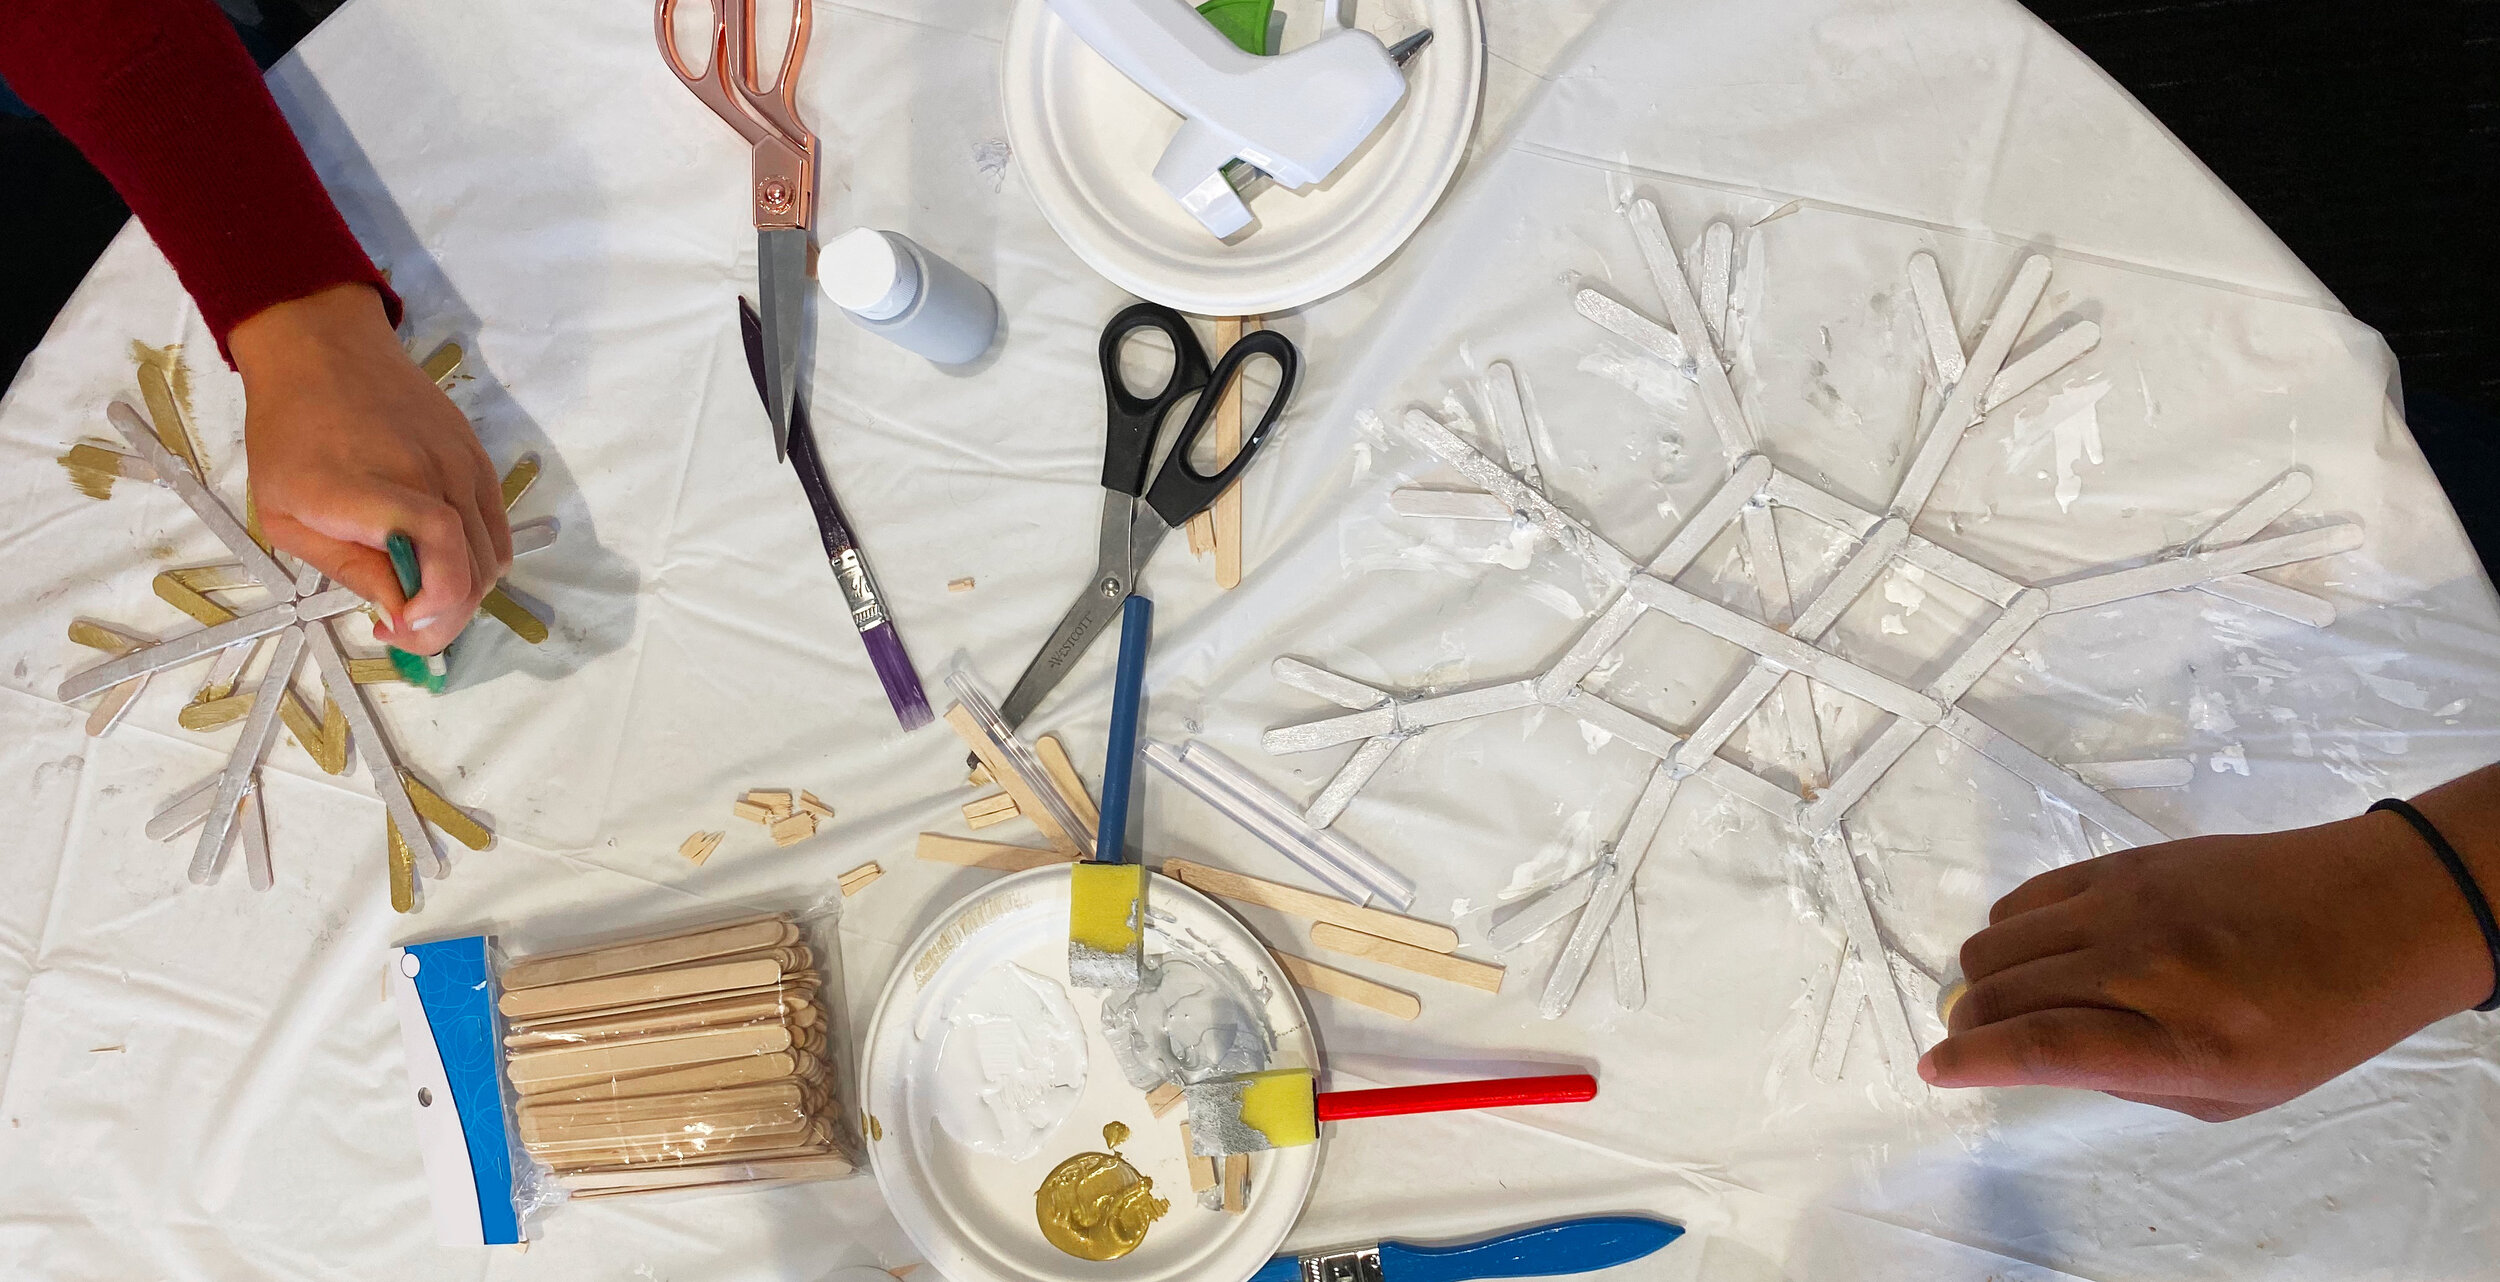
4. Paint it!
Now here’s the fun part – you get to paint your snowflake! If you want to keep your masterpiece classic, paint it white, silver or gold. You can also mix and match and use silver and gold as accent colors if you want to get fancy. The kiddos may want to spice theirs up a bit more and add bolder colors, like blue or purple!
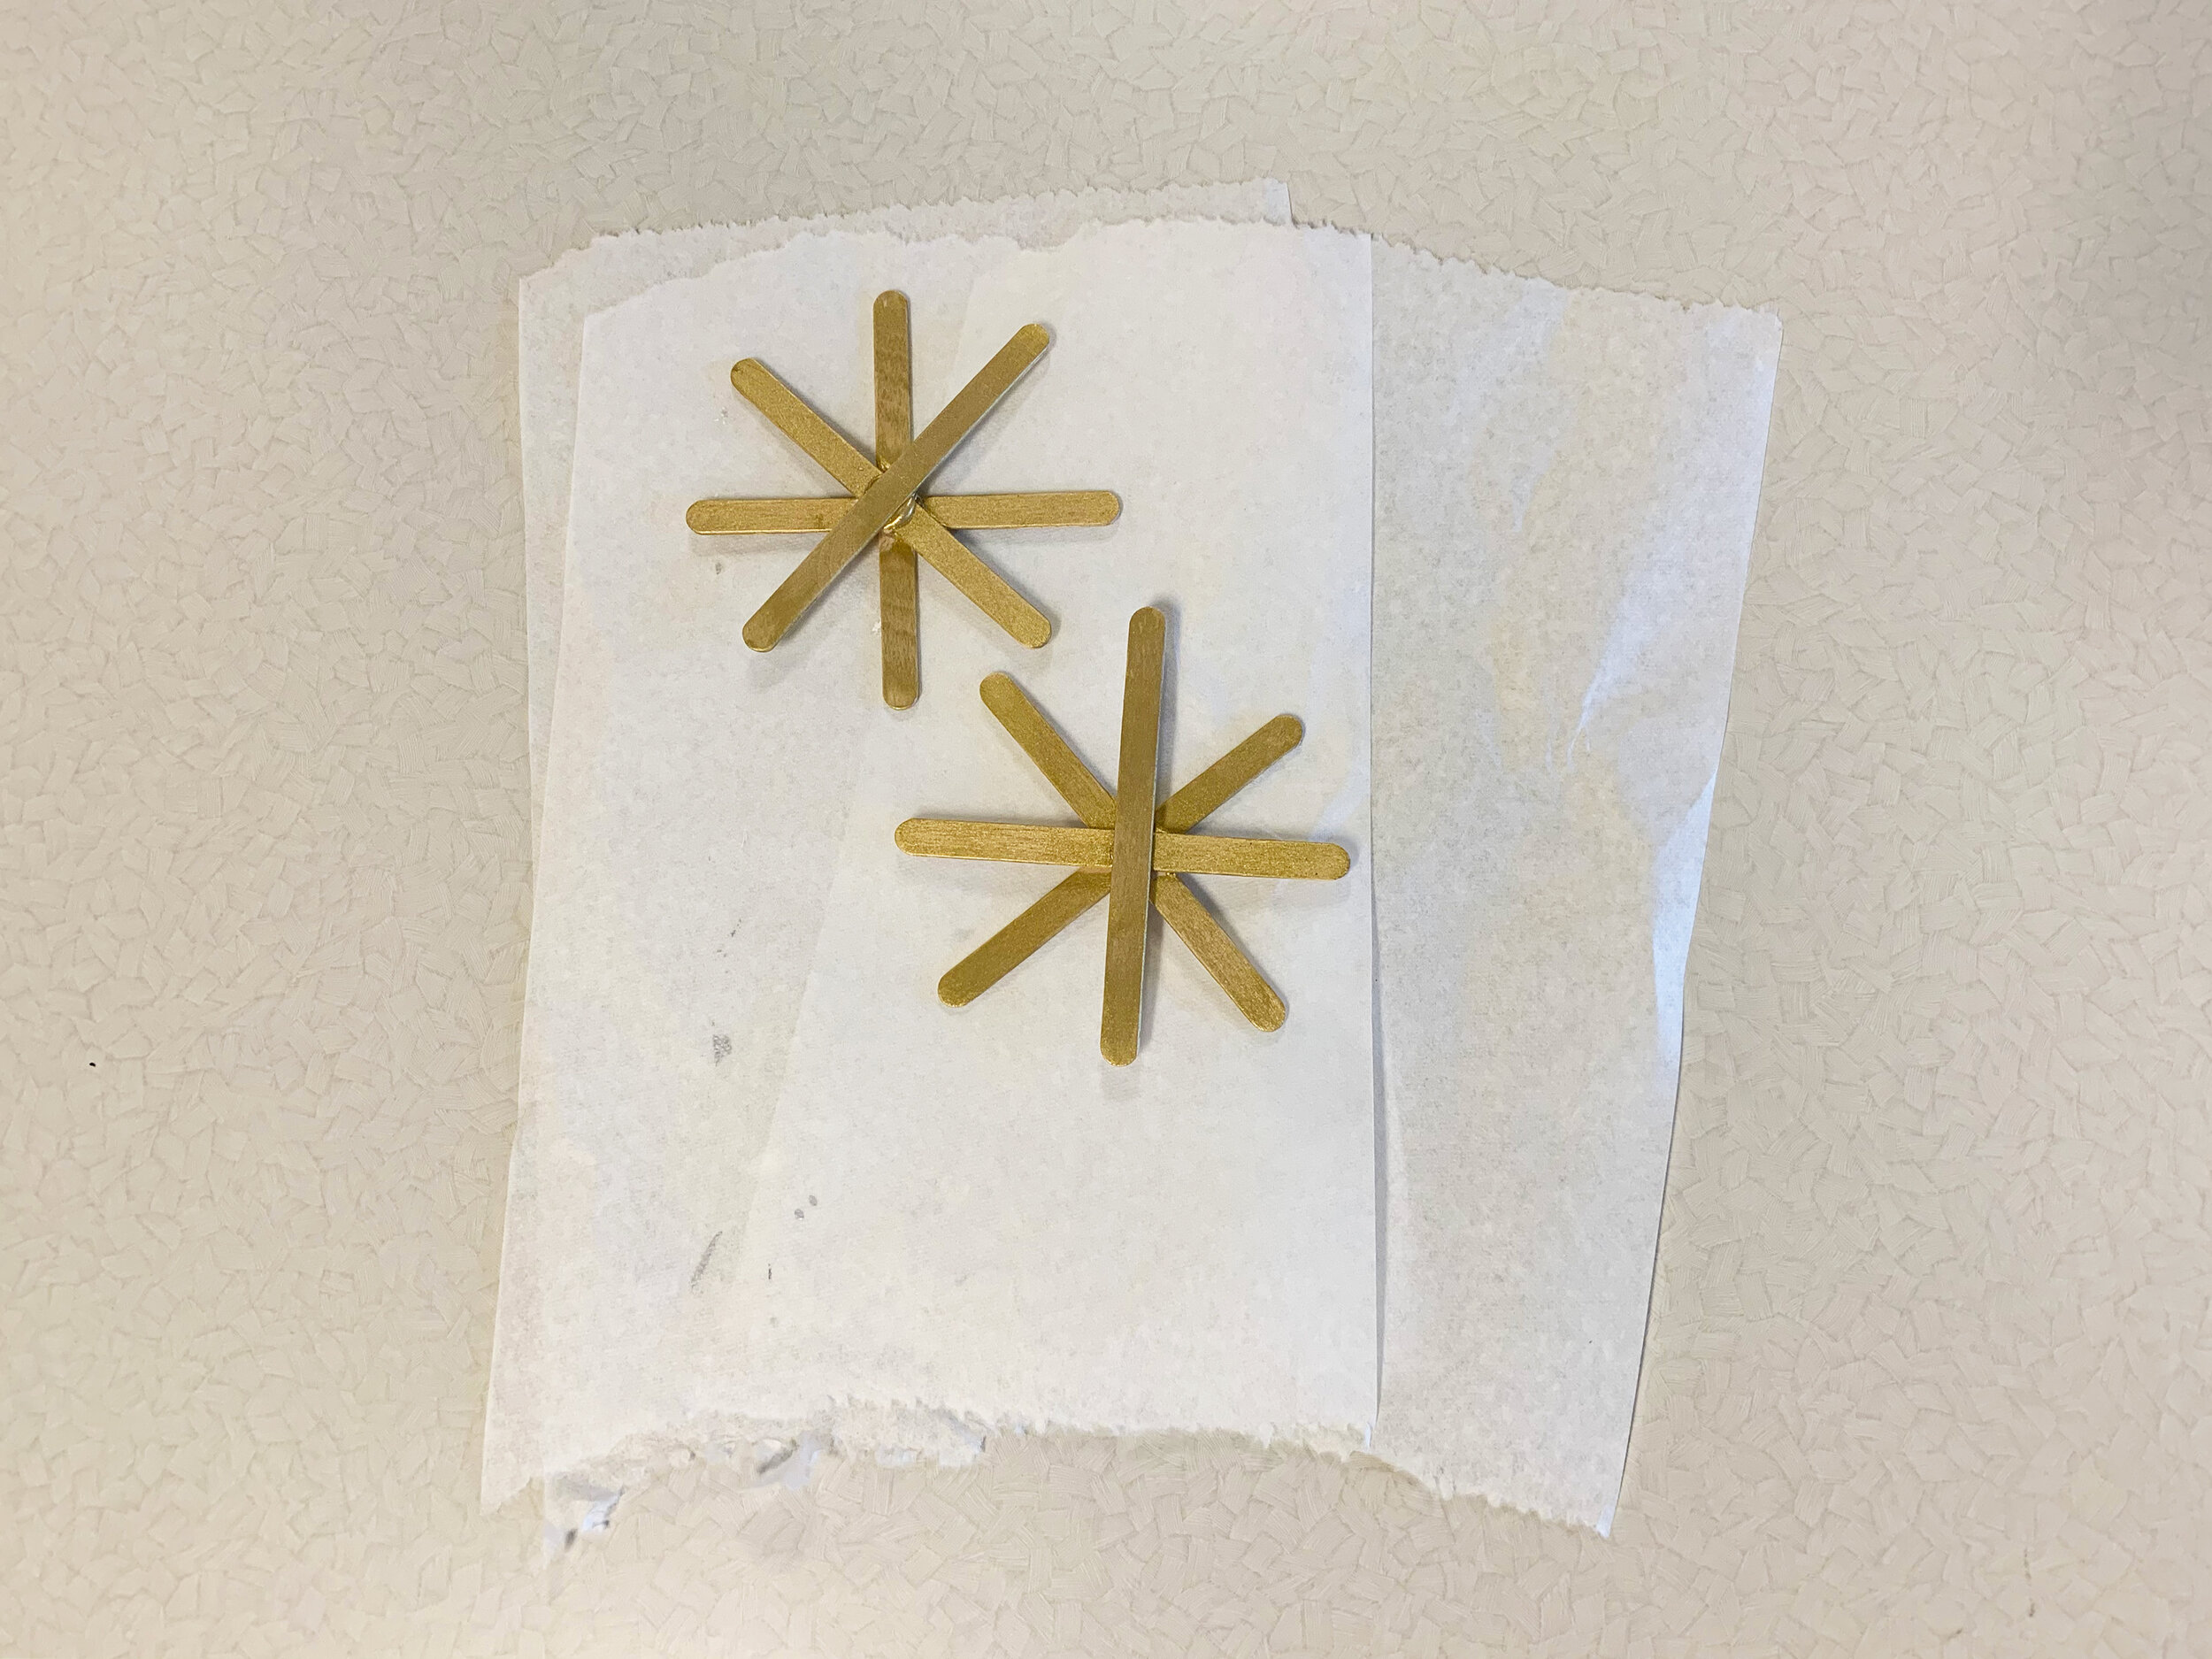
5. Let it dry
After the kids have finished painting and decorating their masterpiece, tell them to back away slowly from the wet paint. Make sure the snowflake dries before handling so no wet paint gets on anyone’s fingers, or worse, the wall!
*Once it’s dry, you can use your accessories to jazz up your snowflake! Add some stick-on rhinestones or winter-themed stickers to put the final touches on your craft.
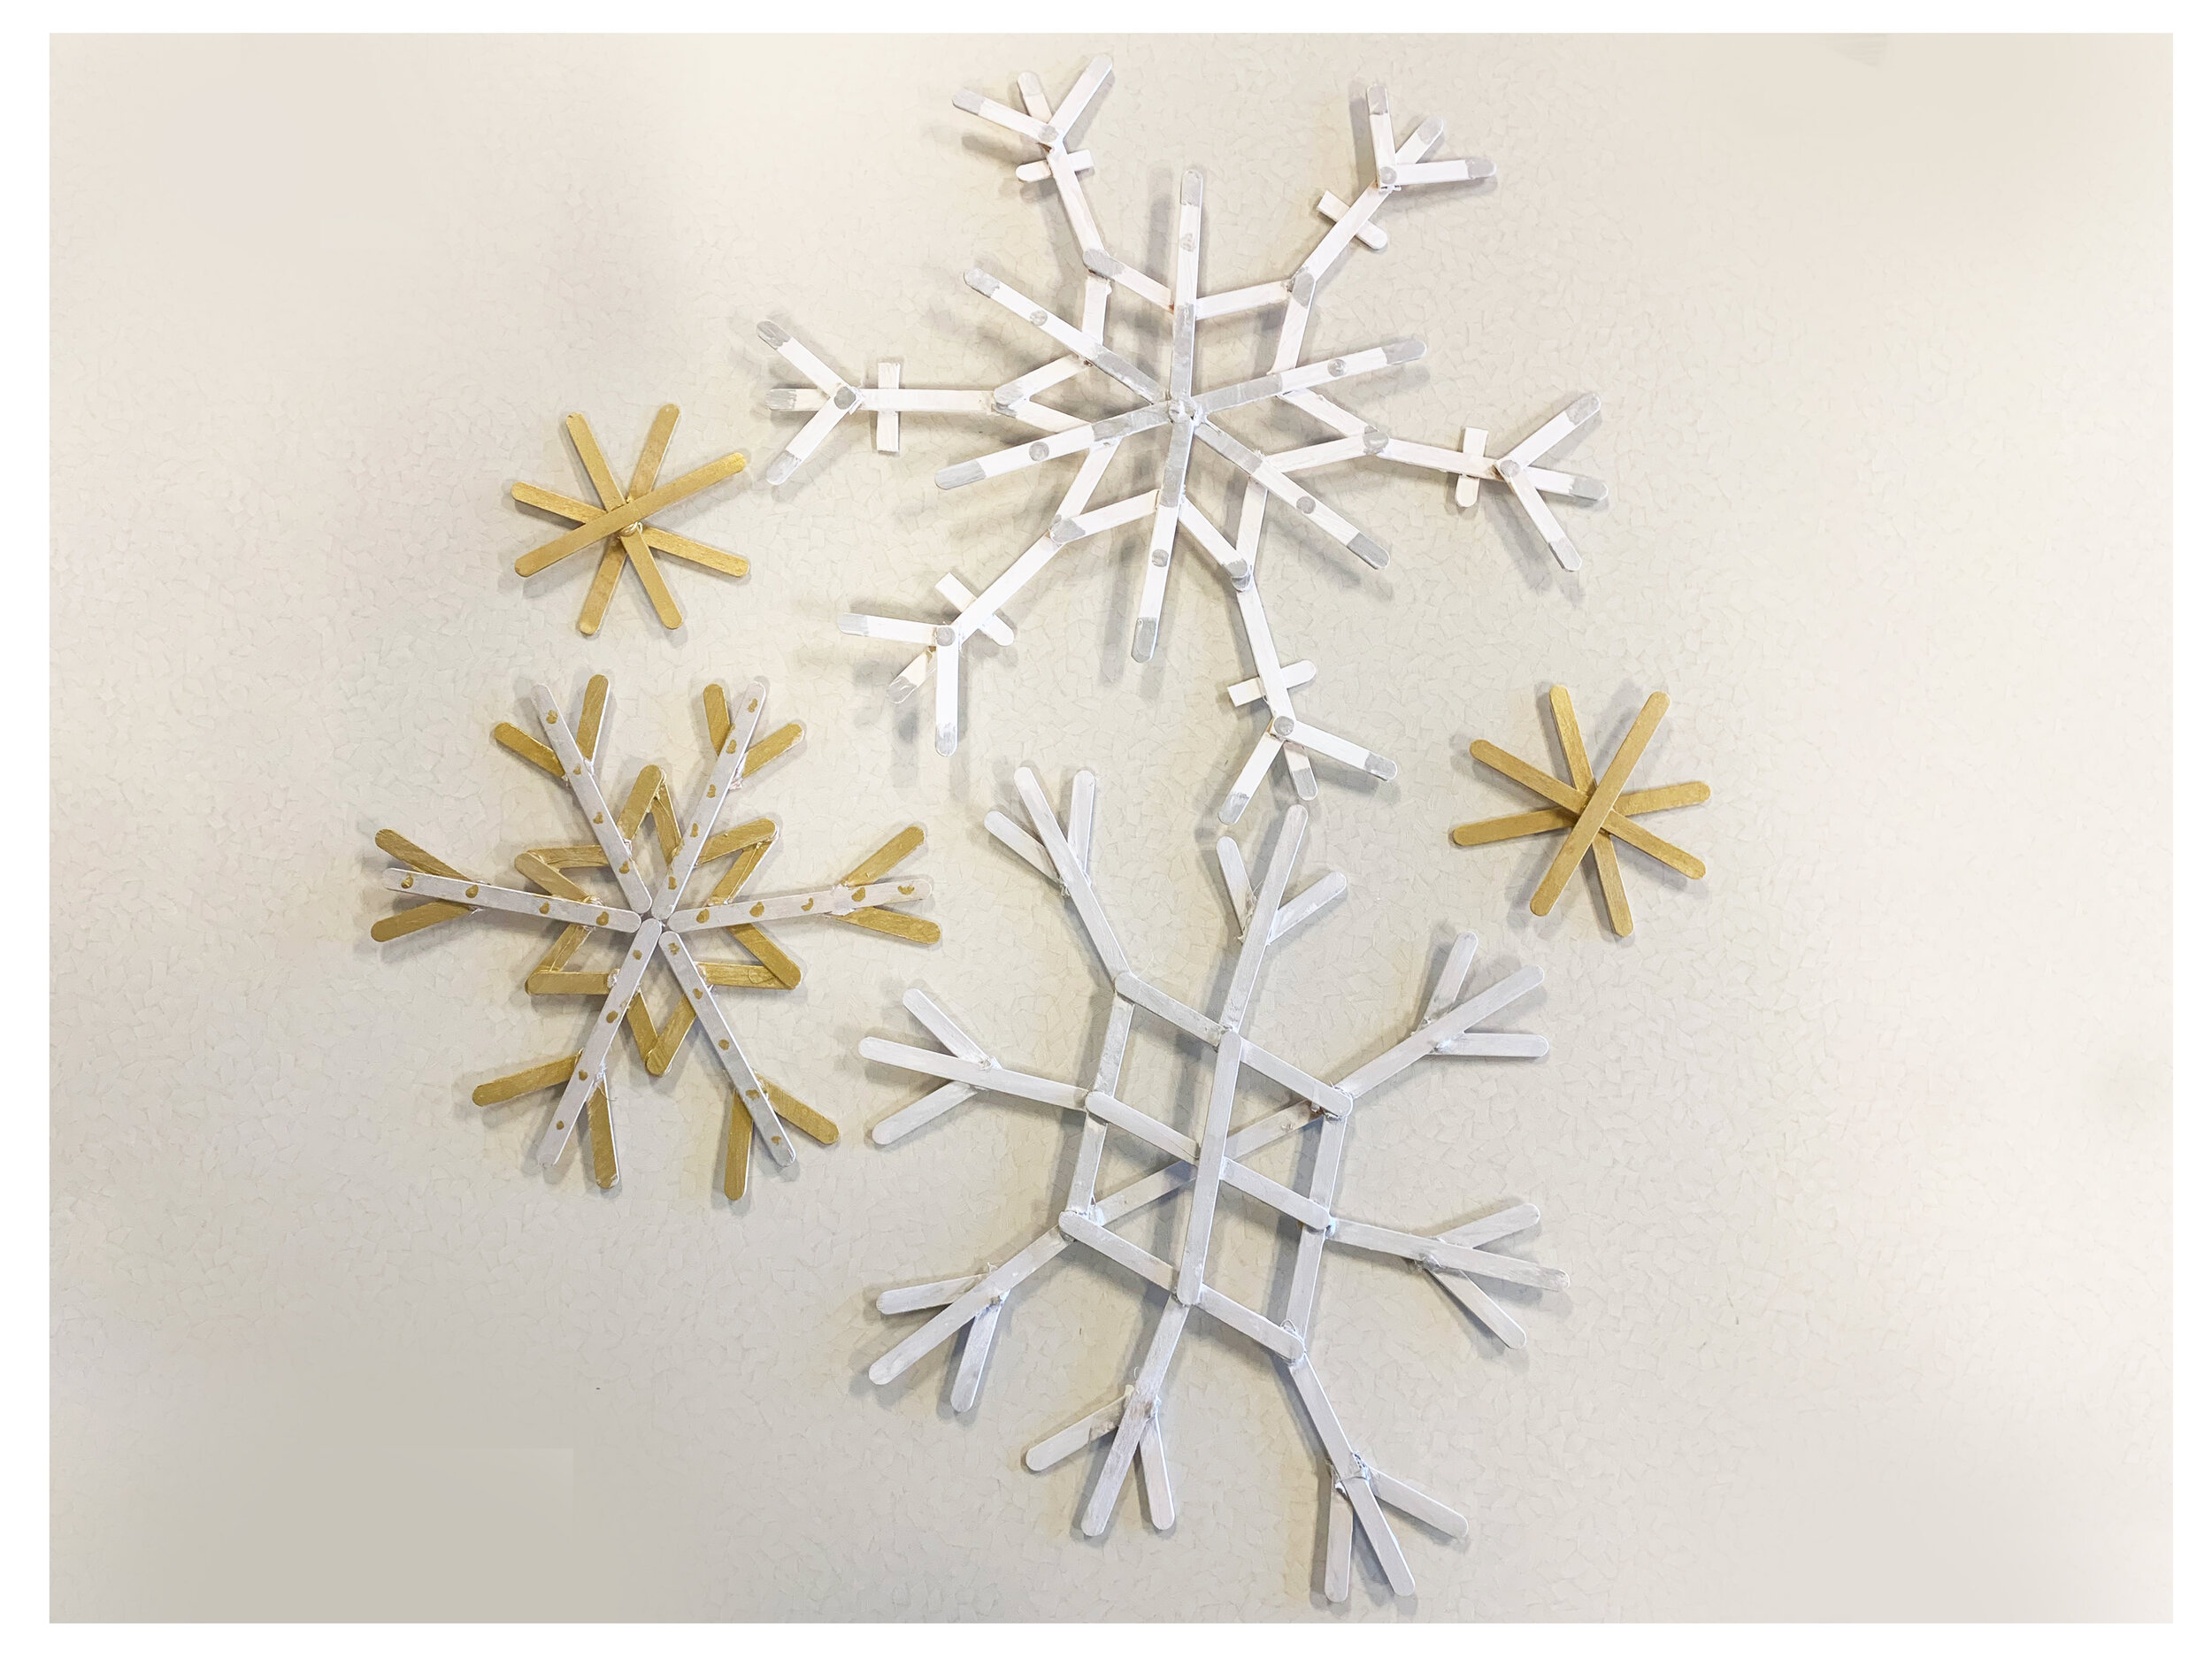
6. Hang it up
Last but not least, choose a place in your home to hang up all of the snowflake masterpieces. Now you can enjoy your cute DIY winter decorations!