If you’ve ever paused and thought, “This is a nice box/carton/canister… I wonder if I could do something with this?” while on your way to toss out an empty container, this DIY is made for you!
The idea started with some disposable disinfectant wipes in an unusual rectangular dispenser that was sturdy and the perfect size for holding other stuff. It was made to be made into… something. So, we saved it until we had another empty container to go with it and we made them into a desk set using the craft technique called papier mâché (aka paper mache).
Papier mâché is great for turning trash into treasure. It costs next to nothing. Most of us have nearly all the supplies on hand (especially if you’re crafty or you have kids). Now, go find your trash really cool empty containers and the supplies below so we can get started!
Materials Needed to DIY a Papier Mâché Desk Set:
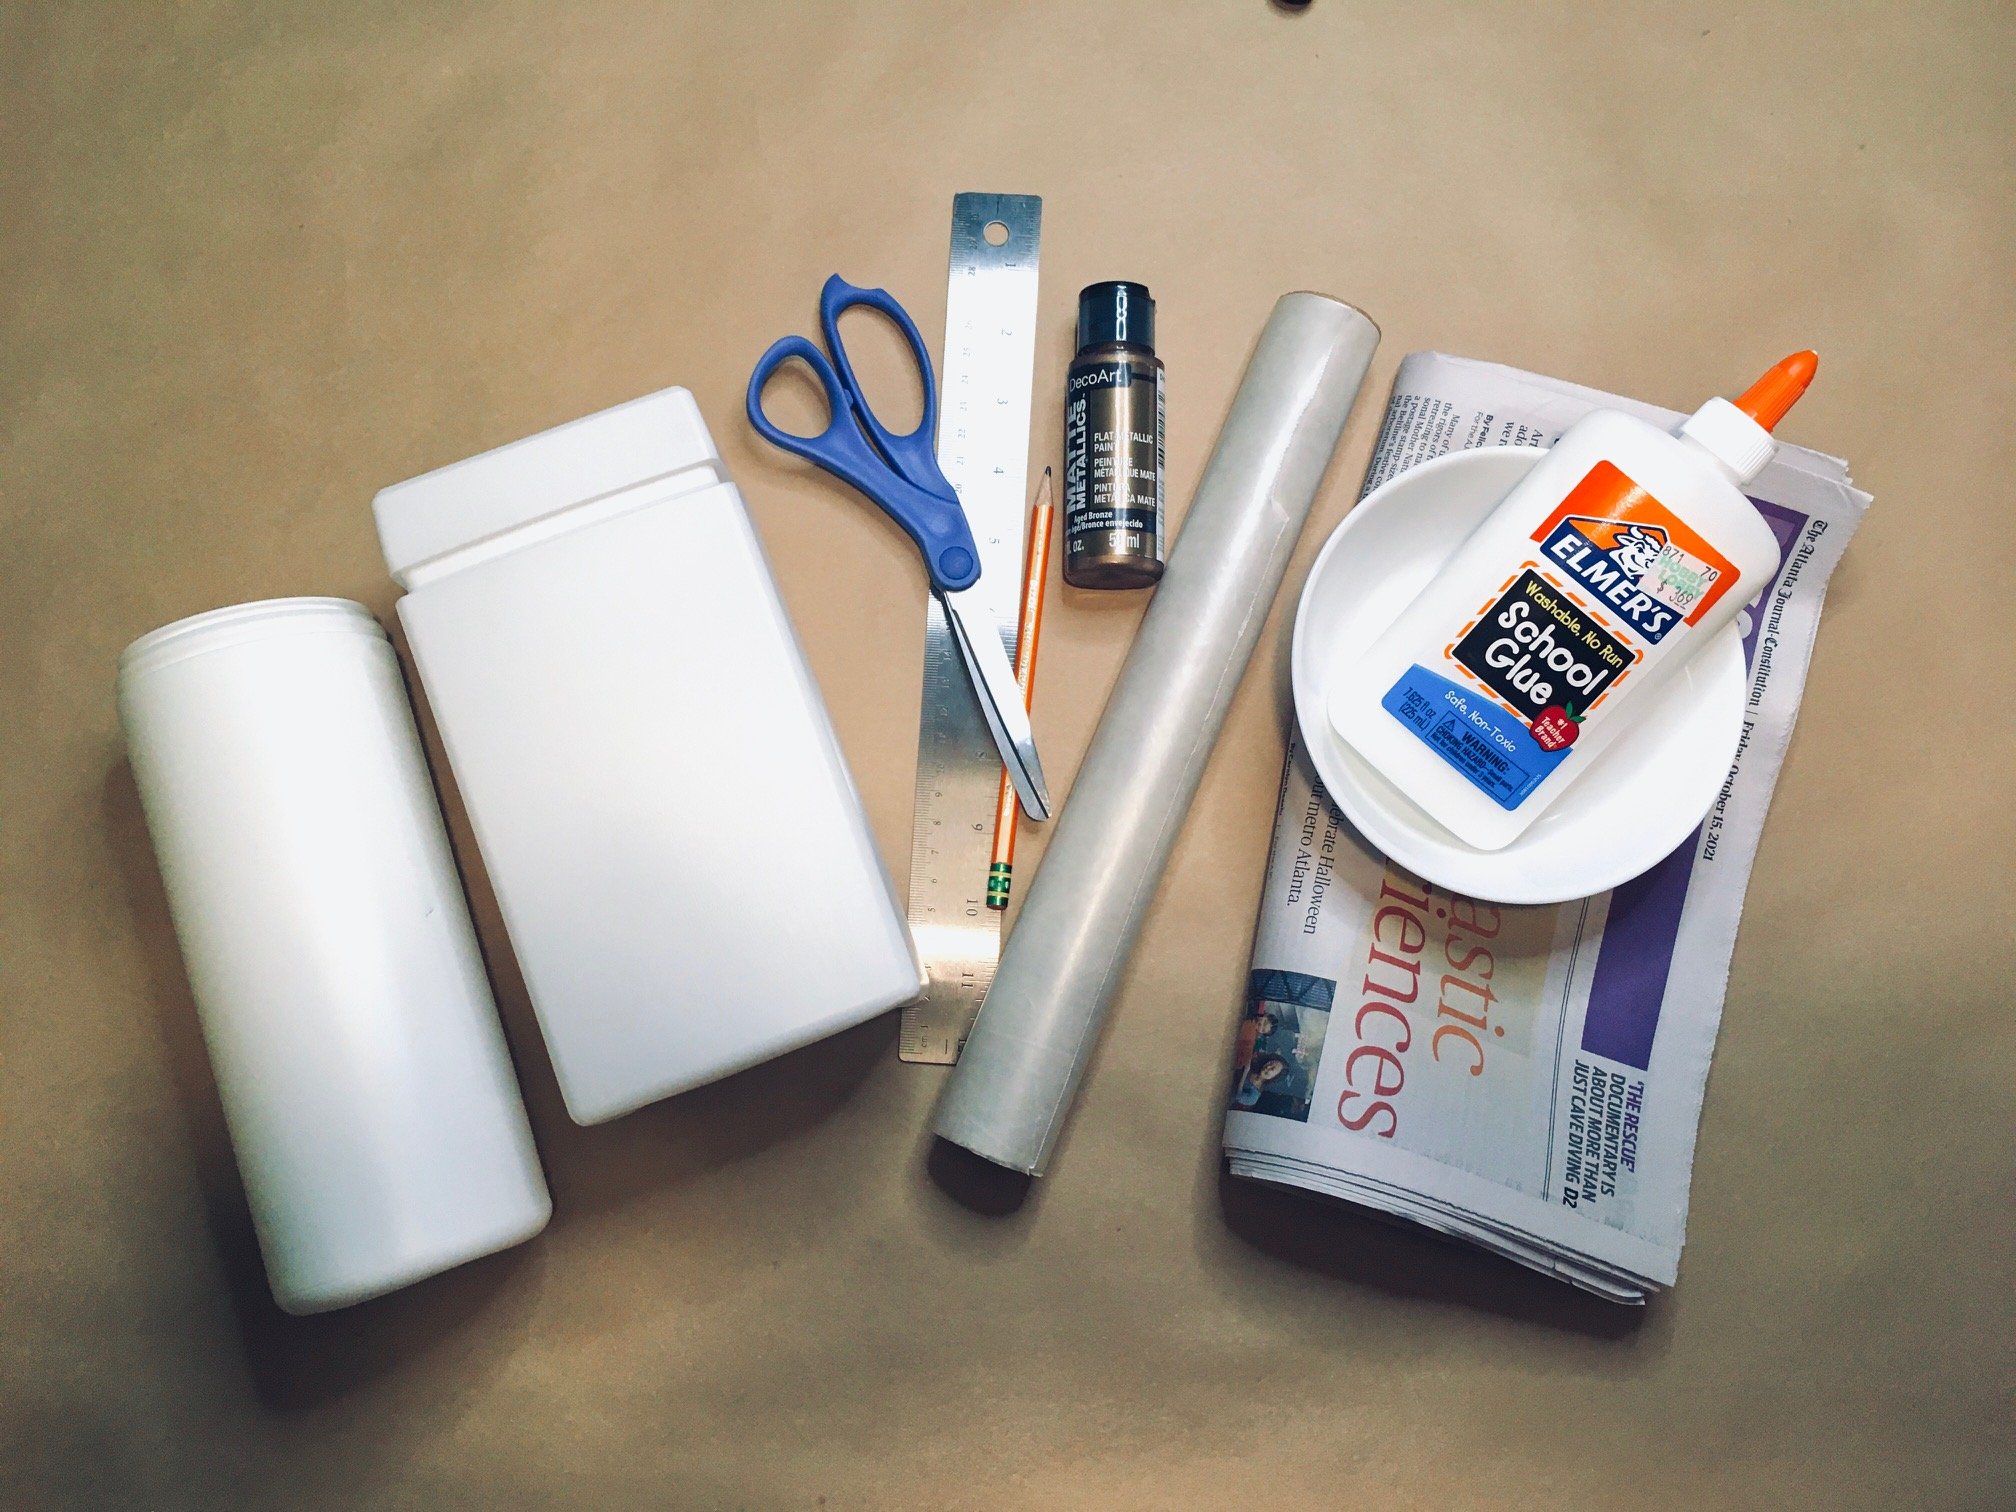
(Left to right) The supplies for a DIY Papier mâché desk set.
-
empty containers (plastic or cardboard)
-
scissors
-
ruler
-
pencil/pen/marker
-
acrylic craft paint (any color)
-
paint brush
-
wax paper/butcher paper
-
old newspapers
-
non-toxic school glue
-
bowl/container for mixing
Instructions to DIY a Paper Mâché Desk Set:
-
Prep your containers. Remove any plastic wrapping, lose labels and lids first. Then make sure they’re clean inside and out. Once ours were clean and dry, we cut them down to the perfect sizes for pencils and other office tools (about 4 inches for one and 5 ½ inches for the other). These are the foundations of the project, so we wanted to start out with a good base shape and size.
-
Prep the paper mâché. Take a few sheets of newspaper and tear them up! Tear them into any shape. Papier mâché is not a project that calls for perfection; ragged edges are desirable. Aim for scraps of about 1-inch x 2-inches or so. Once you have a good pile of scraps, mix your binding agent: 1 part glue to 1 part water. Use a bowl that you can get your hands into. Before the next step, lay down some wax paper. Things will get messy! And you don’t want your work to get stuck to your work surface.
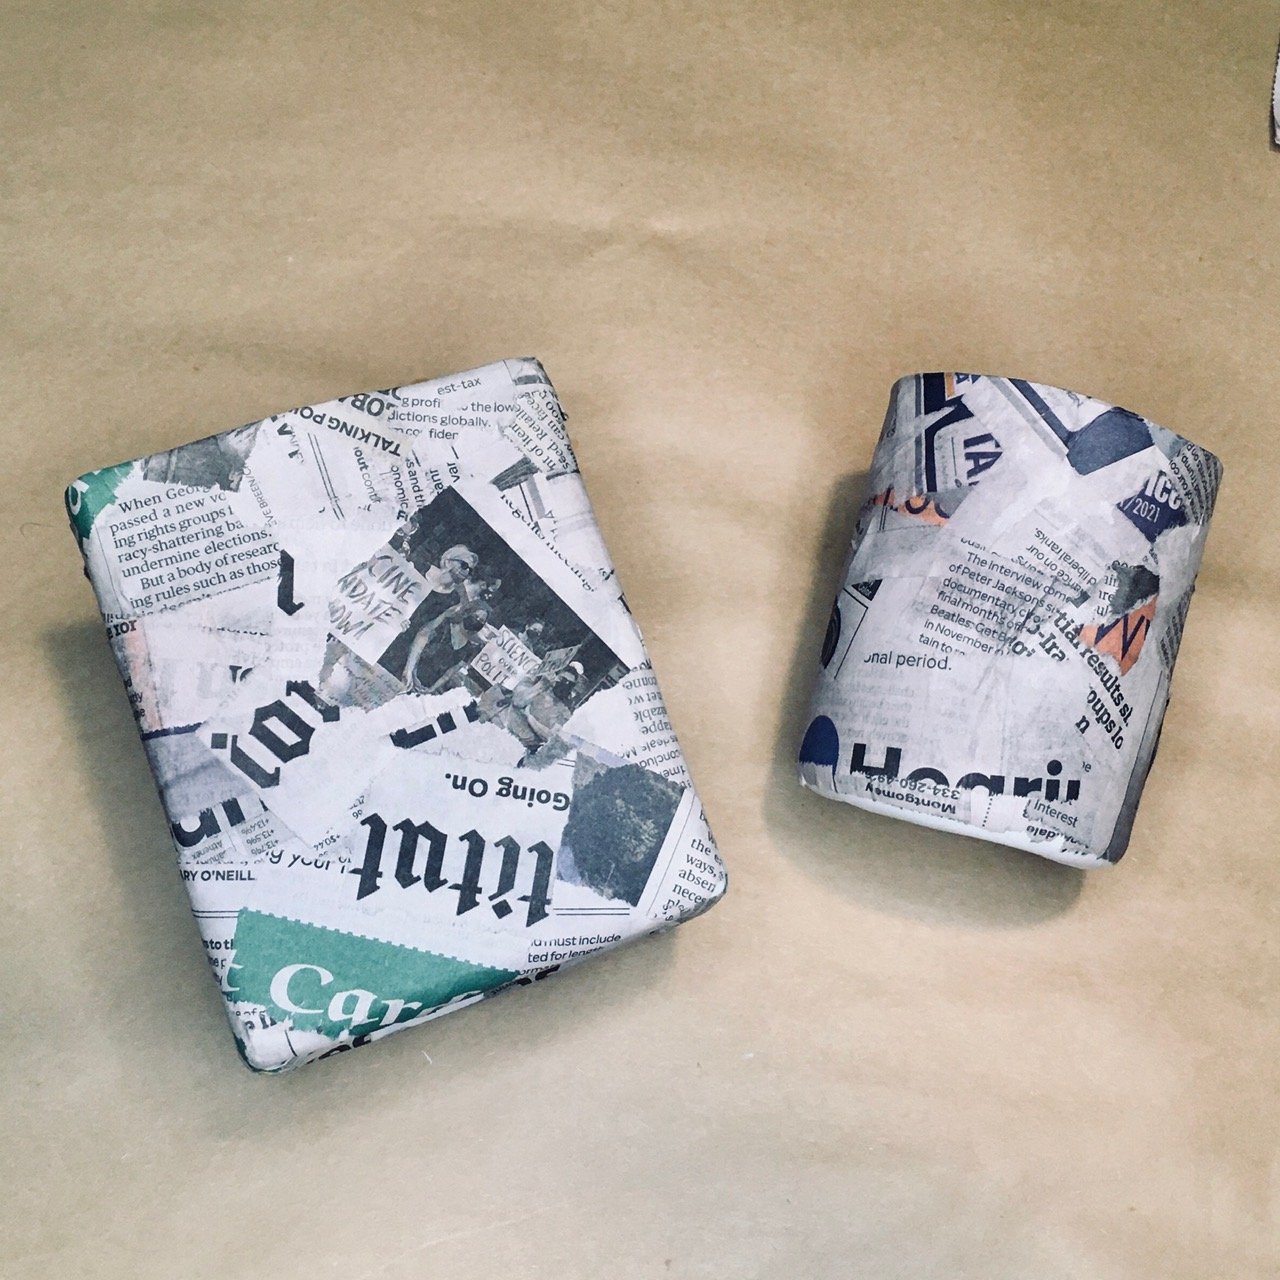
The plastic containers layered with newspaper and left to dry overnight.
-
Paper mâché the containers. Dip the paper scraps into the glue mixture and layer it onto the outside of your container. This part of the project is messy, and it takes some practice to know when your scraps have absorbed just enough the mixture. (If they’re too drippy or too dry they won’t stick to your foundation.) Glue one layer of paper all the way around. Make sure those ragged edges overlap a little bit! Then add a second layer. After two or three layers, let the containers dry overnight.
-
Add another layer? After your containers have dried overnight, they’ll look awesome! If you like how they look, you can stop there or you can move on to the next step. You can also add more layers. We found some plain newsprint paper and added two layers of it on top of our newspaper scraps. We think the vanilla-colored paper gives our desk set a rustic but finished-off look.
-
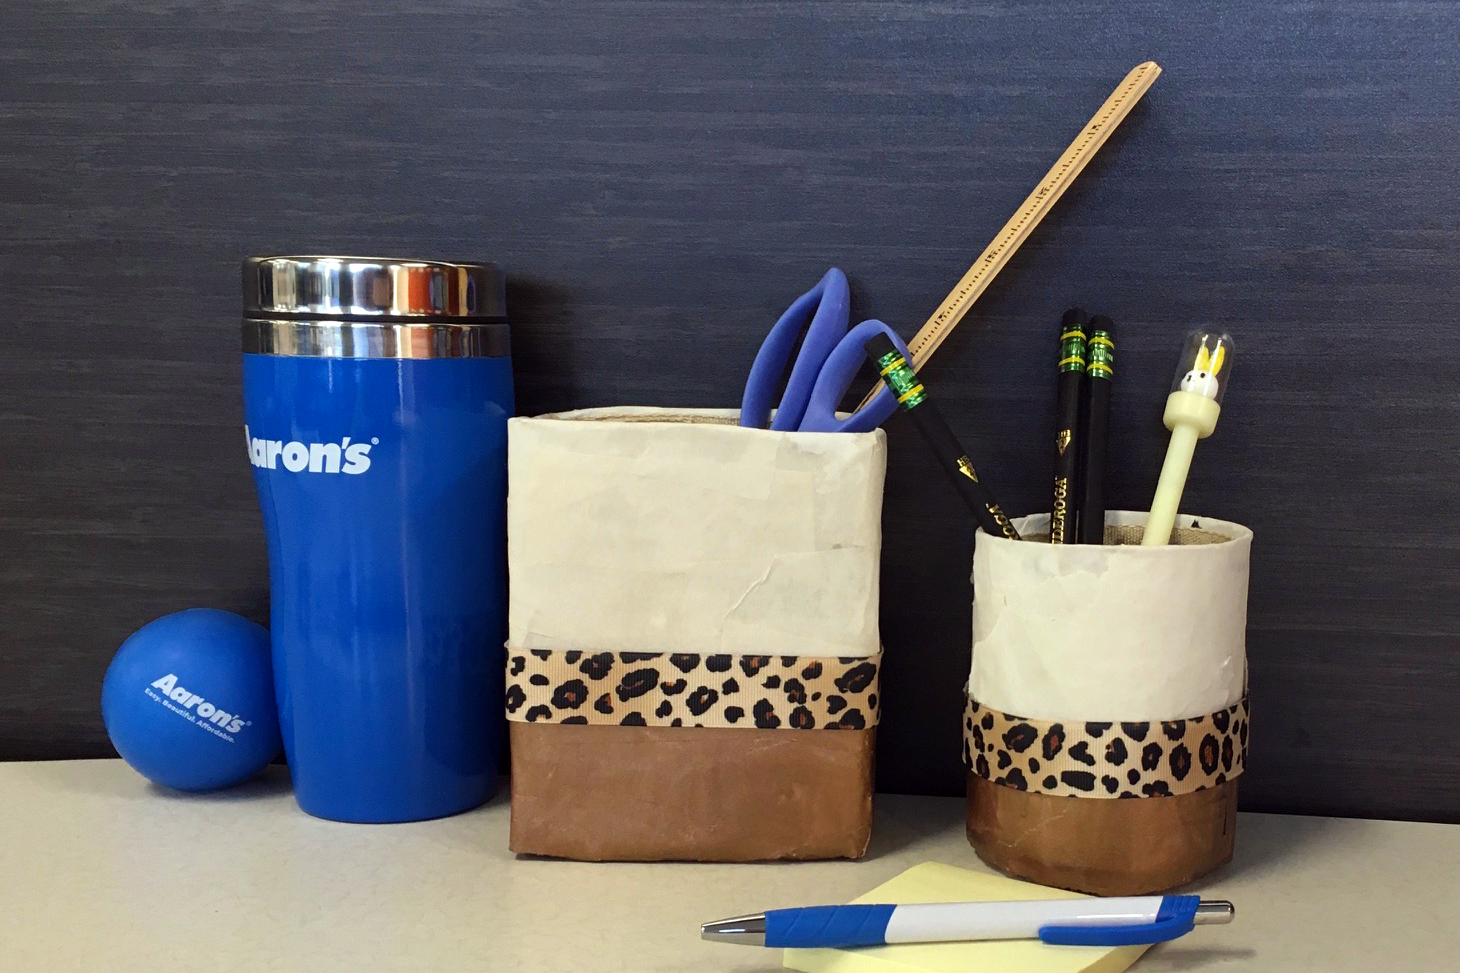
Decorate. Papier mâché is a fun look without any additional effort, but we decided to keep going. We painted the lower part of our containers (about 2 inches around the bottom) with a bronze metallic craft paint. Then we found some scraps of leopard-print ribbon and wrapped it around! Now our desk set feels practical, but a little bit fancy, too.
Once you get the technique down, papier mâché is a lot of fun. The materials are inexpensive, and the technique is easy and relaxing. That makes it a very low-stress creative activity for all ages and skill levels. Plus, the results can be practical and beautiful!