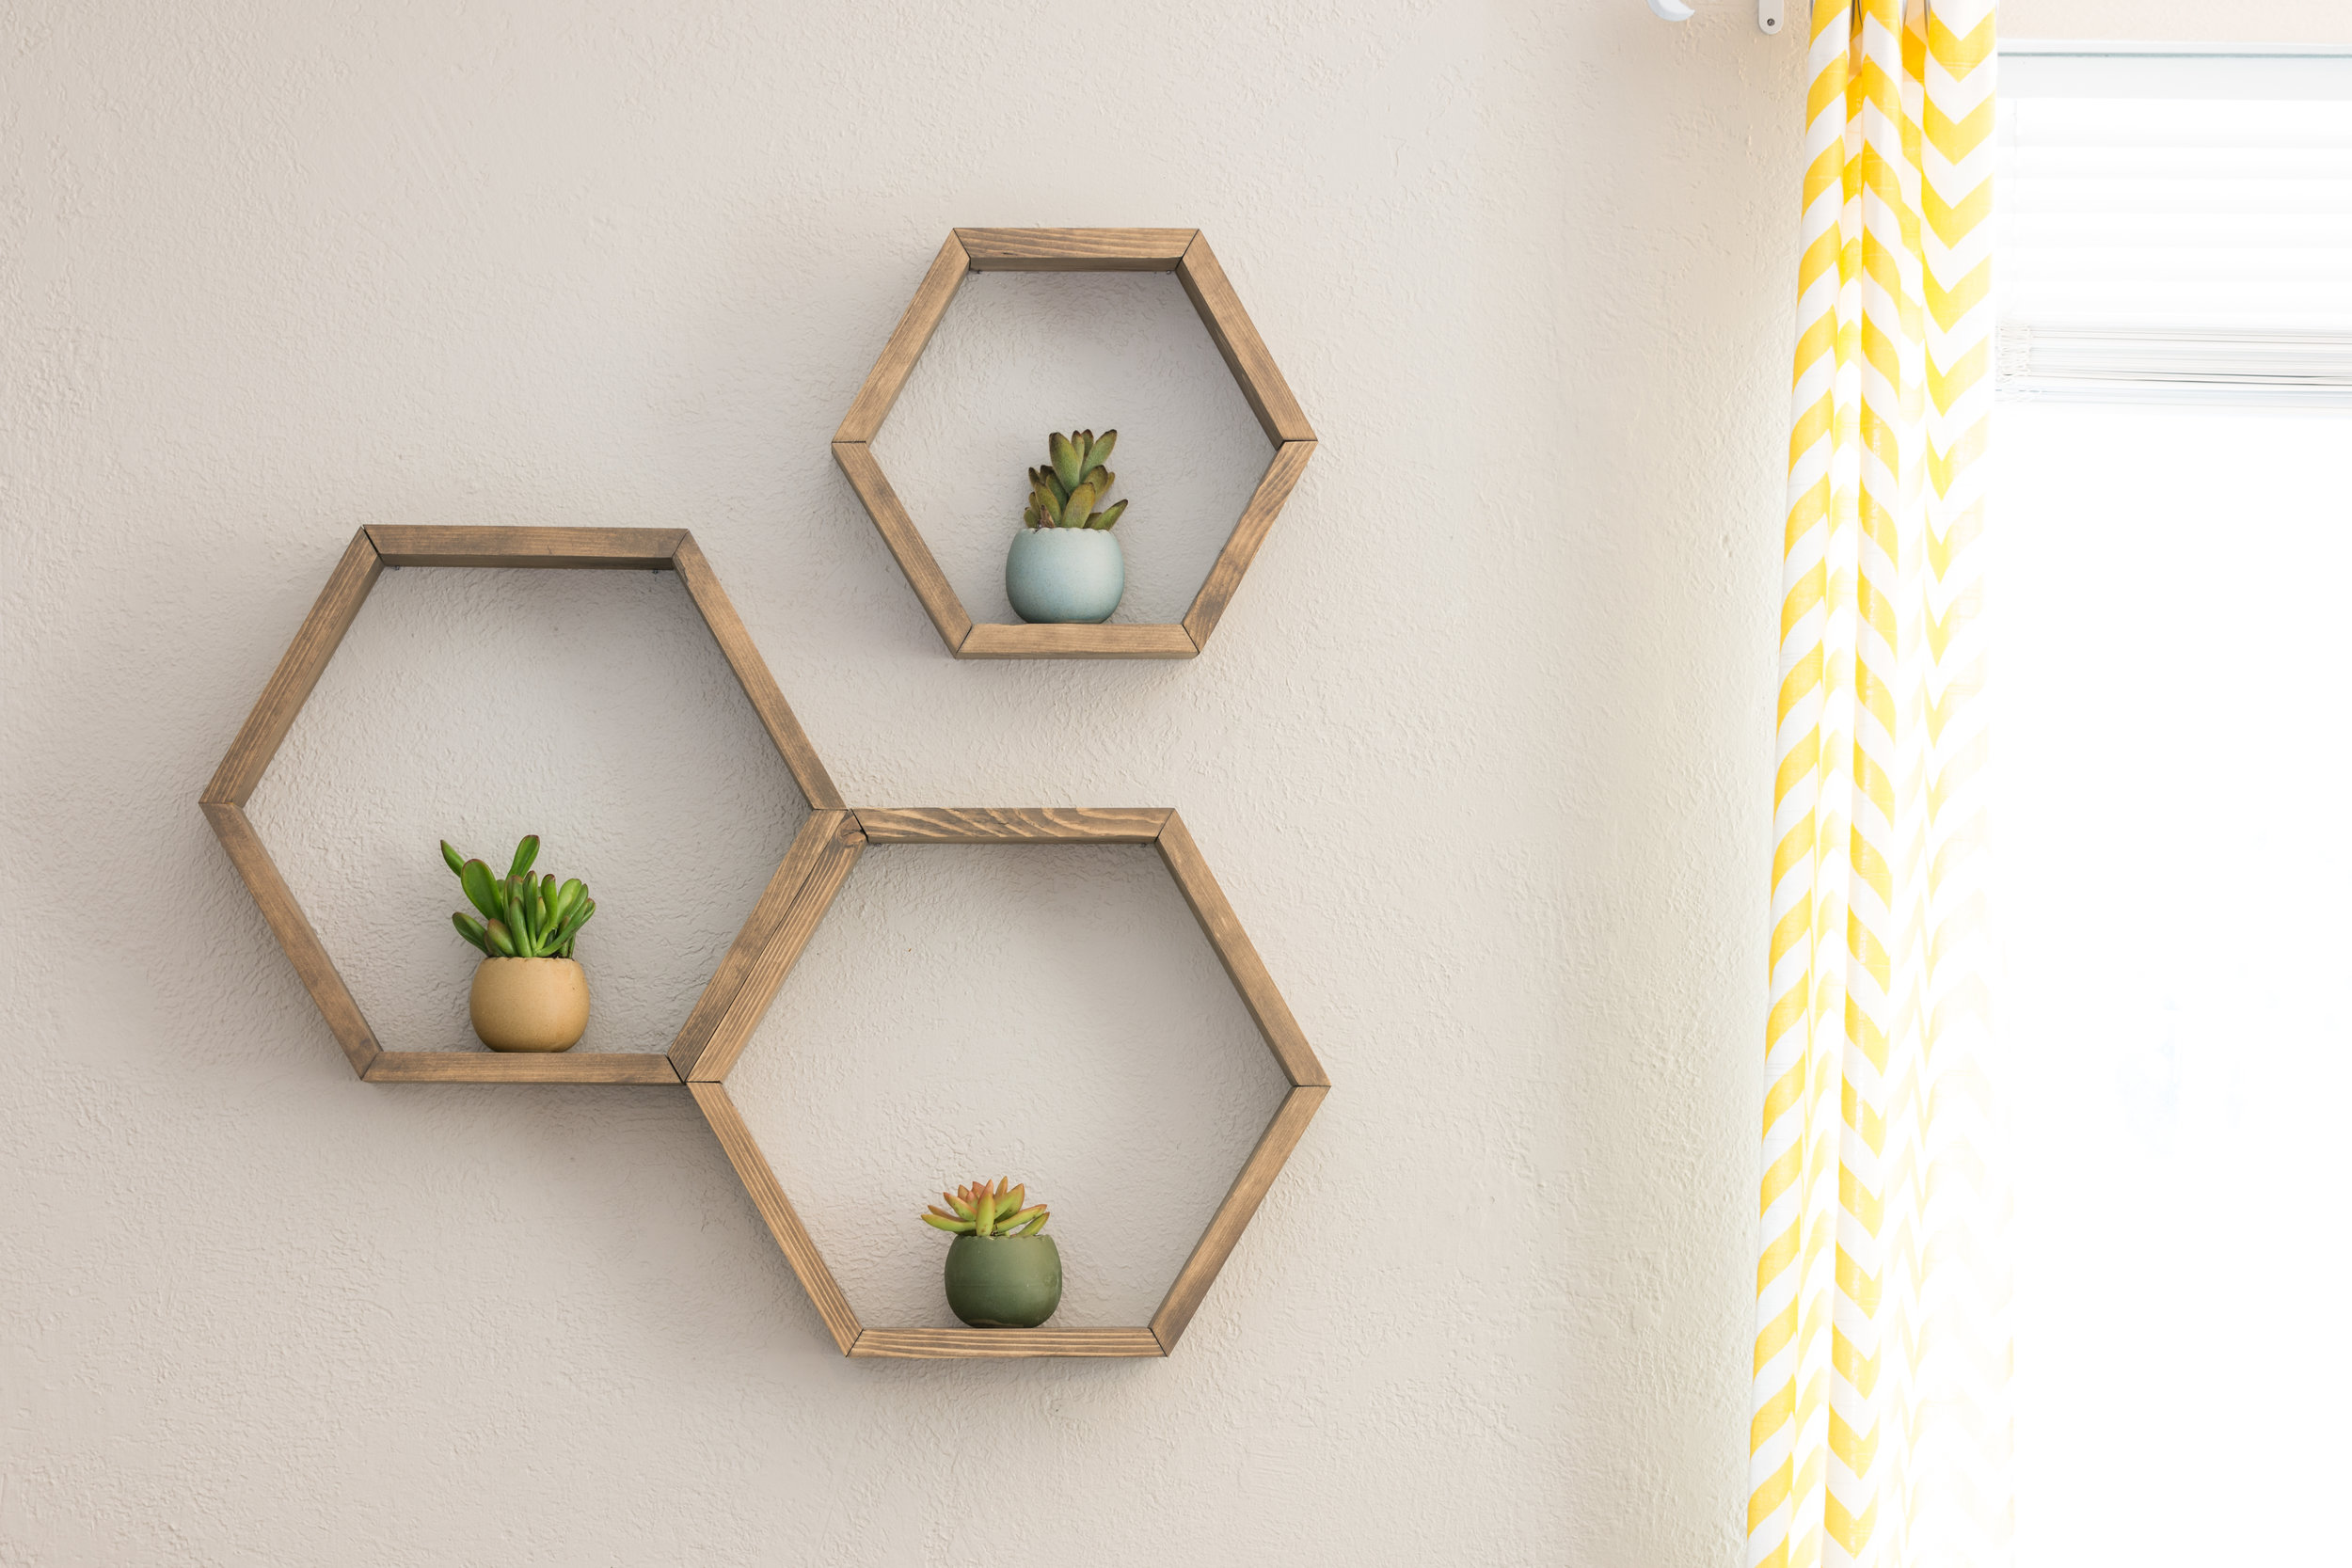
Decorating and customizing your space is a lot of fun! From vases and books, to picture frames and candles, there are tons of décor that will turn your house into a home. But these cute additions need a place to live, and your coffee table only has so much room.
Say hello to floating shelves! These are great to display your every day, or seasonal, décor items – and they’re not too difficult to install! Follow these six easy steps to create and install your own.
1. Buy necessary materials
It’s time to take a trip to your local hardware store to get the materials for your floating shelves. You’ll need to choose the wood for your shelves but if you aren’t sure, ask an associate for help – they may even cut it for you. You’ll also need to pick up all the additional materials, if you don’t already have them. We’re going to use shelf brackets to hold our shelves in place, so here is the supply list:
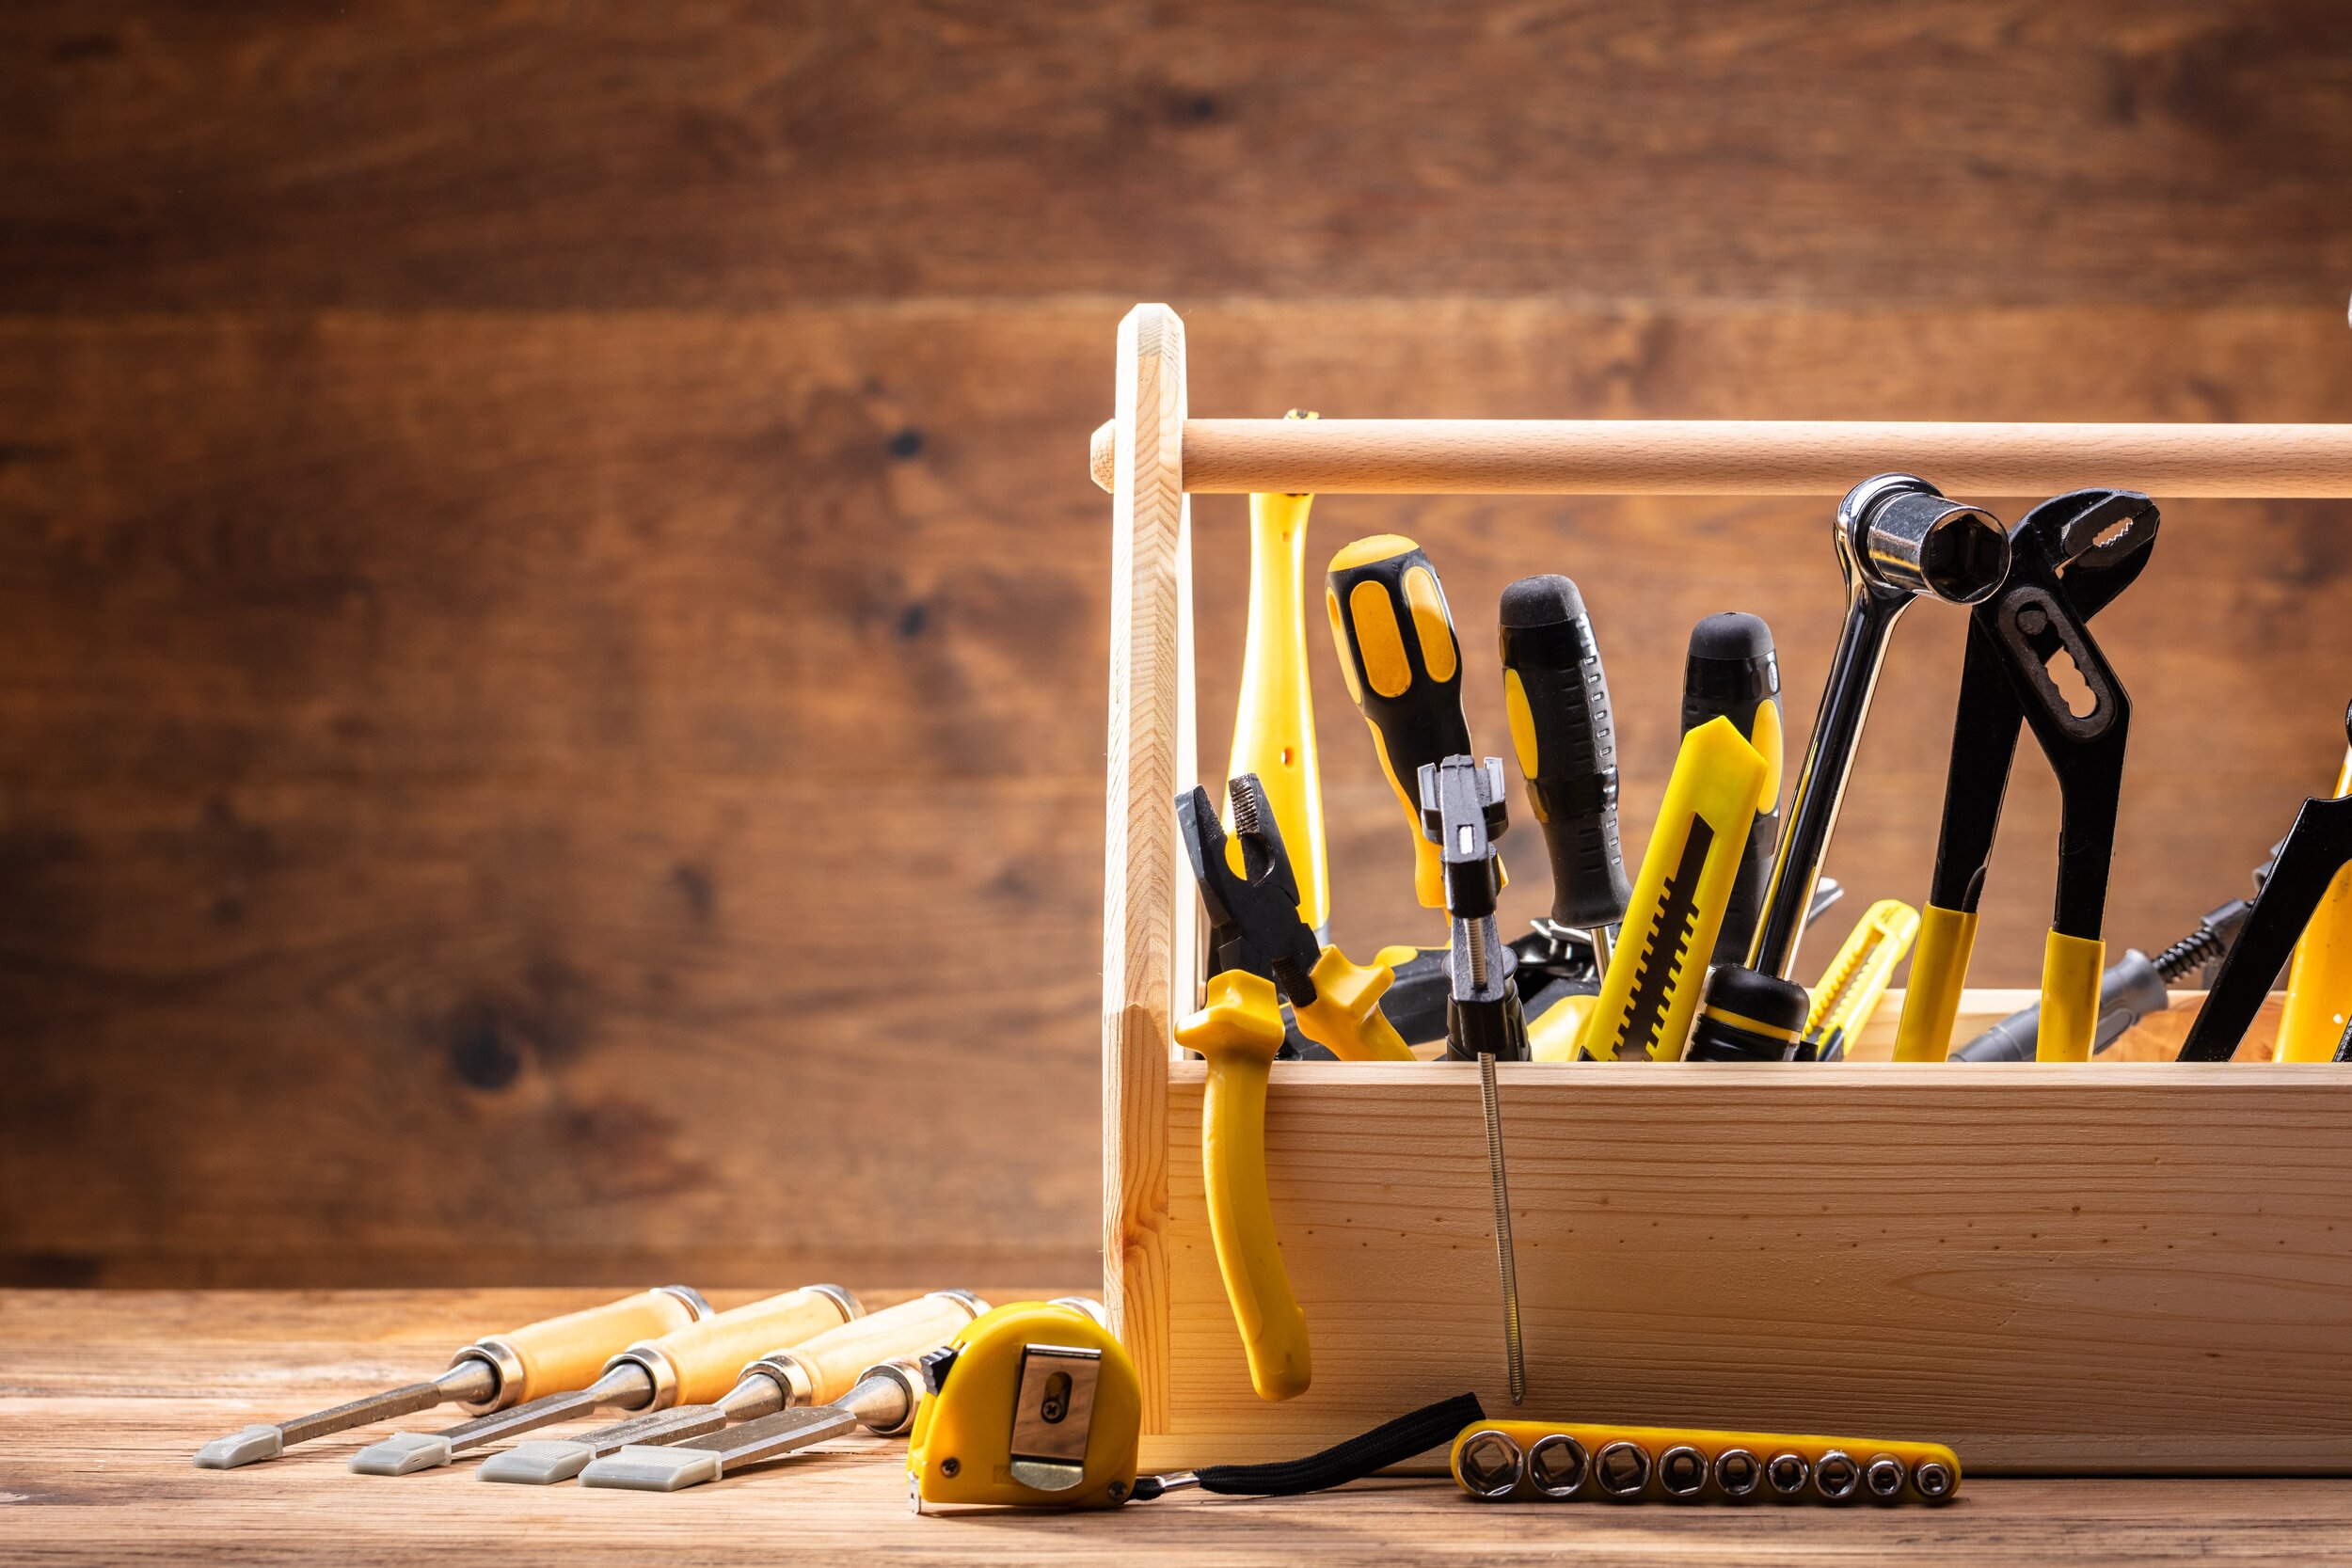
– Wooden Shelf
– Floating Shelf Brackets with Screws
– Tape measure
– Handheld Electric Drill
– *Level (optional)
– *Stud Finder (optional)
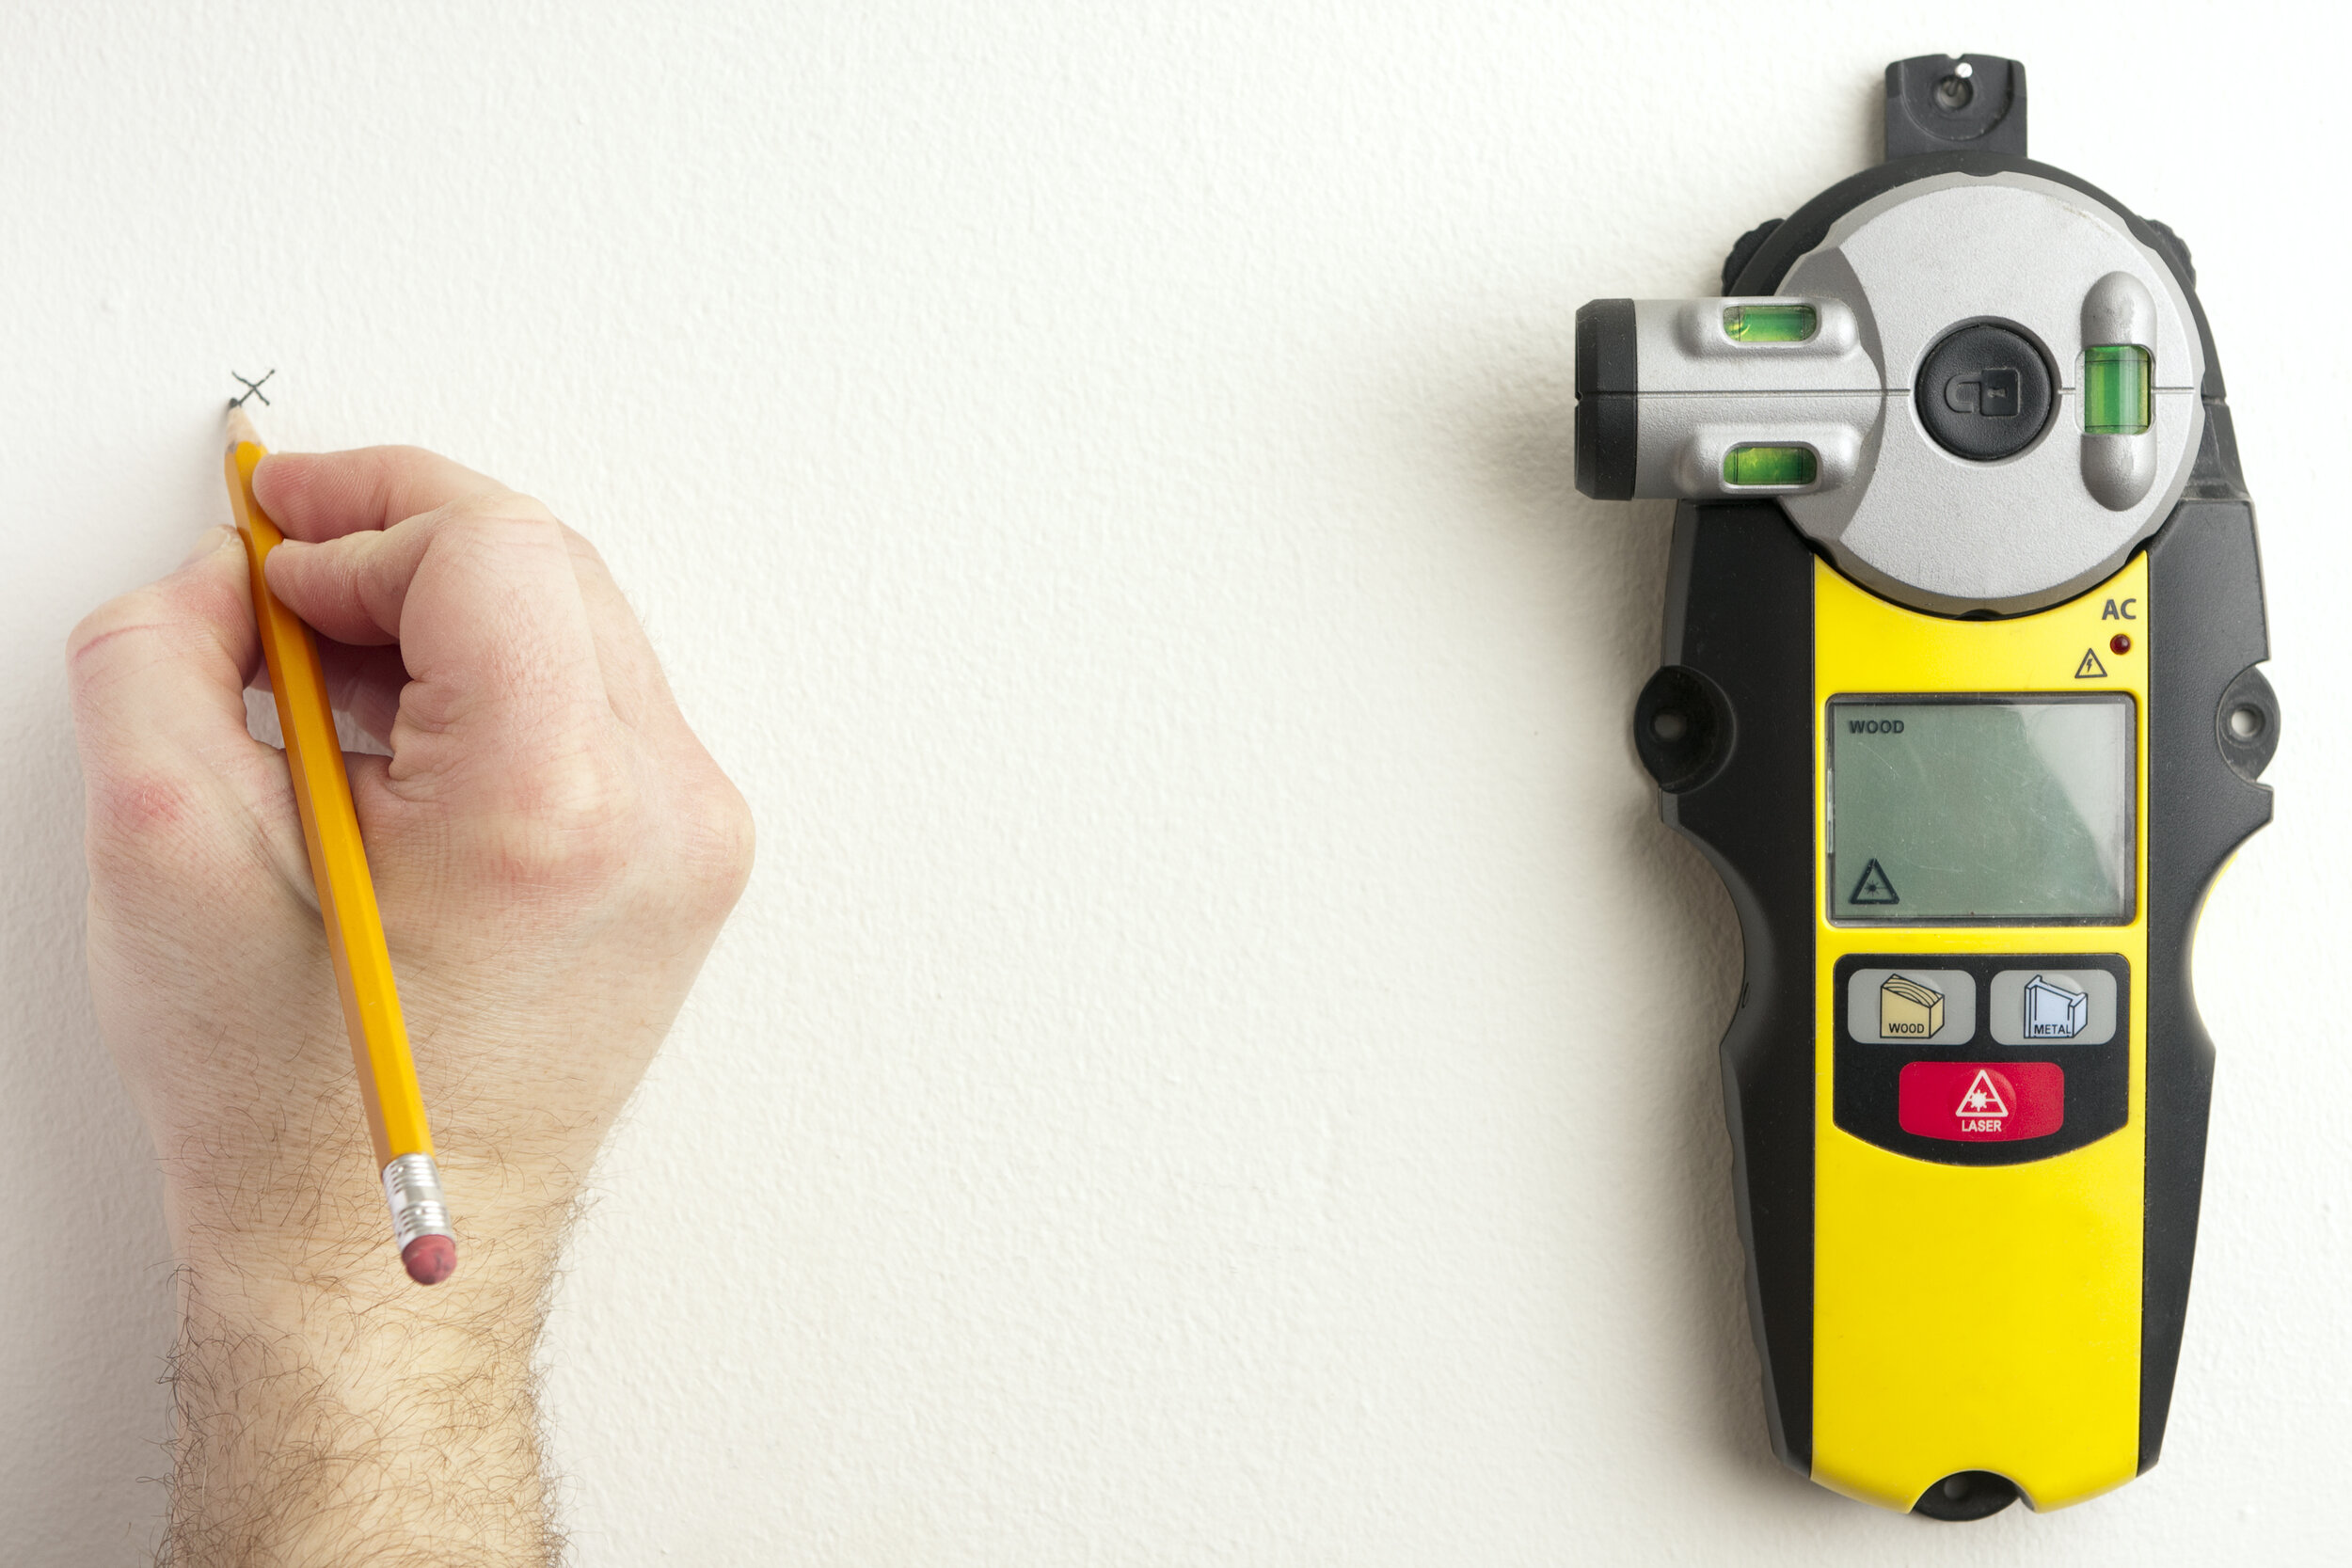
2. Find studs in the wall
If you have a stud finder, using it is pretty easy. Just slide the device along the wall until it shows you where the stud is (studs are typically 16 to 23 inches apart). Use a pencil to mark their placement for future reference.
*Purchasing a stud finder is optional because there is a method you can use to find them yourself. Search for studs by knocking on the wall and listening for a solid sound (not a hollow one).
3. Determine where your shelves will go
Once you’ve found your studs, you’ll need to decide exactly where you want your shelf to hang. Mark your spots on both studs and then measure from the floor or the ceiling (or both) to make sure you have them even.

4. Drill a hole at shelf location
Now it’s drilling time! Use your electric drill to make your first hole in the wall – make sure that it’s going into a stud, so it’s secure. (If you’re not sure what size drill bit to use, ask a store associate or search the internet for the correct size, based on the screws you’re using.)

5. Secure brackets to the wall
For this step, you need to secure your brackets in the wall. Floating shelf brackets with screws go directly into the hole, by hand. Turn and tighten the bracket so you feel a bit of resistance – remember, lefty loosy, righty tighty 😊.
6. Drill bracket holes into shelves
You’re almost finished! Use your bracket measurements and make a little dot on the back of your shelf. Once you are positive that the holes are level, use your power drill to put holes into the wood.
7. Slide shelves into place
Double-check to make sure there’s no excess dust inside the holes, then slide the shelf, or shelves into place and start decorating!