
We don’t know about you, but we’ve got some serious fall fever. The leaves are changing colors, pumpkins are being carved and pumpkin spice lattes are an everyday indulgence. The final touch that your space needs, the cherry on top of autumn, is a gorgeous fall wreath! There are so many ways you can create your own without breaking the bank – here are some steps to make your own.
1. Choose an easy design
As excited as you may be to become a DIY queen, it’s easy to get carried away with a difficult and detailed design. Search for some nice and simple examples to see what inspires you. One of the first things to decide on is a color scheme. Do you want a more evergreen design or more colorful with leaves of red, orange and yellow? Either sounds like a great idea, but it’s your choice!
2. Buy necessary materials
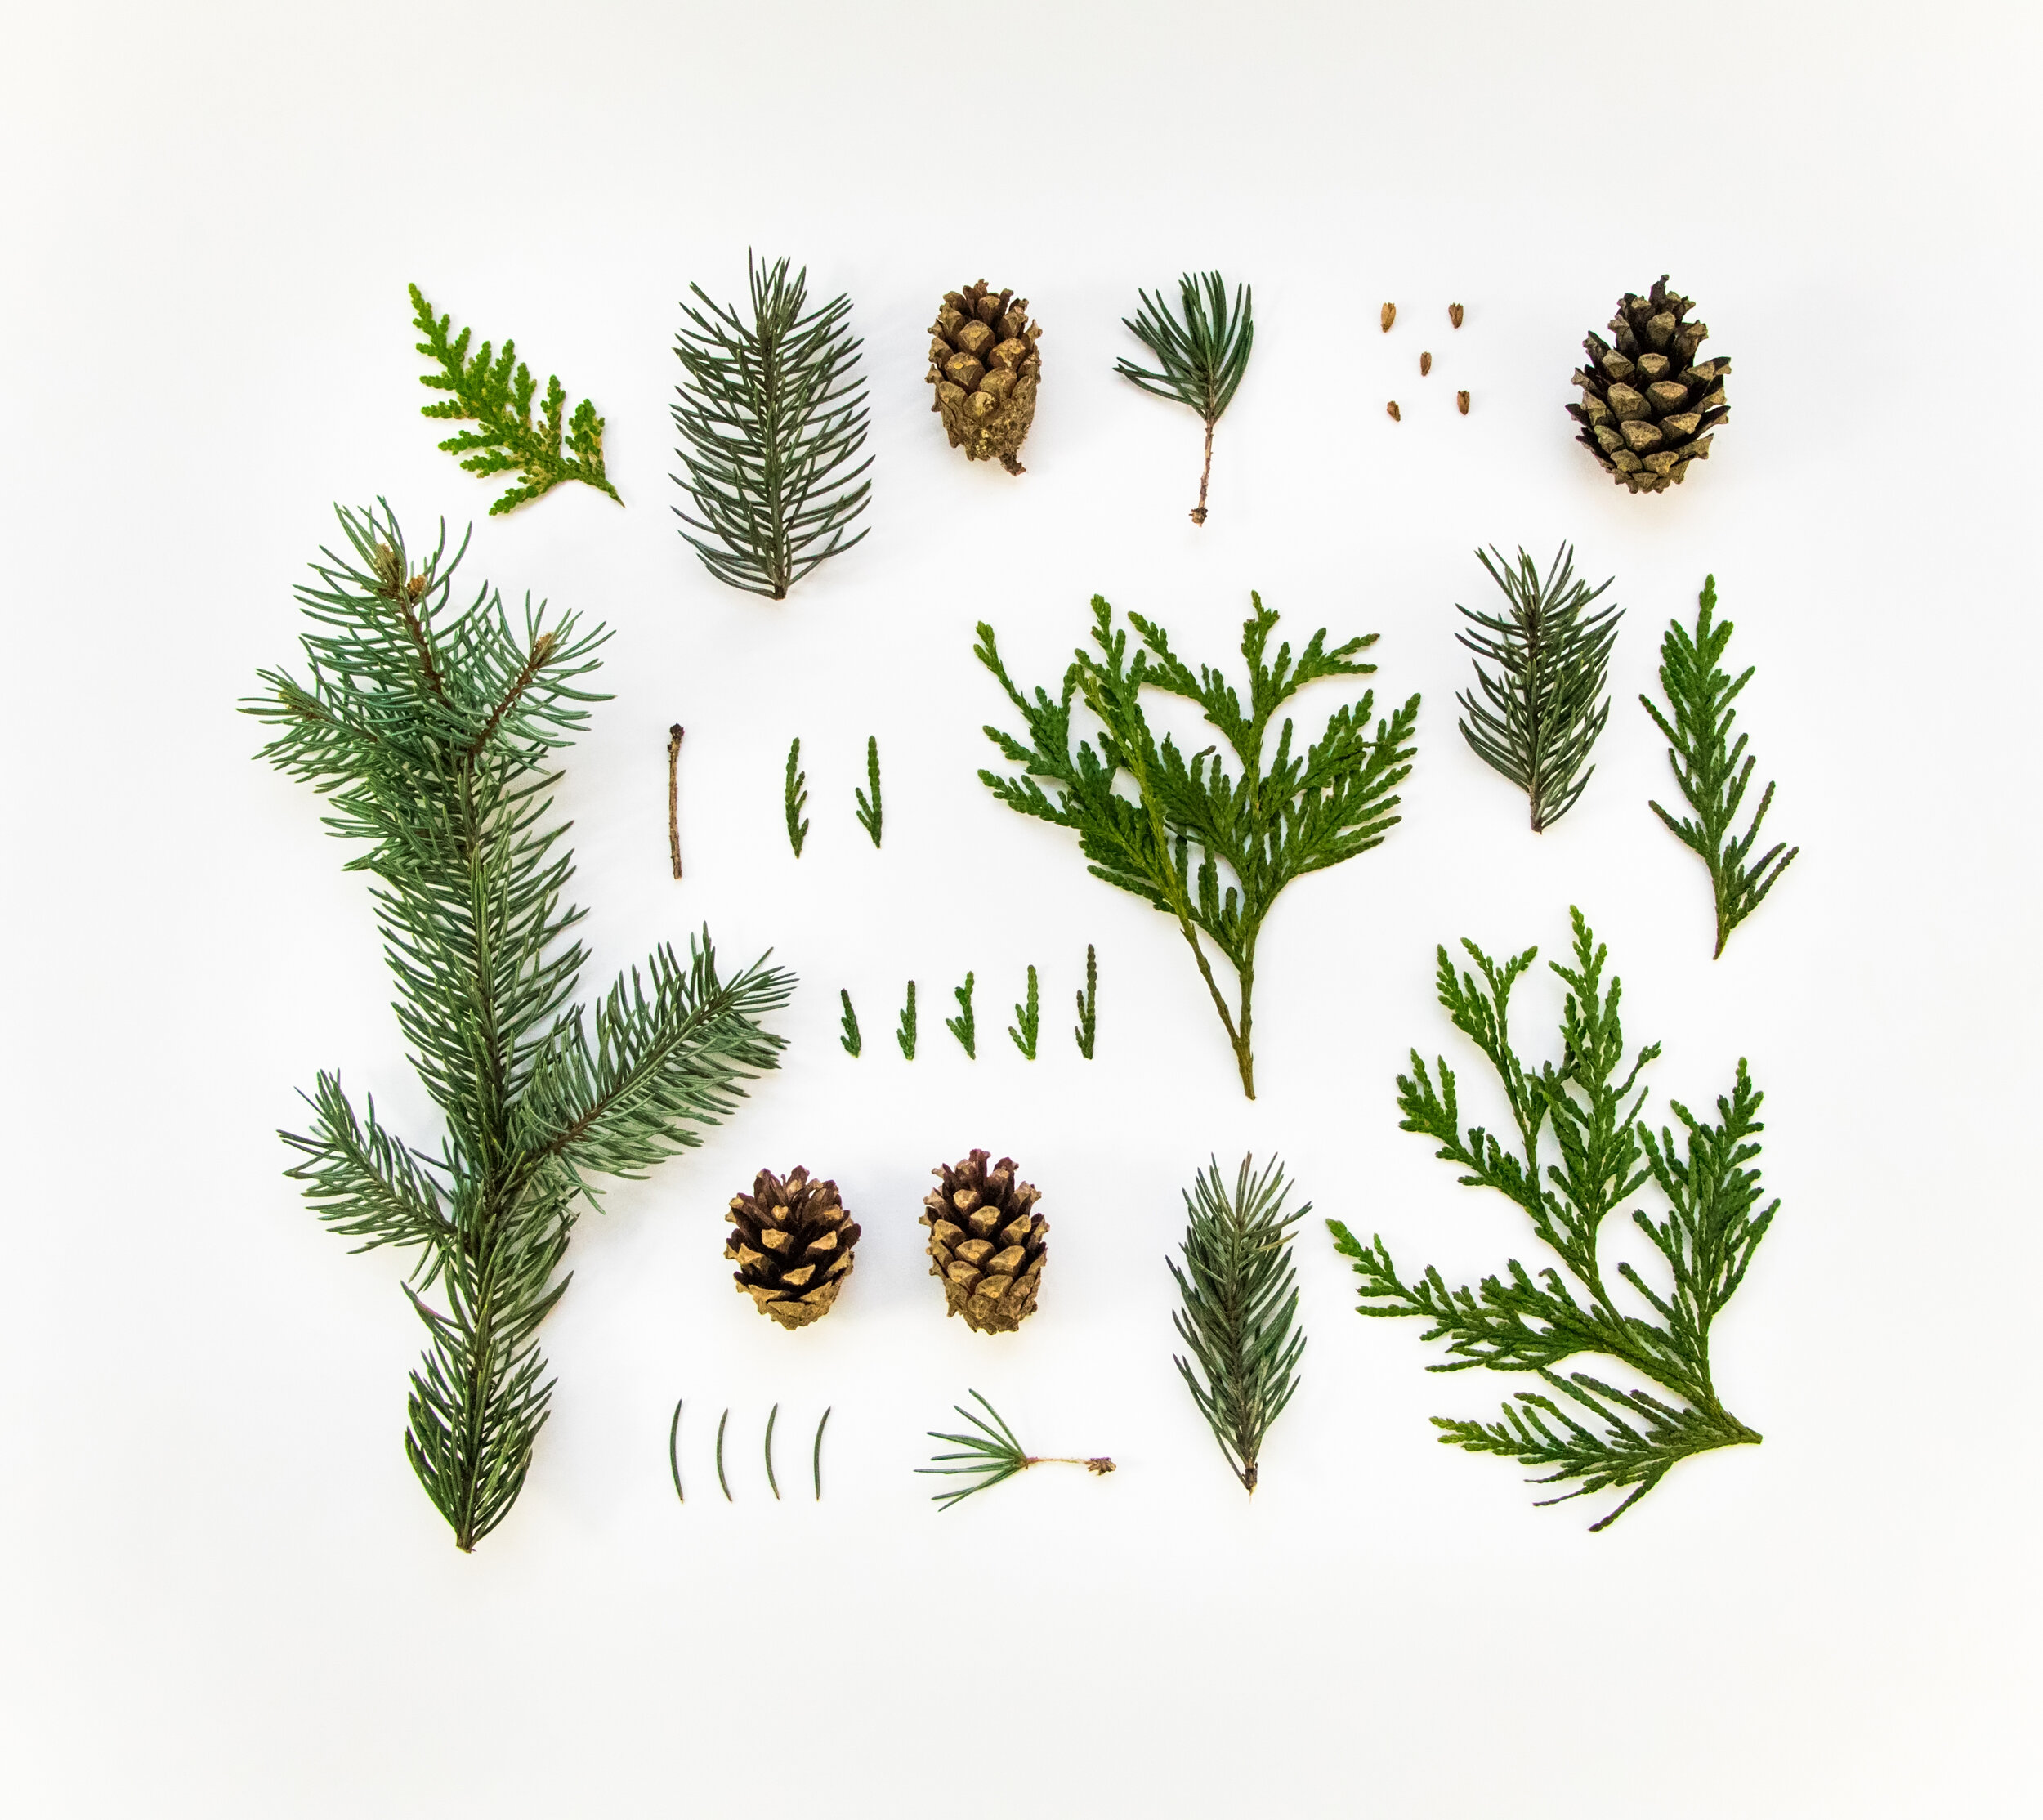
For this DIY wreath, we’re going to use a grapevine base. This is a brown, dry wreath that will serve as a perfect foundation for your creation. Below are the rest of the materials needed to bring your wreath to life:
– Artificial leaves
– Pieces of pine + pine cones
– Small décor pieces (pumpkins, ribbon, etc.)
– Hot glue gun
– Hot glue sticks

3. Decorate your base
Based on your design, you may want to have a green base with some subtle reds and yellows throughout (we already hear your guests oooooing and ahhhing at the sight of it!). Or you can have a colorful base and add a splash of greenery in there. After you decide, put a few dots of hot glue on the back of the leaves, or green pine, and cover the entire base.
4. Add fun extras

A wreath is kind of like a cake – people always appreciate the decorations. It’s time to deck out your wreath big time with décor pieces like little pumpkins, colorful ribbon, or even flowers.
Before you glue anything, lay out all the pieces and see if you like it first – sometimes, you can save yourself from putting too many pieces in one area. After you feel comfortable with your autumn masterpiece, finish it off by hot-gluing each piece to your base. Need some inspiration? Check out this beautiful DIY wreath that incorporates sunflowers on it!
5. Let it dry
As much as you want to show off your beautiful wreath to your entire neighborhood, give your design about 30 minutes to fully dry. The last thing you want is your leaves falling off your wreath. Once it’s dry, feel free to hang it up wherever you like!
Quick tip – when fall is over, store it in a safe place so you can reuse it! 😊